


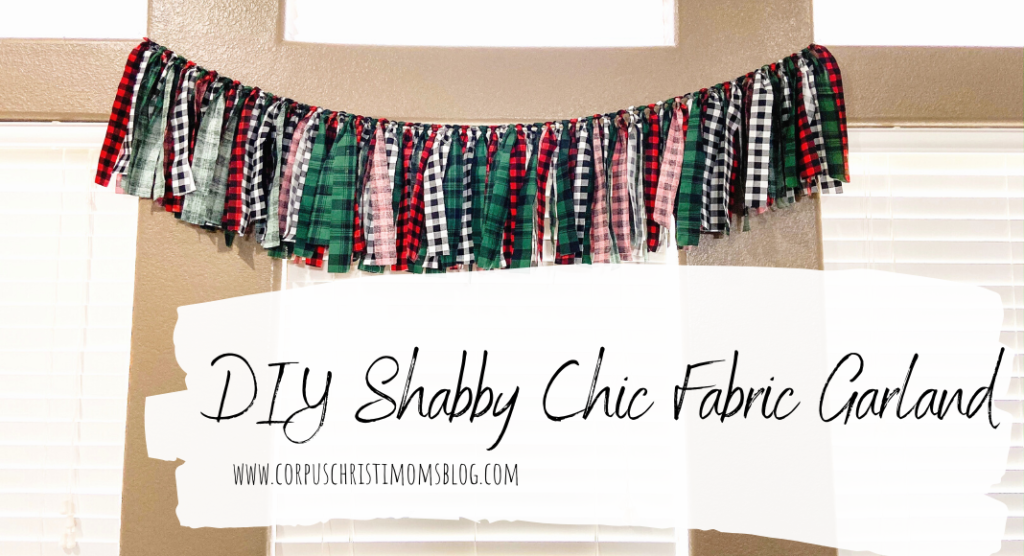
If you are a Pinterest scroller like me, you have probably seen a ton of these fabric garland pieces around for a while. From birthday parties to basically any holiday these shabby chic fabric garland pieces are the perfect statement piece for a room.
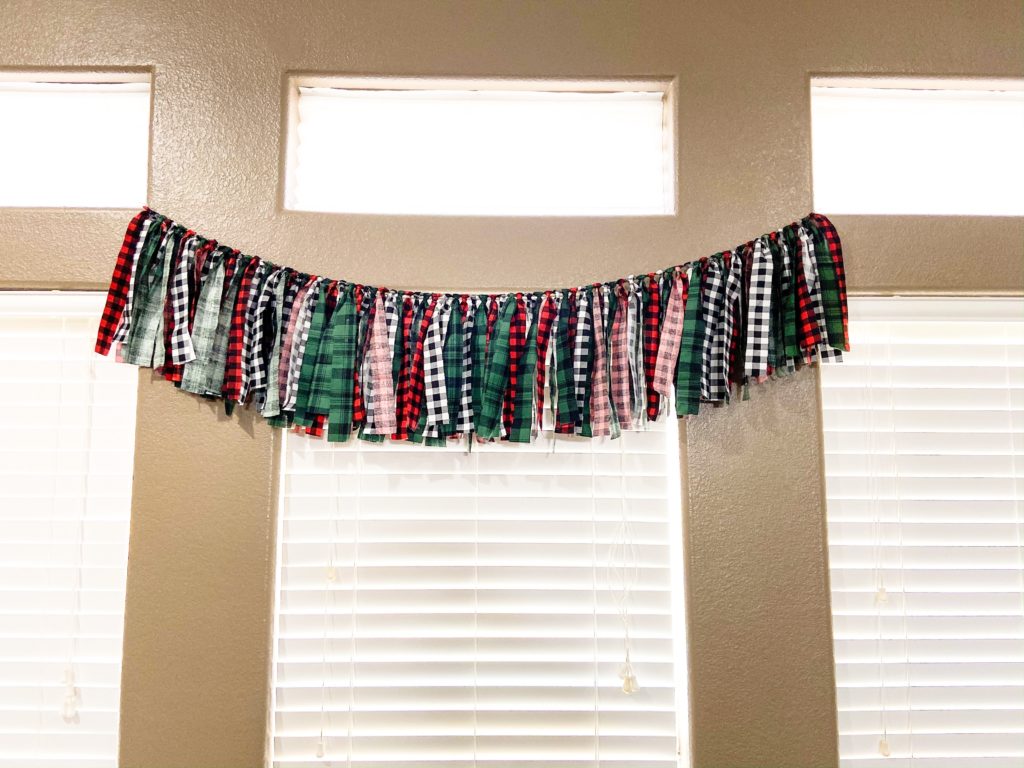
I decided that this year my cheap tinsel garland would not work to decorate the windows in my living room. I originally looked at my options to take the easy way out and buy an already made piece, but when I saw that the prices were above $25 I decided to try a little DIY! Since I loved how my piece turned out I wanted to share so that you too could make one with ease!
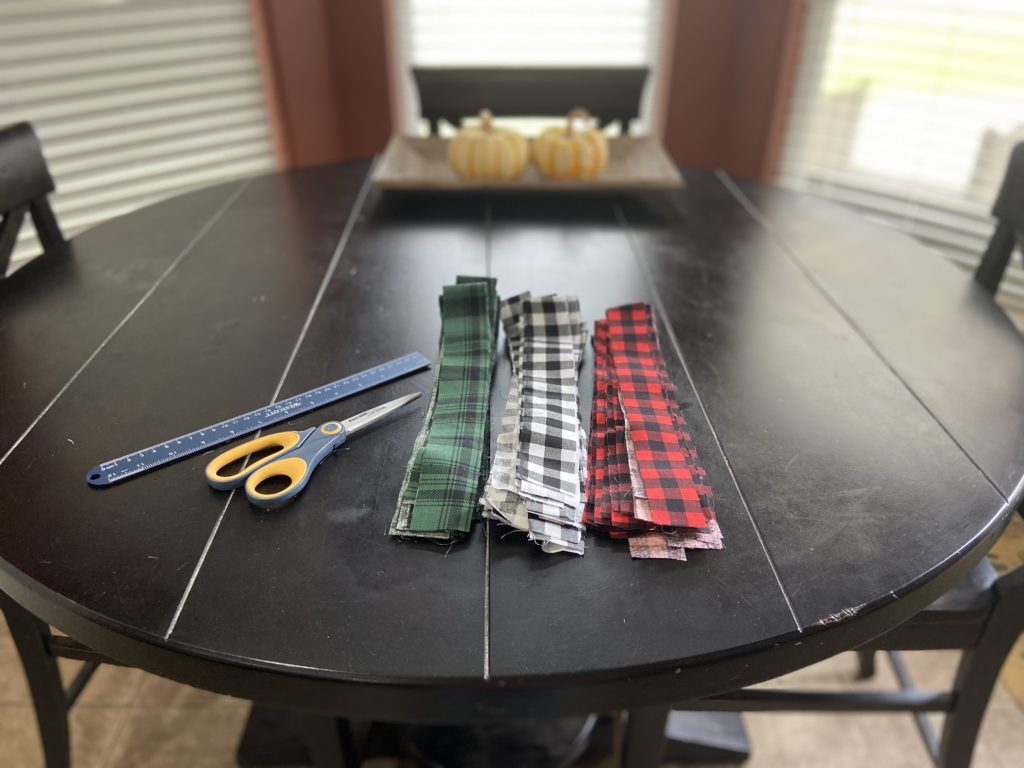
Things you will need:
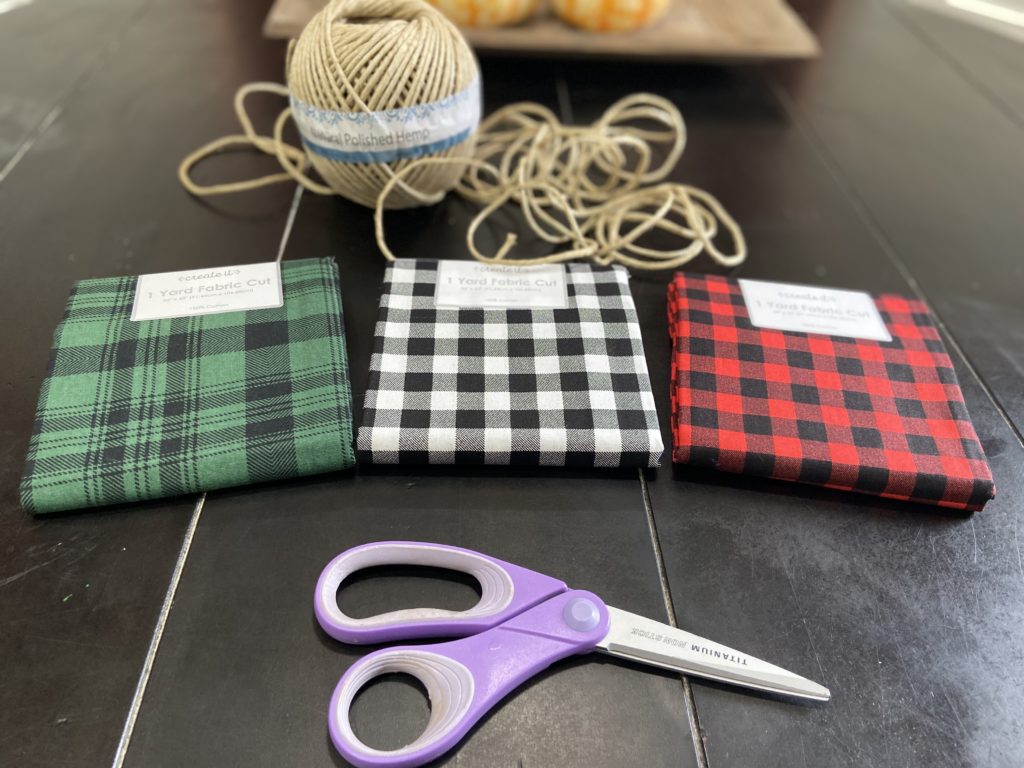
Fabric in the colors that you want for your garland ( I used red, white, and green in buffalo plaid for a Christmas garland)– Walmart has these pre-cut 1-yard fabric bundles for $3.97 each. I got one of each color and it was enough to make the length I wanted for my windows.
Natural Polished Hemp Rope– also found at Walmart in the craft section. You can use pretty much any string or rope. I wanted to make sure it was a semi-thick material that would be sturdy.
Sharp Craft Scissors or a Rotary Cutter– for the first part of this project I used my really sharp craft scissors and they worked great, but I did invest in a rotary cutter so that I could make some more and they made the process of cutting your fabric much faster!
Ruler– this is to measure how long and wide your fabric is cut. (I was lucky because the plaid pattern made it easier for me to cut my pieces)
How to Make your Shabby Chic Fabric Garland:
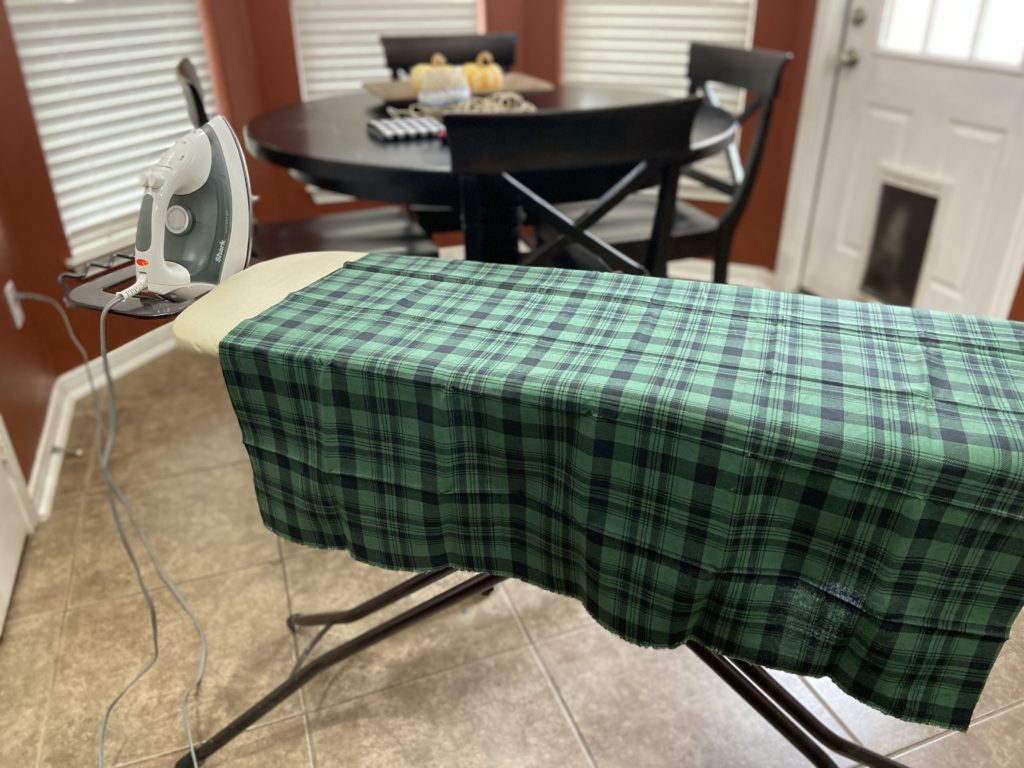
The first thing you will need to do is iron your fabric to get out the creases. If you do not have an iron you can also put it in the dryer on wrinkle release and that will help. If you do not mind the creases then you can skip this step.
Once you have all of your fabric wrinkle-free (or not) you will want to decide how long you want the fabric pieces to be. I measured mine to be about 24 inches long and 1 1/2 inches wide. One thing I really love about this project is that it is forgiving, so if your cuts are not exact it will still look great once you get them tied on the rope as long as they are close to the same sizes.
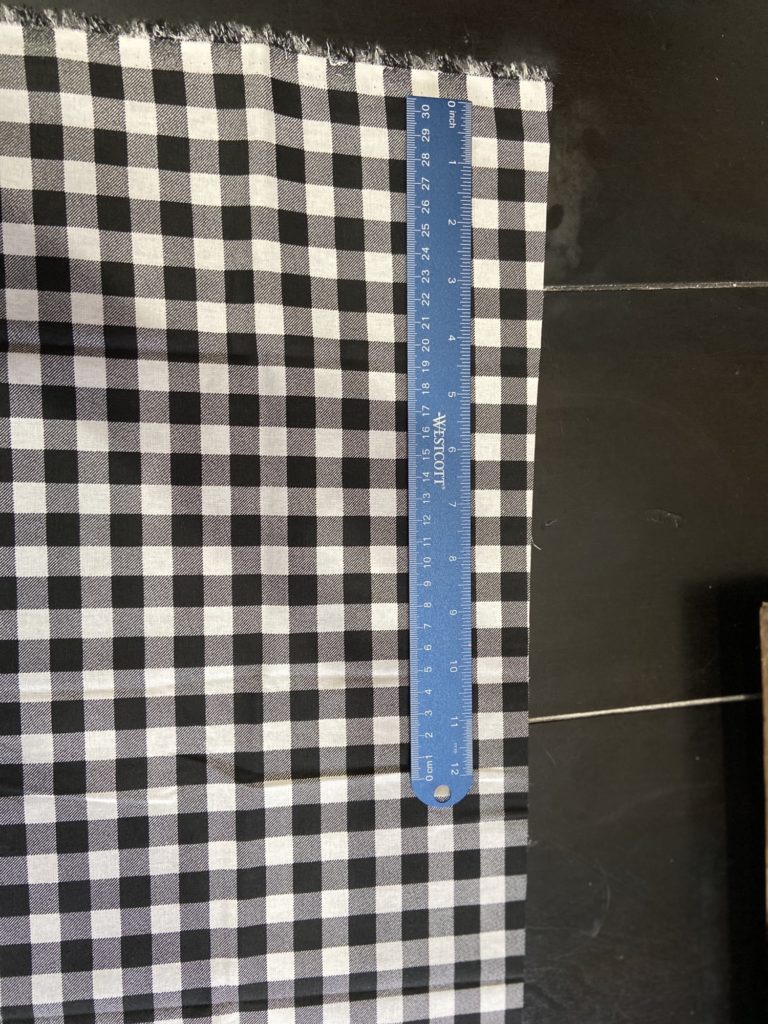
Cutting the fabric was the most tedious part of this project, getting the rotary cutter did make it easier. As I mentioned before this plaid pattern was really nice because once I measured I could see where to cut to get roughly the same size pieces without having to remeasure constantly. After you have all of your fabric cut then it is time to tie it to your rope!
Since I was hanging my garland up high I decided to tie the rope to some chairs so that I could tie on the fabric to a straight piece of rope, then hung it once I was done. For the length of the rope, I was just winging the measurement and decided it was better to cut a really long piece and trim from there. 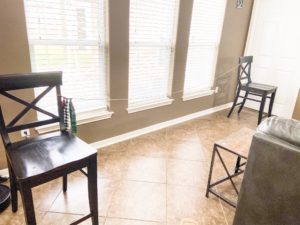
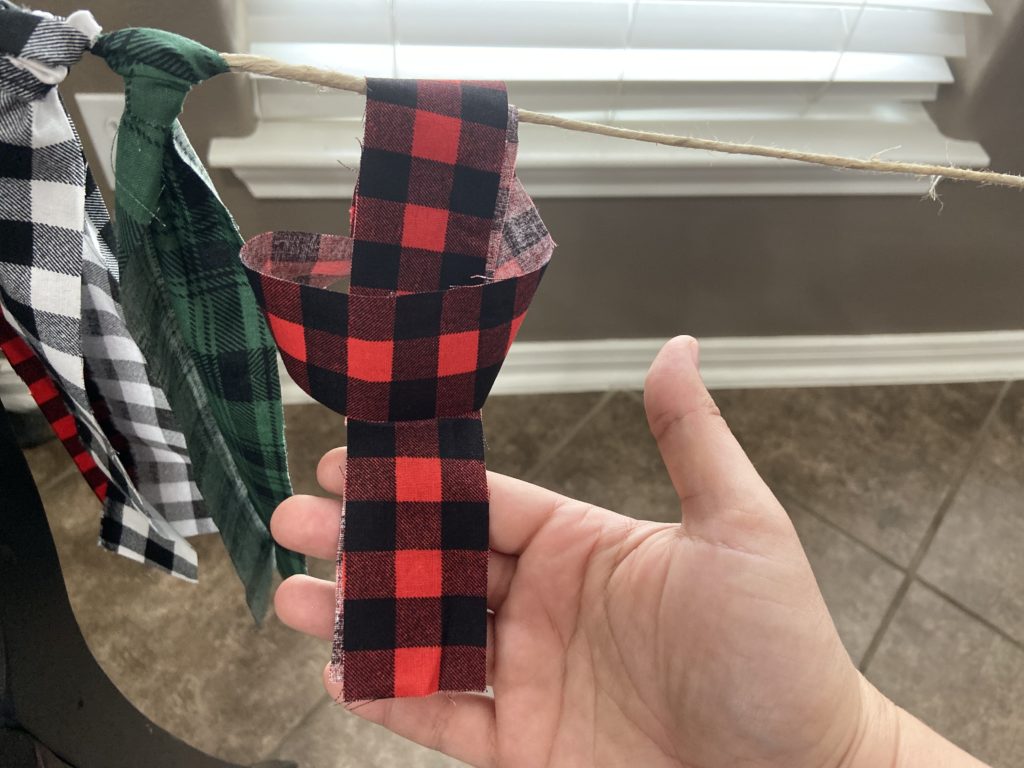
To tie the fabric on the rope, you will fold the piece in half, drape it over the rope with the loop side down. Then you will open the loop, put the free ends through the loop and pull tight.
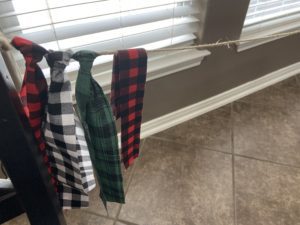
You will repeat this process with your desired pattern, also side note, if you have small kids like me this is a wonderful teaching moment to have them find patterns and counting!
Once you have used all your fabric you will trim the unused rope and hang in your desired area! I loved making this project so much I went back to the store so that I can make a few smaller pieces to hang with our other Christmas decor! Tell me, do you love this Shabby Chic Fabric Garland? Do you plan on making your own?
[pinterest count=”horizontal”]


