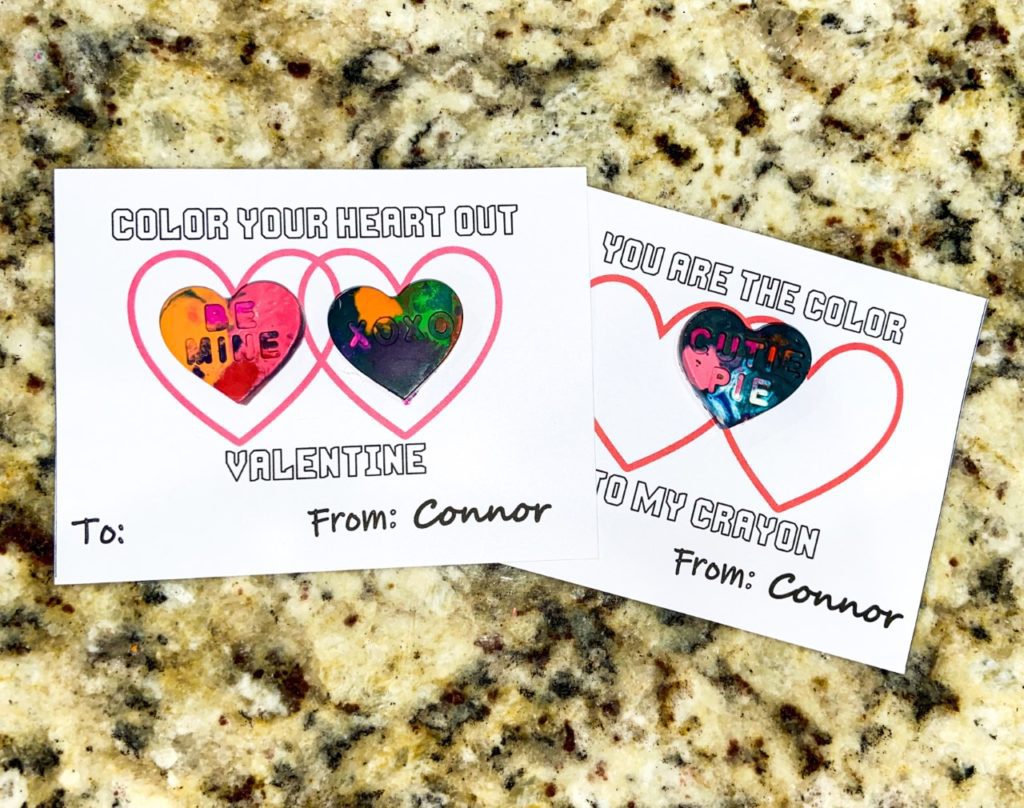
For the last few years, I have been buying my son’s class valentine cards a year early. I wait until the end of February when they are marked down and, since I stay away from cards that have candy attached, I can keep them until the next year and save 50-75%.
The two issues that come along with this are A:) you don’t always have a wide selection to pick from and B:) you then have to be able to pack them away and then ACTUALLY FIND THEM the next year. {Don’t ask me how I know this. Sigh.} Anyway, last year, for whatever reason, I never made it to the store to get our discounted valentines. So I knew this year I would have to go buy some cards or make something for him to take to school.
I decided to make something that would be unique, simple, really cute and CANDY FREE!
These crayon hearts turned out so good and ended up being pretty simple to make and easy on the budget!
[pinterest count=”horizontal”]
What you will need:
Crayons
Silicone Heart Molds
Cardstock paper (8.5 X 11)
Something to cut with
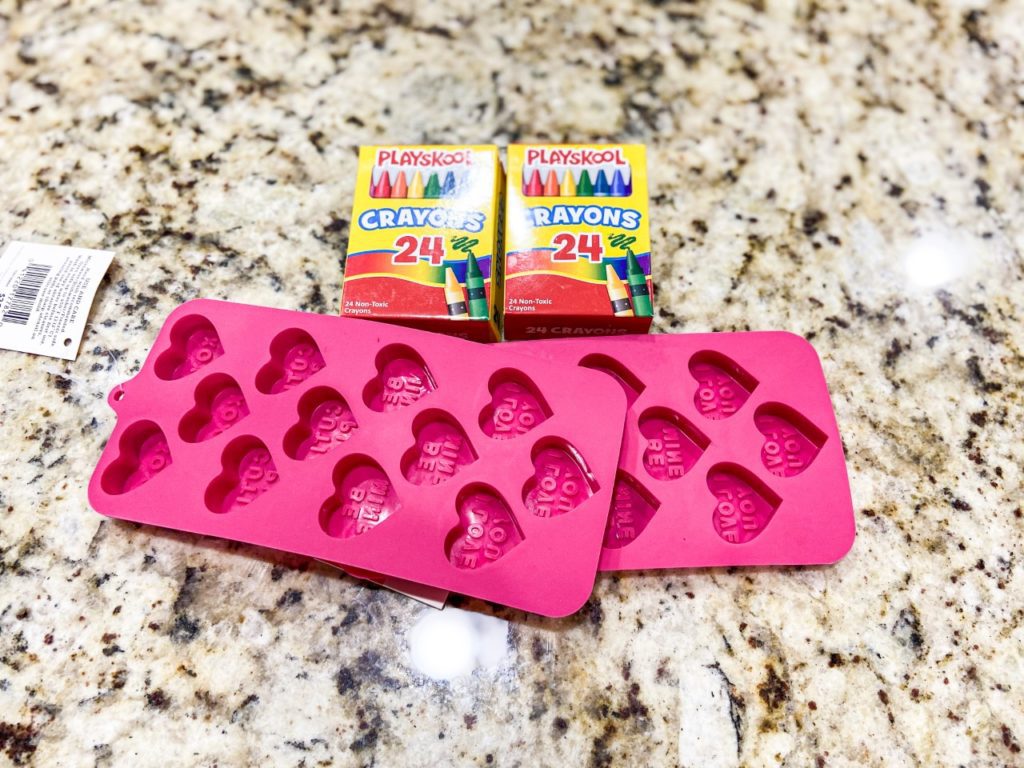
For the crayons, you could easily clean out your kid’s stash of broken crayons that have seen better days and save yourself some money. I had JUST thrown away a ton of broken crayons before I decided on this project so I had to go buy a couple new boxes. But since you are just melting them down you don’t need to get fancy, I bought 2 of the $0.50 boxes from the best grocery store in the land, HEB.
I found the silicone molds at HEB as well in the seasonal section. They were a steal at $2.97 each, so all in all, this project cost me less than $7.00!
How to make the Crayon Hearts:
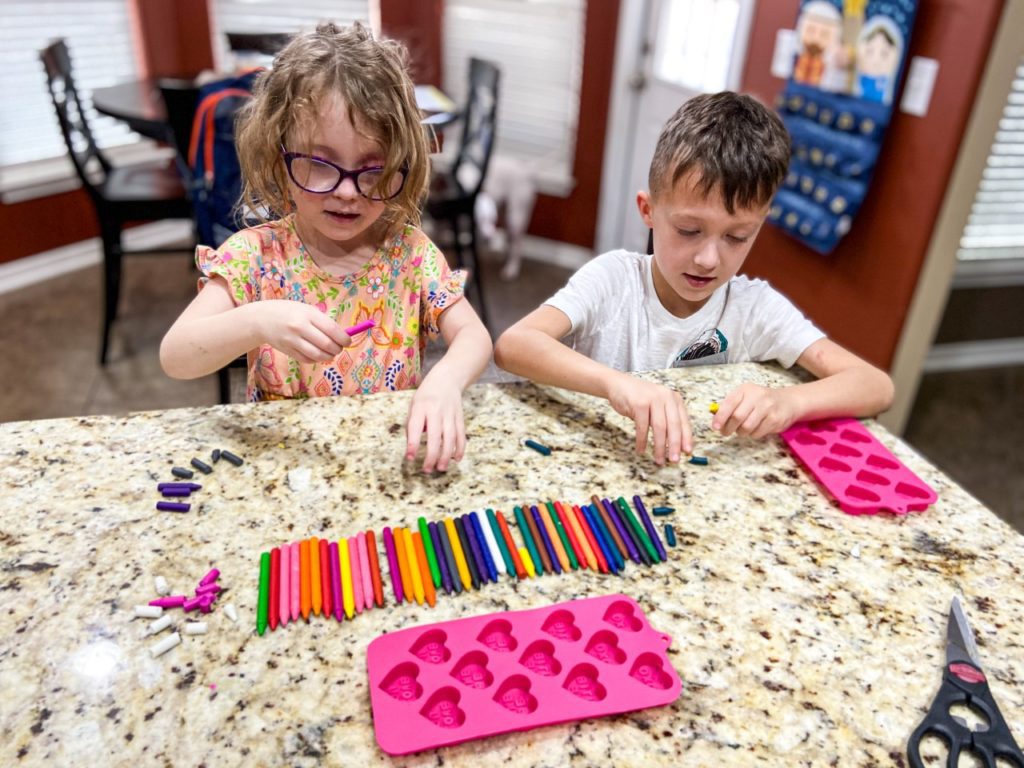
Step 1: Take all the paper off the crayons. We used both boxes and we were able to make over 40 hearts. If you don’t need that many you could get away with only using 1 box of crayons. While you are doing this pre-heat your oven to 225 degrees F.
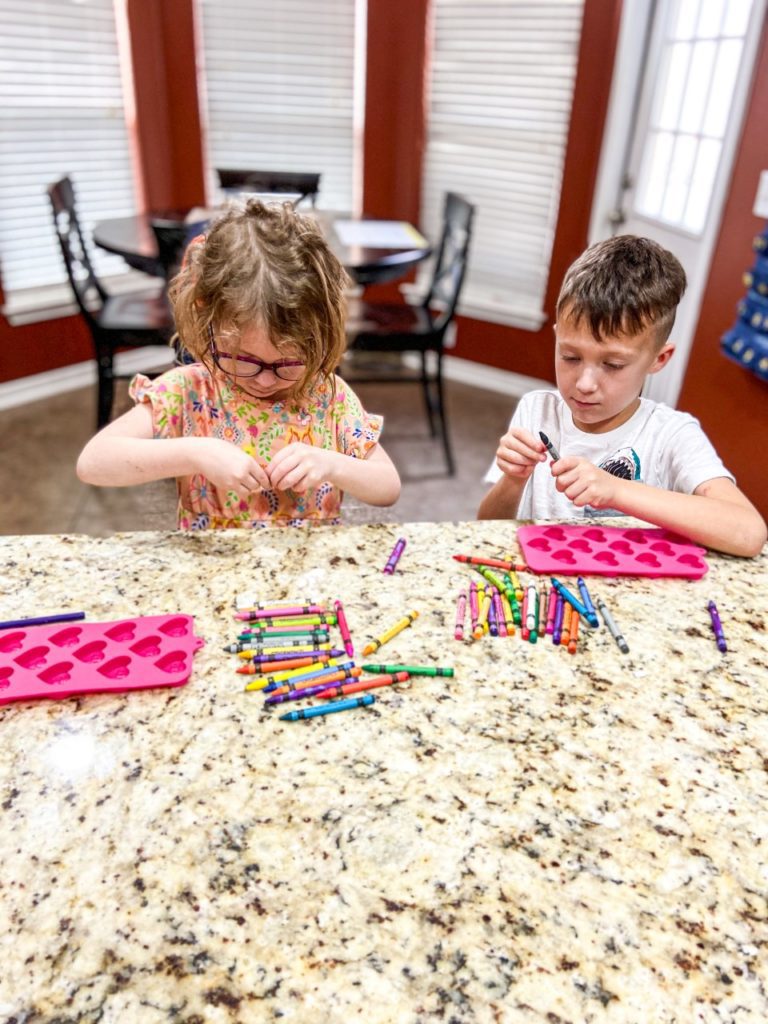
Step 2: Break the crayons into small pieces. This was the kids favorite part. I mean, who doesn’t like breaking things and not getting in trouble for it??!
Step 3: Put the pieces in your mold. This is where you can get creative. You can select the colors you want to go together or, like us, you can put all of your pieces in a bowl, shake it up, and then pour them into the molds without worrying about what colors go in each mold. Once we poured them in, we did add a few more pieces to make sure they were full enough. We did this process twice and, like I mentioned before, ended up with over 40 hearts.
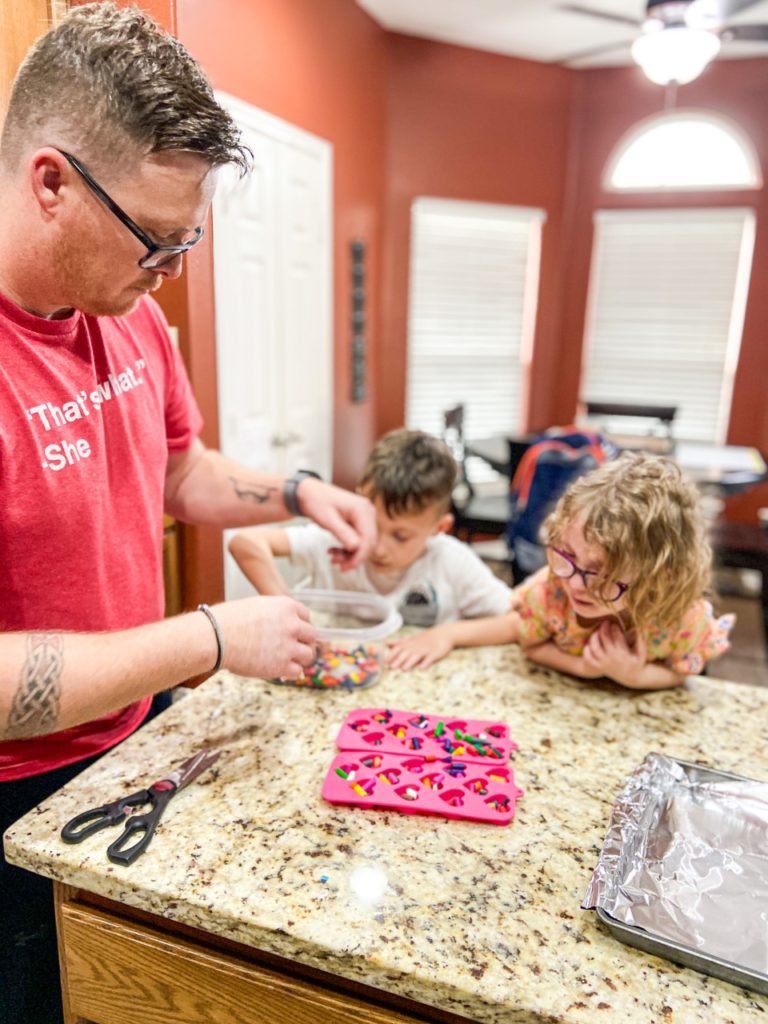
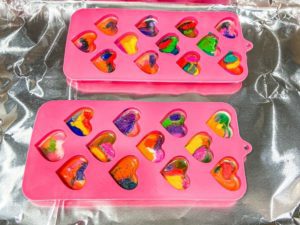
Step 4: Set your molds on a foil-lined baking sheet, and put in the oven for 15 minutes. At 15 mins, check them. If there are big pieces still left – that you can see – let them stay in the oven for a few more minutes. Important note: DO NOT STIR the melted crayon once it is melted. This will mess up the design!
After 15 mins (or you’re satisfied that they are done) take them out of the oven and let them cool. I didn’t set a specific time for this but we left them out while we took a bike ride and played outside for a while. Once cooled you will slowly fold the mold back to release the crayon from inside.
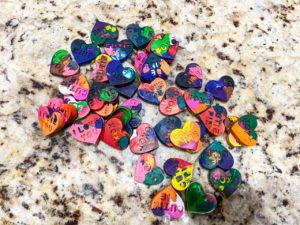
Step 5: Now you are ready to attach your crayon hearts to your Valentine Cards. I made this design on my computer, printed them on cardstock, cut them to size and hot glued the crayons to the middle of the card.
Warning: The hot glue was a little tricky since it melted the crayon a little but it did work. You could easily grab some small plastic bags to put the crayons in instead.
If you would like to use the same design that I made you can download your copy here!
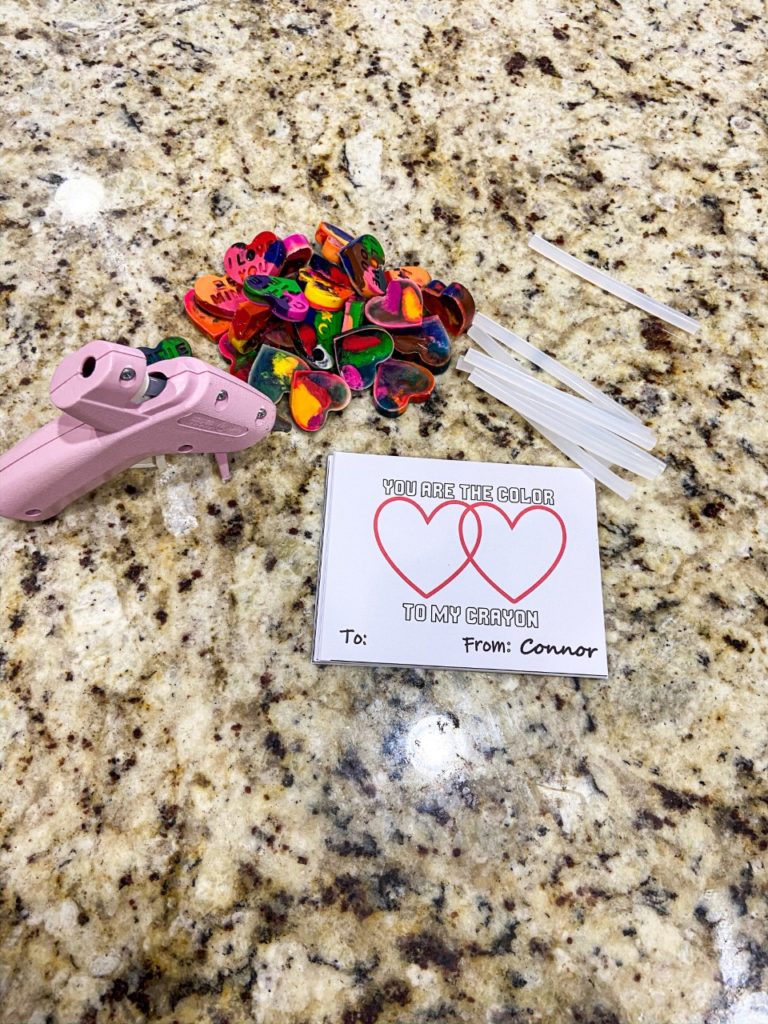
Now all I need is for my son to write the name of his classmates on the cards, and he says this is his favorite Valentine yet because he gets to tell everyone that he helped make these crayons for them!
I hope you enjoy this craft as much as my family and I enjoyed it!
If you are new to the Coastal Bend or just looking for some mommas to connect with be sure to join us over on Facebook!


