


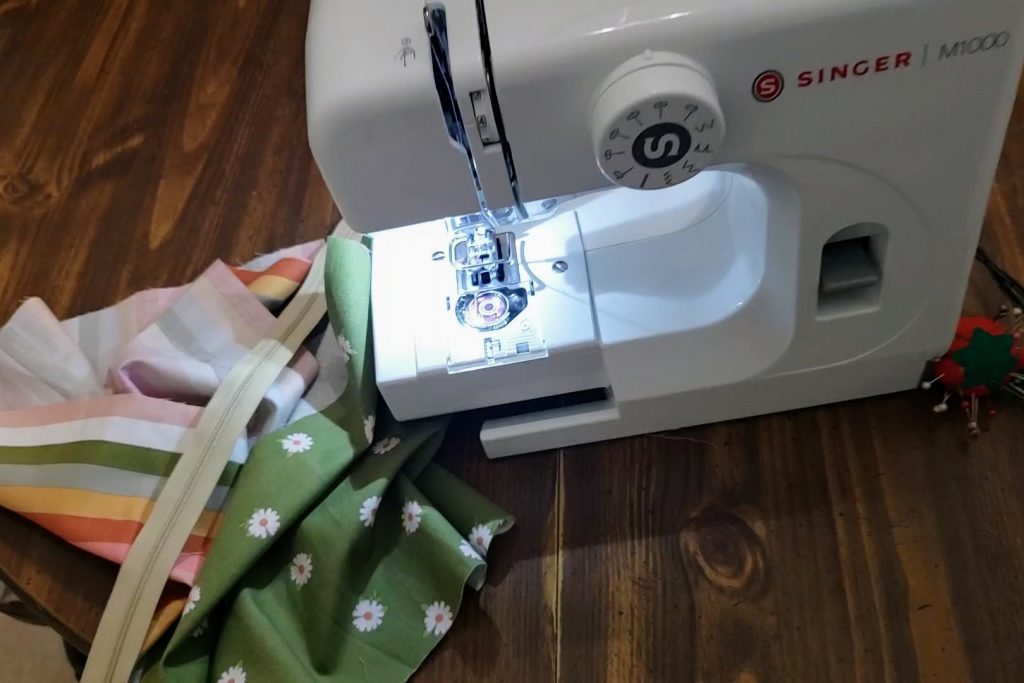
I don’t know who needs to hear this, but Texas is hot. If you’re like me, it’s always tough to juggle carseats and toddlers in the TX heat, let alone in a hot car! I was recently introduced to the world of a “carseat cooler” and I just knew I needed some for my kiddos. But, at around $40 a pop, I was hesitant to buy the name-brand coolers. Then I looked over to the new sewing machine my family gifted me for my birthday and I knew just the solution. Insert this DIY carseat cooler.
I use these carseat coolers when my kids are *not* in their seats to prevent seats, straps, and buckles from getting too hot inside of our car. They have already proved to be lifesavers for hot Texas days- and it’s only April. I pack the (frozen or refrigerated) coolers in a bag and place them in my kids’ seats once we reach our destination. When we’re ready to go back home, I pop them out and put them back in the bag before buckling my kids in their seats. They have nice, cool seats and it only takes me a few extra seconds.
Now let me blow your mind and teach you how to DIY a carseat cooler for your kiddos!
I found these hot/cold packs on Amazon and decided I was happy with this size, but choose the best size for you! This size covers the entirety of my 4 year old’s buckles and most of where her back and bottom touch the seat.
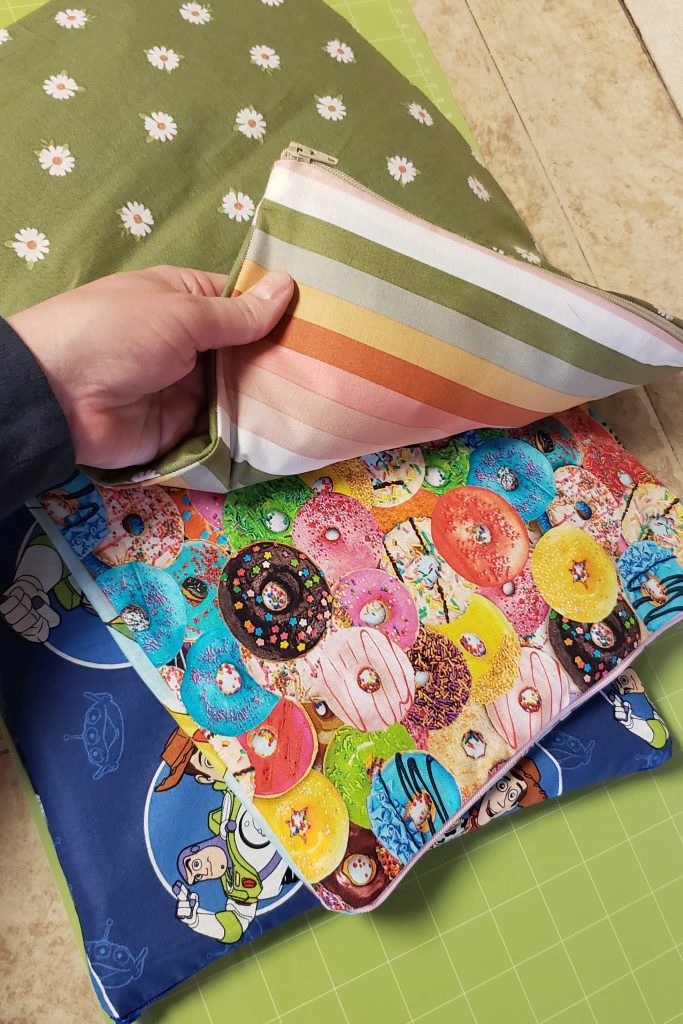
Next, I took my kids to the craft store and let them choose fabric. They couldn’t decide, so we ended up making double-sided covers. We also got zippers. Zippers are optional, but you will want something that allows you to open and close your cover for easy washing.
I then got my sewing machine and very (very, very) rudimentary sewing skills and created a “pouch” for each hot/cold pack.
What you’ll need to make your DIY Carseat Cooler:
- A large hot/cold pack OR multiple small packs. If using multiple, you will need to sew “pockets” for each individual pack. I personally looked for a cold pack that doesn’t “sweat”.
- Fabric.
- Zipper, buttons, or velcro to close your cover
Let’s do it:
- Cut your fabric. Because I used two different fabrics for each cover, I cut each piece of fabric with an extra inch on each side. (Example: my cold packs are 11″x14.5″- I cut both pieces of fabric to be 12″x14.5″)
- Pin your zipper, teeth side down, to one piece of fabric, right side up and sew.
- Pin your 2nd piece of fabric to the zipper, with it’s “right” side of fabric touching the “right” side of your already sewn piece. And sew.
- You have 3 sides left to your cover. With the cover inside out, pin and sew the remaining 3 sides.
- Flip “right side out” and trim zipper if necessary.
- Place cool pack inside of cover, as if putting a pillowcase on a pillow.
- Freeze.
I am so happy with how our new carseat coolers came out and I’m so excited to use them all summer long. The uses for these are endless and could even be used in strollers and wagons during hot park days. Remember – never use a carseat cooler when your kiddo is in their seat! Are you team Amazon or team DIY and save a buck?


