


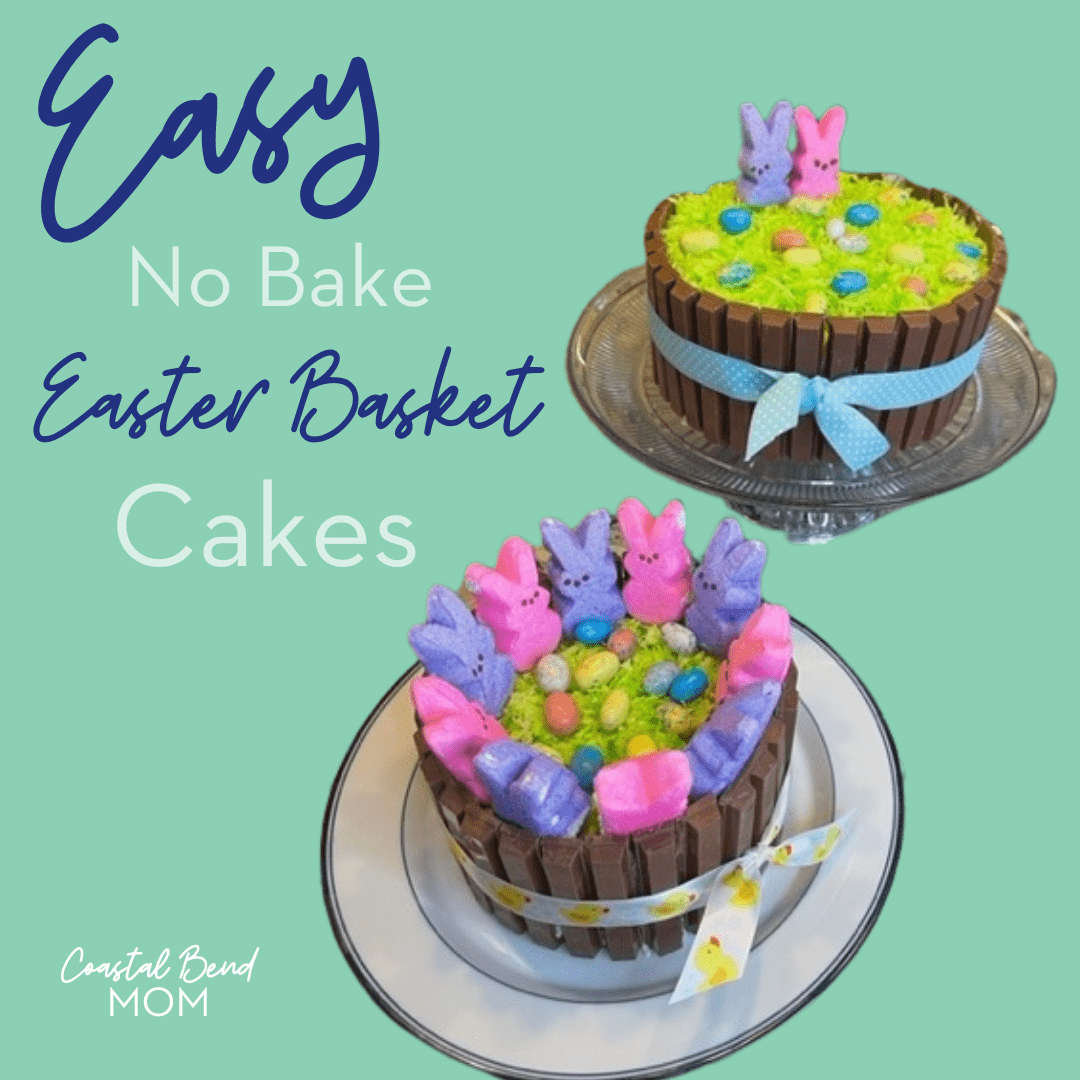
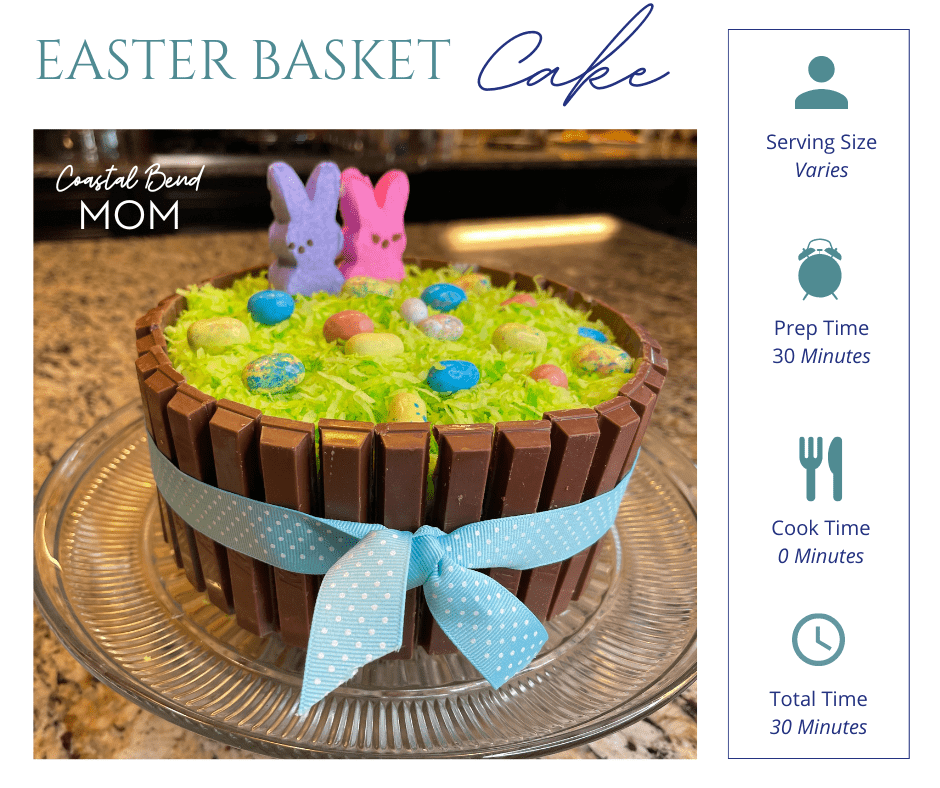
Semi-Homemade, No-Bake Easter Cake
I am a sucker for a kitchen dupe that makes me look like I’m creative (and smart).
Years ago, when I first made this yummy cake – I made it with a homemade cake recipe and homemade buttercream frosting recipe. And yes…it took hours.
So after watching several videos about re-decorating a store bought cake – I couldn’t wait to recreate this Easter Basket Cake!
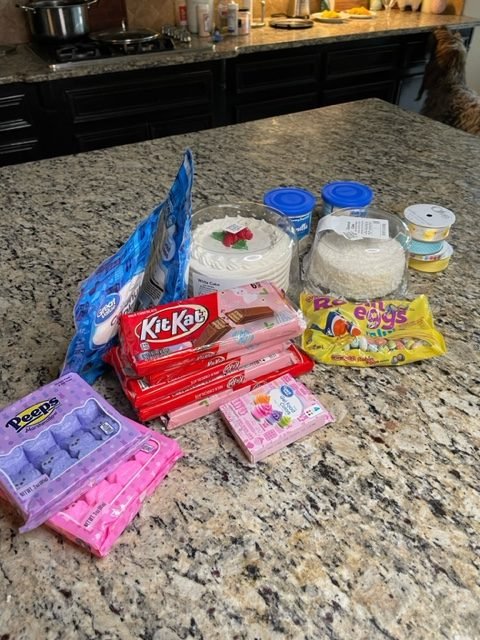
INGREDIENTS FOR EASTER BASKET CAKES:
- Store bought cake – whatever flavor you want and whatever size you want.
- Frosting (optional)
- Coconut shavings (about 2 cups per cake)
- Green food coloring (or you could make other colors)
- Kit Kats (not the minis) amount depends on the size cake you use – between 25-35 individual sticks
- Easter candy “decorations” (Peeps, jelly beans, robins malt eggs, licorice, gummy treats, etc)
- Colorful Spring ribbons (the only non edible thing for the cake)
DIRECTIONS FOR EASTER BASKET CAKES:
We are going to start with a cake. If you are a star baker and you want to make your own cake from scratch or even from a box – go right on ahead. After you’ve mixed, baked, cooled, and frosted your cake – come on back to this blog.
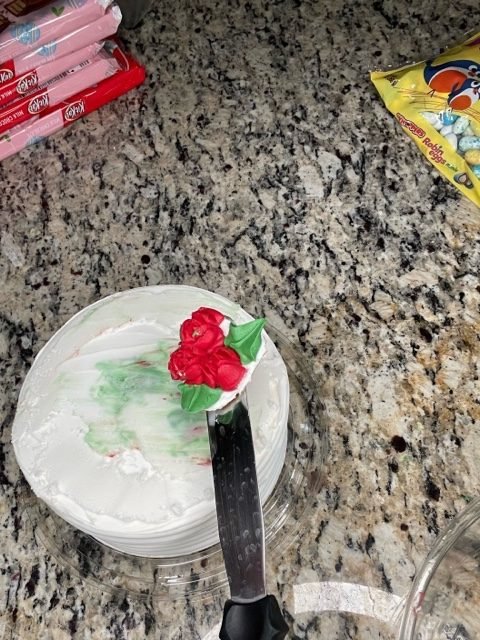
I bought two cakes from Walmart – an 8 inch diameter white buttercream cake with a red and green flower decoration on top and a 6 inch diameter coconut cake. You can work with any flavor and size as long as the height of the cake is NOT taller than a Kit Kat.
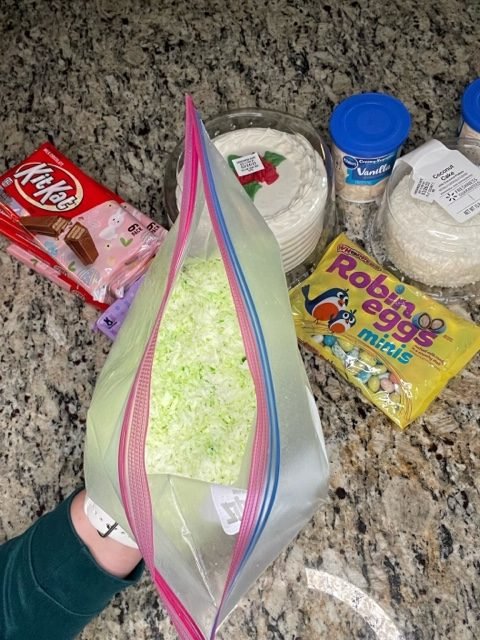
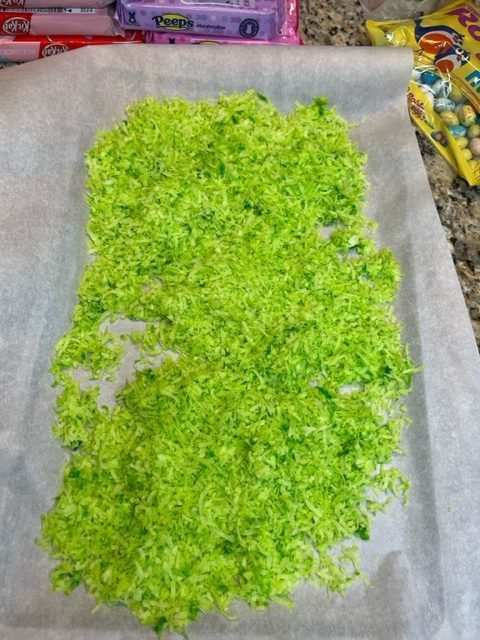
Let’s start with making the coconut look like the cool green Easter basket grass. I placed the coconut in a Ziploc bag and added green food coloring (I’d start with about 6-8 drops). Close the grips and shake/knead the coconut until it turns green. If you need more coloring – and a few more drops and shake until it’s the color you like. You can also make other grass colors – like blue or pink or yellow. I then spread the coconut on a cookie sheet – not sure if this step is needed – but I wanted the coconut to air out before adding to the cake.
Open up your Kit Kat packages and pop them apart until you have a pile of individual bars. Set aside.
Before assembling – transfer the store bought cake to a decorative cake plate, cake stand or a cute cardboard cake round. (the cakes can be round or square)
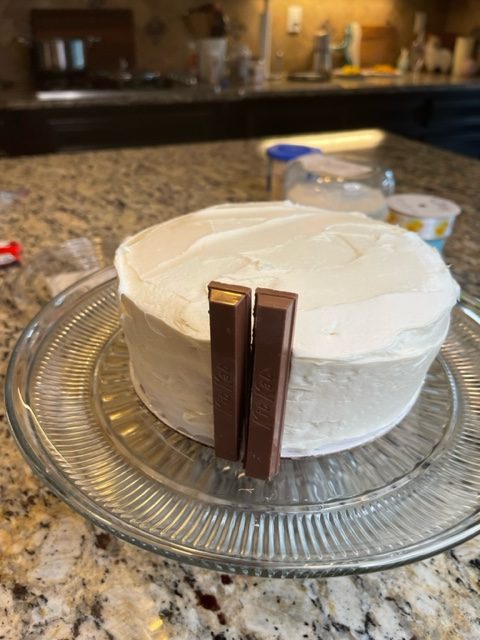
On the 8 inch cake – I scraped off the top decoration (the red/green flowers) and added a little bit of white frosting to the top and sides of the cake (this step is optional – I wanted to make sure the Kit Kats stuck to the cake and I used the frosting as a “glue”). On the 6 inch cake, the coconut frosting was making it hard to put the Kit Kats on – so I really needed the frosting to help adhere them.
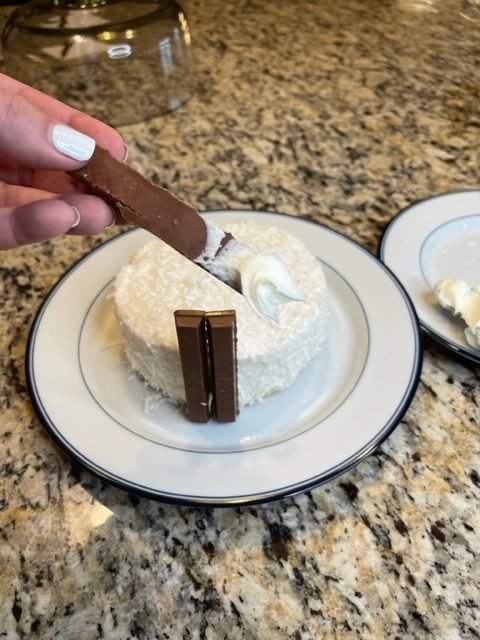
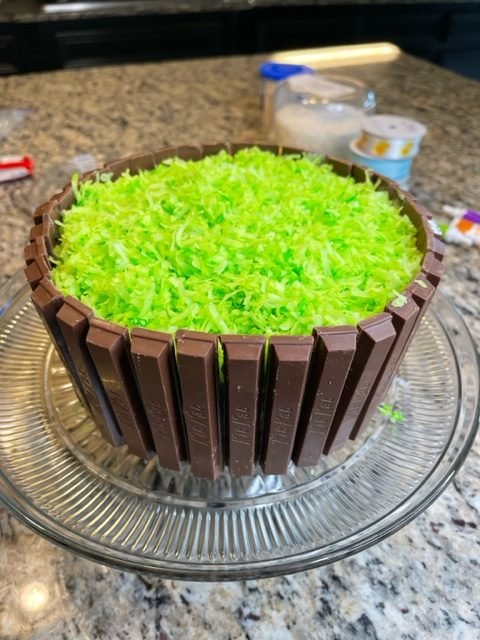
Now, we carefully assemble the “basket” part of the cake – the Kit Kat pieces! On the 8 inch cake – I used 35 individual Kit Kat sticks. On the 6 inch cake I used 28.
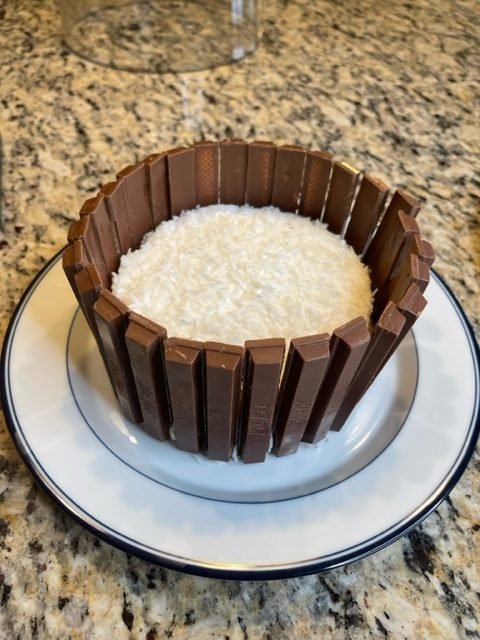
Next, I added a layer of green coconut grass to the top of the cakes. Since the 8 inch cake was taller – I only needed a small covering to the cake. The 6 inch cake was much shorter (about 2 inch height), so I needed to add more coconut grass to fill in the “basket”.
This next step is where your creativity kicks in – DECORATING. I used pink and purple Peeps bunnies and robins malt eggs. There are so many other things you could use – like Twizzlers to make basket handles, chocolate bunnies, jelly beans, etc.
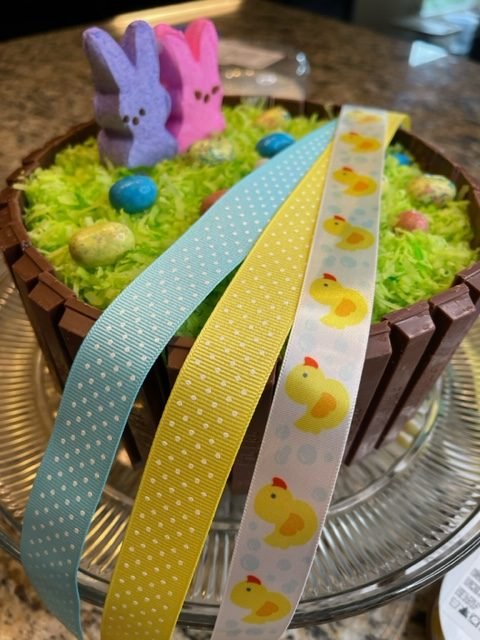
The final decoration is not-edible but adds another personal touch. Tie a ribbon of your choosing around the cake. This helps keep the Kit Kats from accidentally falling off the cake.
The very best part about this – I never turned on the oven!!!
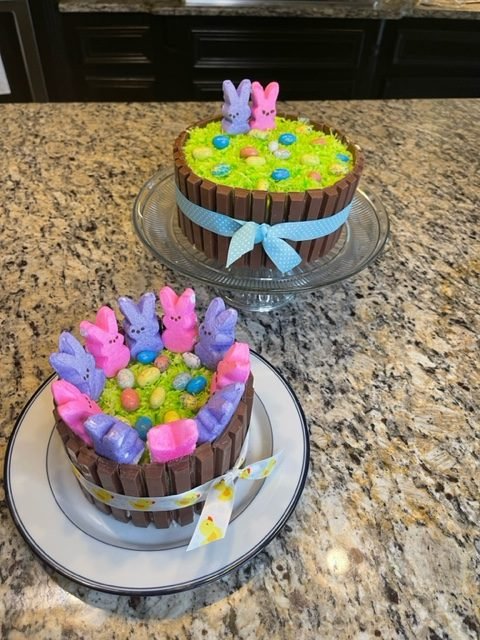
Another fun idea: Get a bunch of the smaller cakes and let your kids decorate their own “baskets”!
Happy Easter, Friends!
Other recipes you might like:


. This semi-homemade Easter cake is perfect!)