My 10-month-old loves all things sensory, so I’ve been putting together sensory activities
for her over the past five months. One memorable art project we did when she was five
months old was a mess-free finger painting using a Ziploc bag, and her creation has been
hanging on our refrigerator ever since.
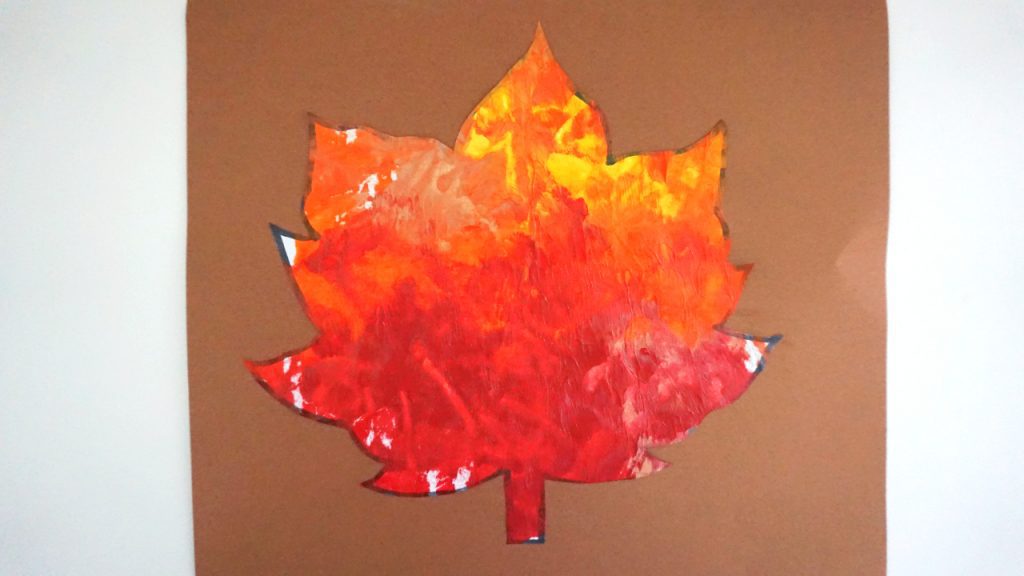
I wanted to put an autumn spin on this beloved project, as it has been my mission to do as
many fun fall baby activities with my daughter as possible. This easy, mess-free leaf
finger painting was a blast for both of us.
The Supplies
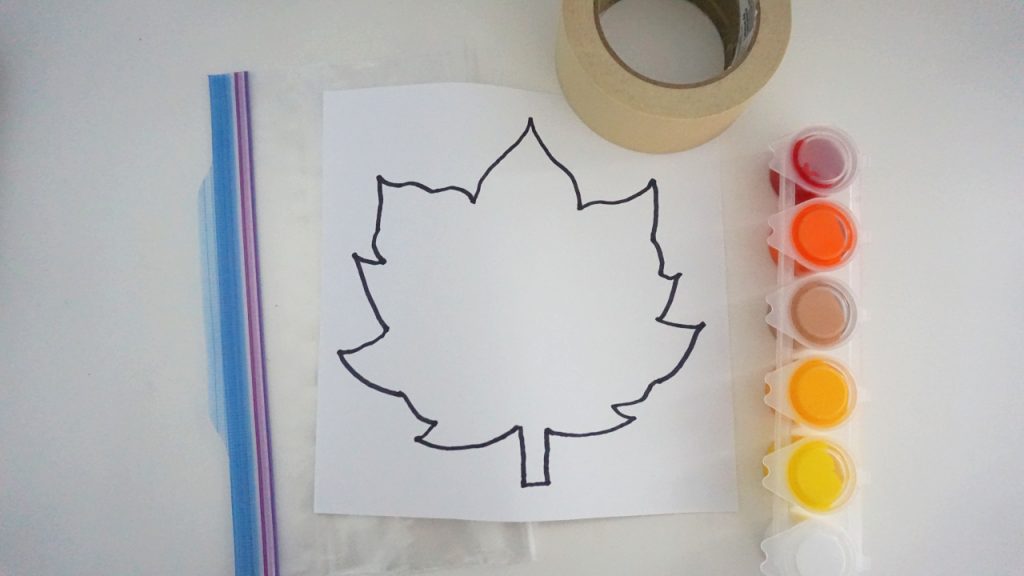
This fall leaf finger painting project calls for a few supplies you probably already have on
hand:
- A piece of paper. This can be any type of paper you might have. I used simple
printer paper. On the paper, I drew a leaf with a black permanent marker. You can
also print clip art instead. - Paint. Since your baby won’t directly touch the paint, it doesn’t matter what kind
it is. It can be washable paint, acrylic paint, poster paint, etc. Simply choose two
to four colors that are suitable for the season. - A gallon-size Ziploc bag. This is the key to mess-free finger painting!
- Masking tape. You will need a heavy-duty tape to keep the paper in place while
your baby has fun painting. Packing tape, painting tape, or masking tape will
work just fine. - Paint brush, spoon, or straw. If you aren’t using a squeezable tube of paint, you
will need something to transfer paint onto the paper.
The Setup
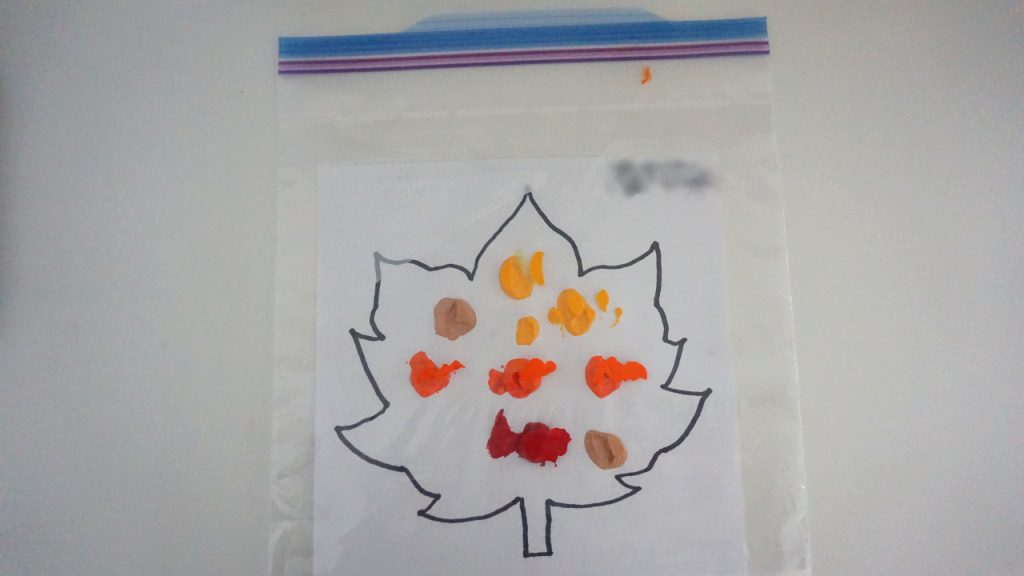
The setup for baby finger painting is fast and easy:
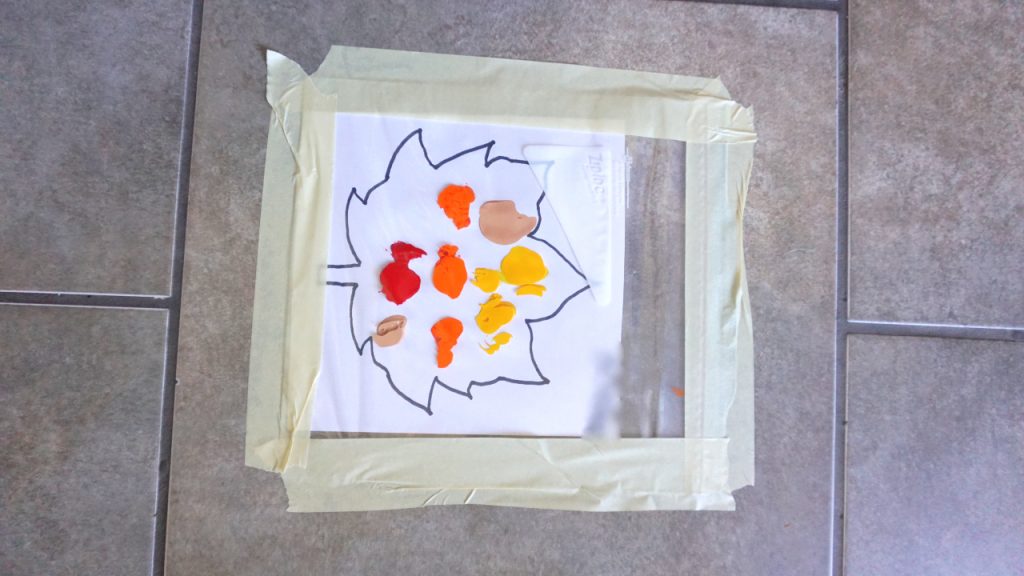
1. Cut the paper down to size so that it fits nicely into the Ziploc bag.
2. Add paint to the paper. I found that it is important to do this after the paper is
already in the bag, or else you might accidentally start the project before your
baby even gets her hands on it! It doesn’t matter where you put the paint or what
colors they are. Just make sure each glob is a decent size, about the size of a
quarter or more.
3. Zip the bag shut.
4. Tape the bag down to a hard-surfaced floor or table.
5. Add a baby! If your baby cannot yet sit unassisted, this can make a fun tummy-
time activity. Simply place your baby on top of a comfy blanket or rug next to the
bag. For babies that can sit unassisted, just sit them next to the bag and let them
do their thing.
The Fun
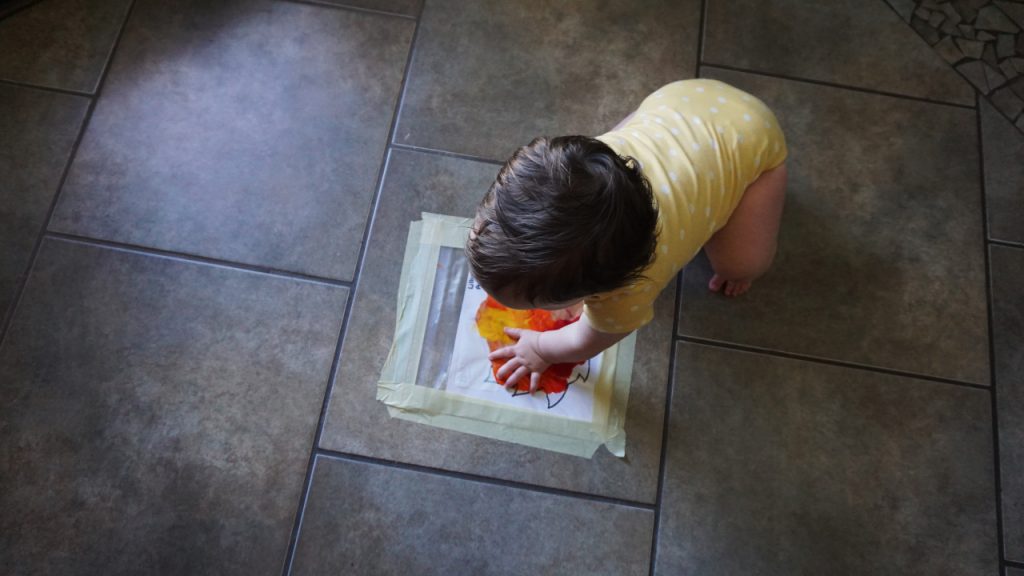 My daughter loved to feel the cool paint slide across the paper, watch the colors meld
together, and hear the crinkle of the plastic bag. She also liked to scratch the bag, which
created interesting textures. However I have to admit, at ten months, she seemed much
more interested in the masking tape than she was at five months!
The Finish
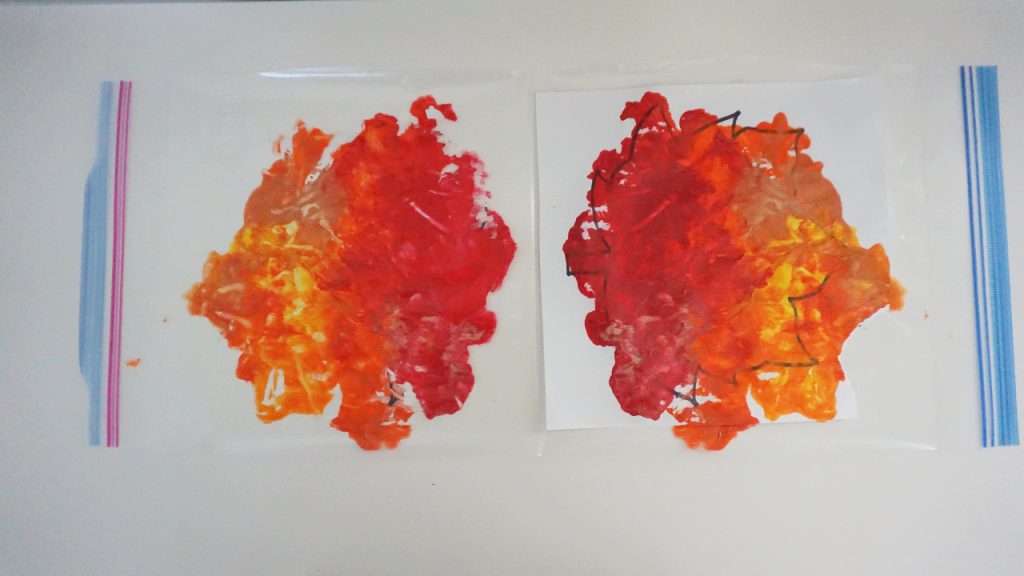
The key to Ziploc art is how you take it out of the bag. If you try sliding it out, all of the
paint will move, and you will mess up your baby’s work. If you’re using thin paper, it
might also rip when you try to slide it. My handy tip is to unzip the top and then cut the
sides of the bag. Gently peel the top back. Then let the painting dry on top of the bag. A
mess-free project remains mess-free! Win for baby. Win for mom.
The Presentation

If you’d like, you can cut out the leaf shape and glue it to a piece of construction paper.
Add your baby’s name and age, and hang it somewhere the whole family can see this fall.


