


I will be honest, we do not dye Easter Eggs in our house most years. But since this year we are not fighting to find eggs (and toilet paper), I decided to throw caution to the wind a dye a few eggs with the kids. Since this is not a normal tradition for us I was not sure how to go about dying them or which would be the easiest way.
So for your benefit, I tried four different ways to dye our eggs and will share which of them I felt was the easiest.
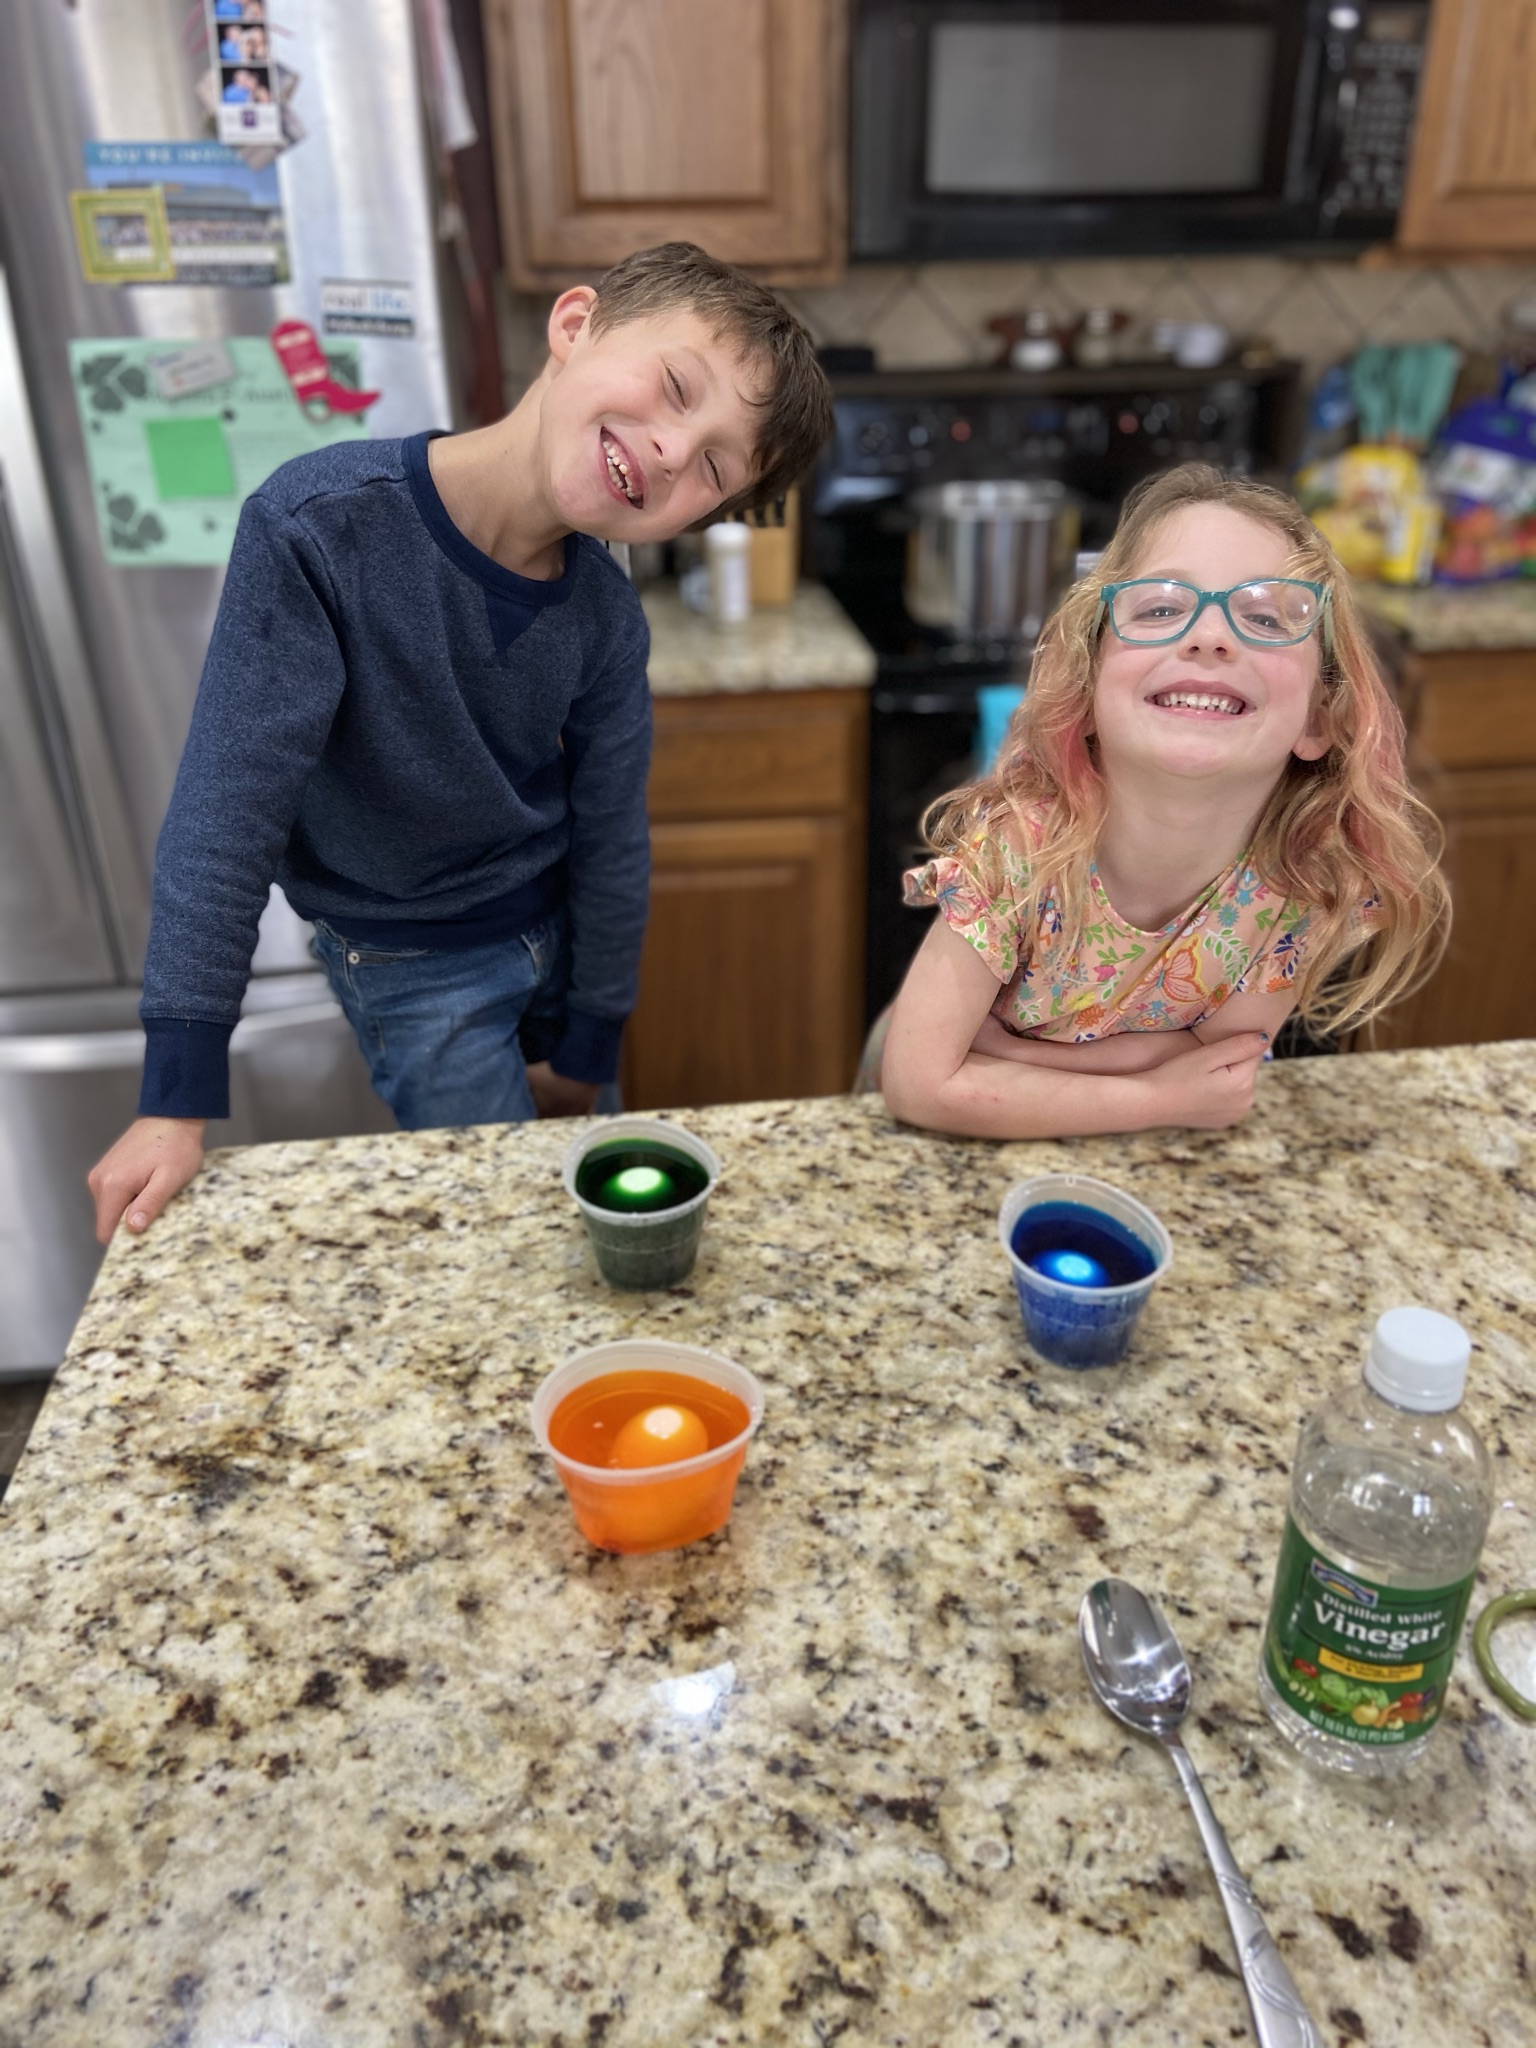
Method Number One:
Store-Bought Kit
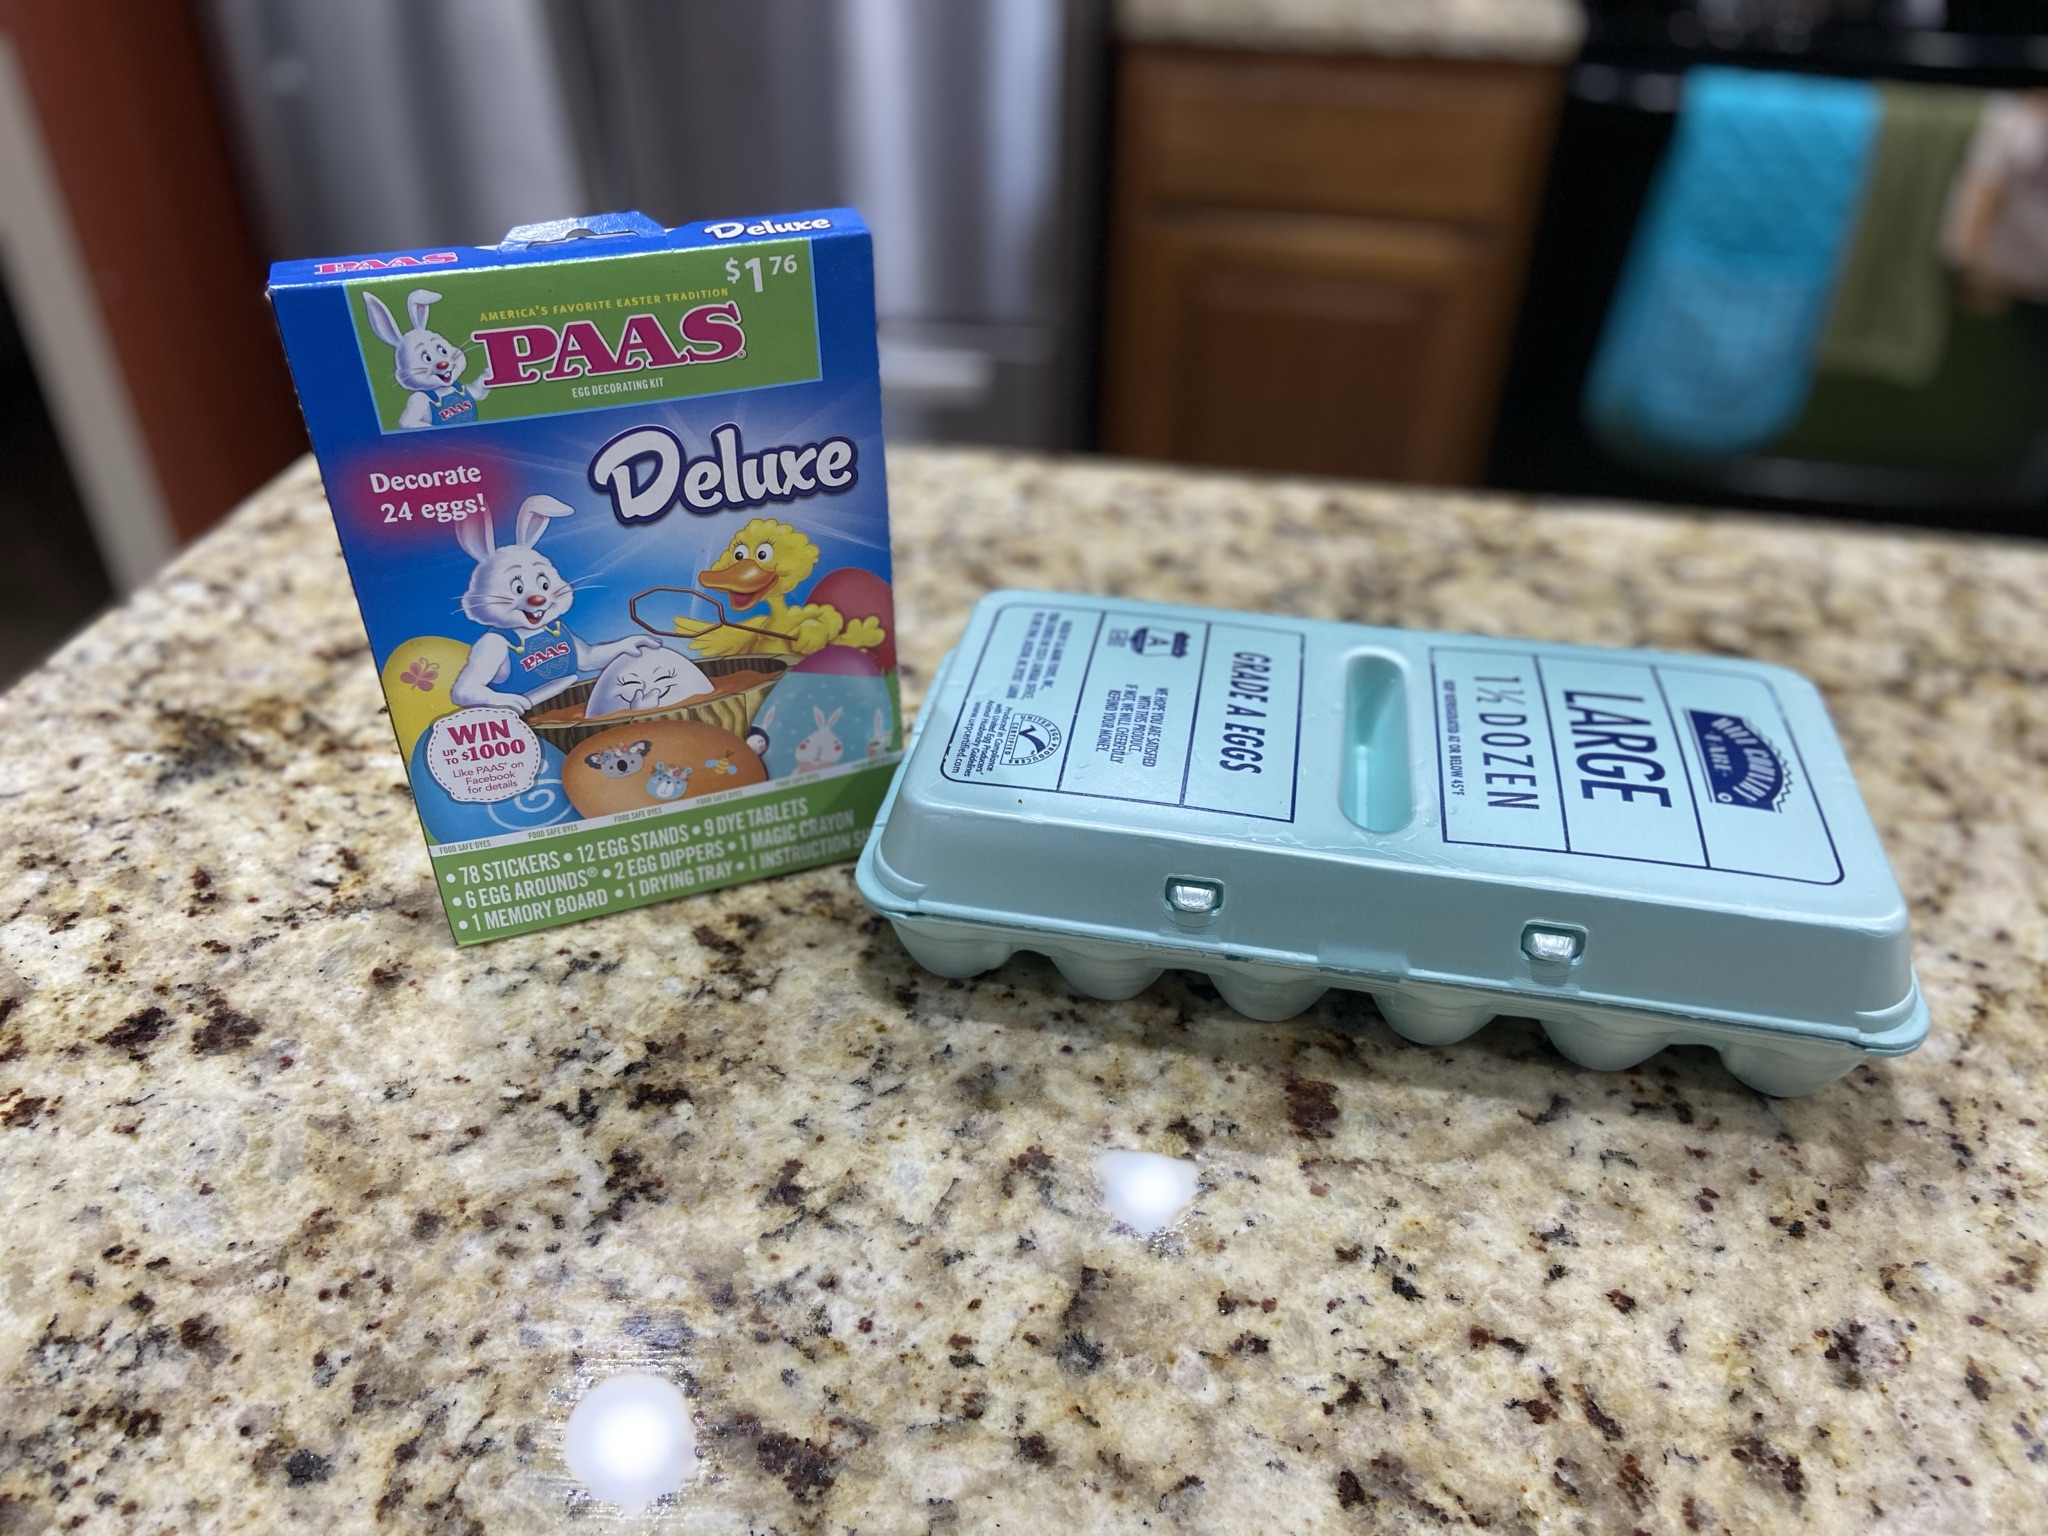
My mom came into town during Spring Break and she bought this kit at Wal-Mart. It came with all of the bells and whistles. The only thing that it did not come with was the cups to put the water/vinegar/dye tablets, luckily I still had some small plastic cups from our science projects that I was able to use.
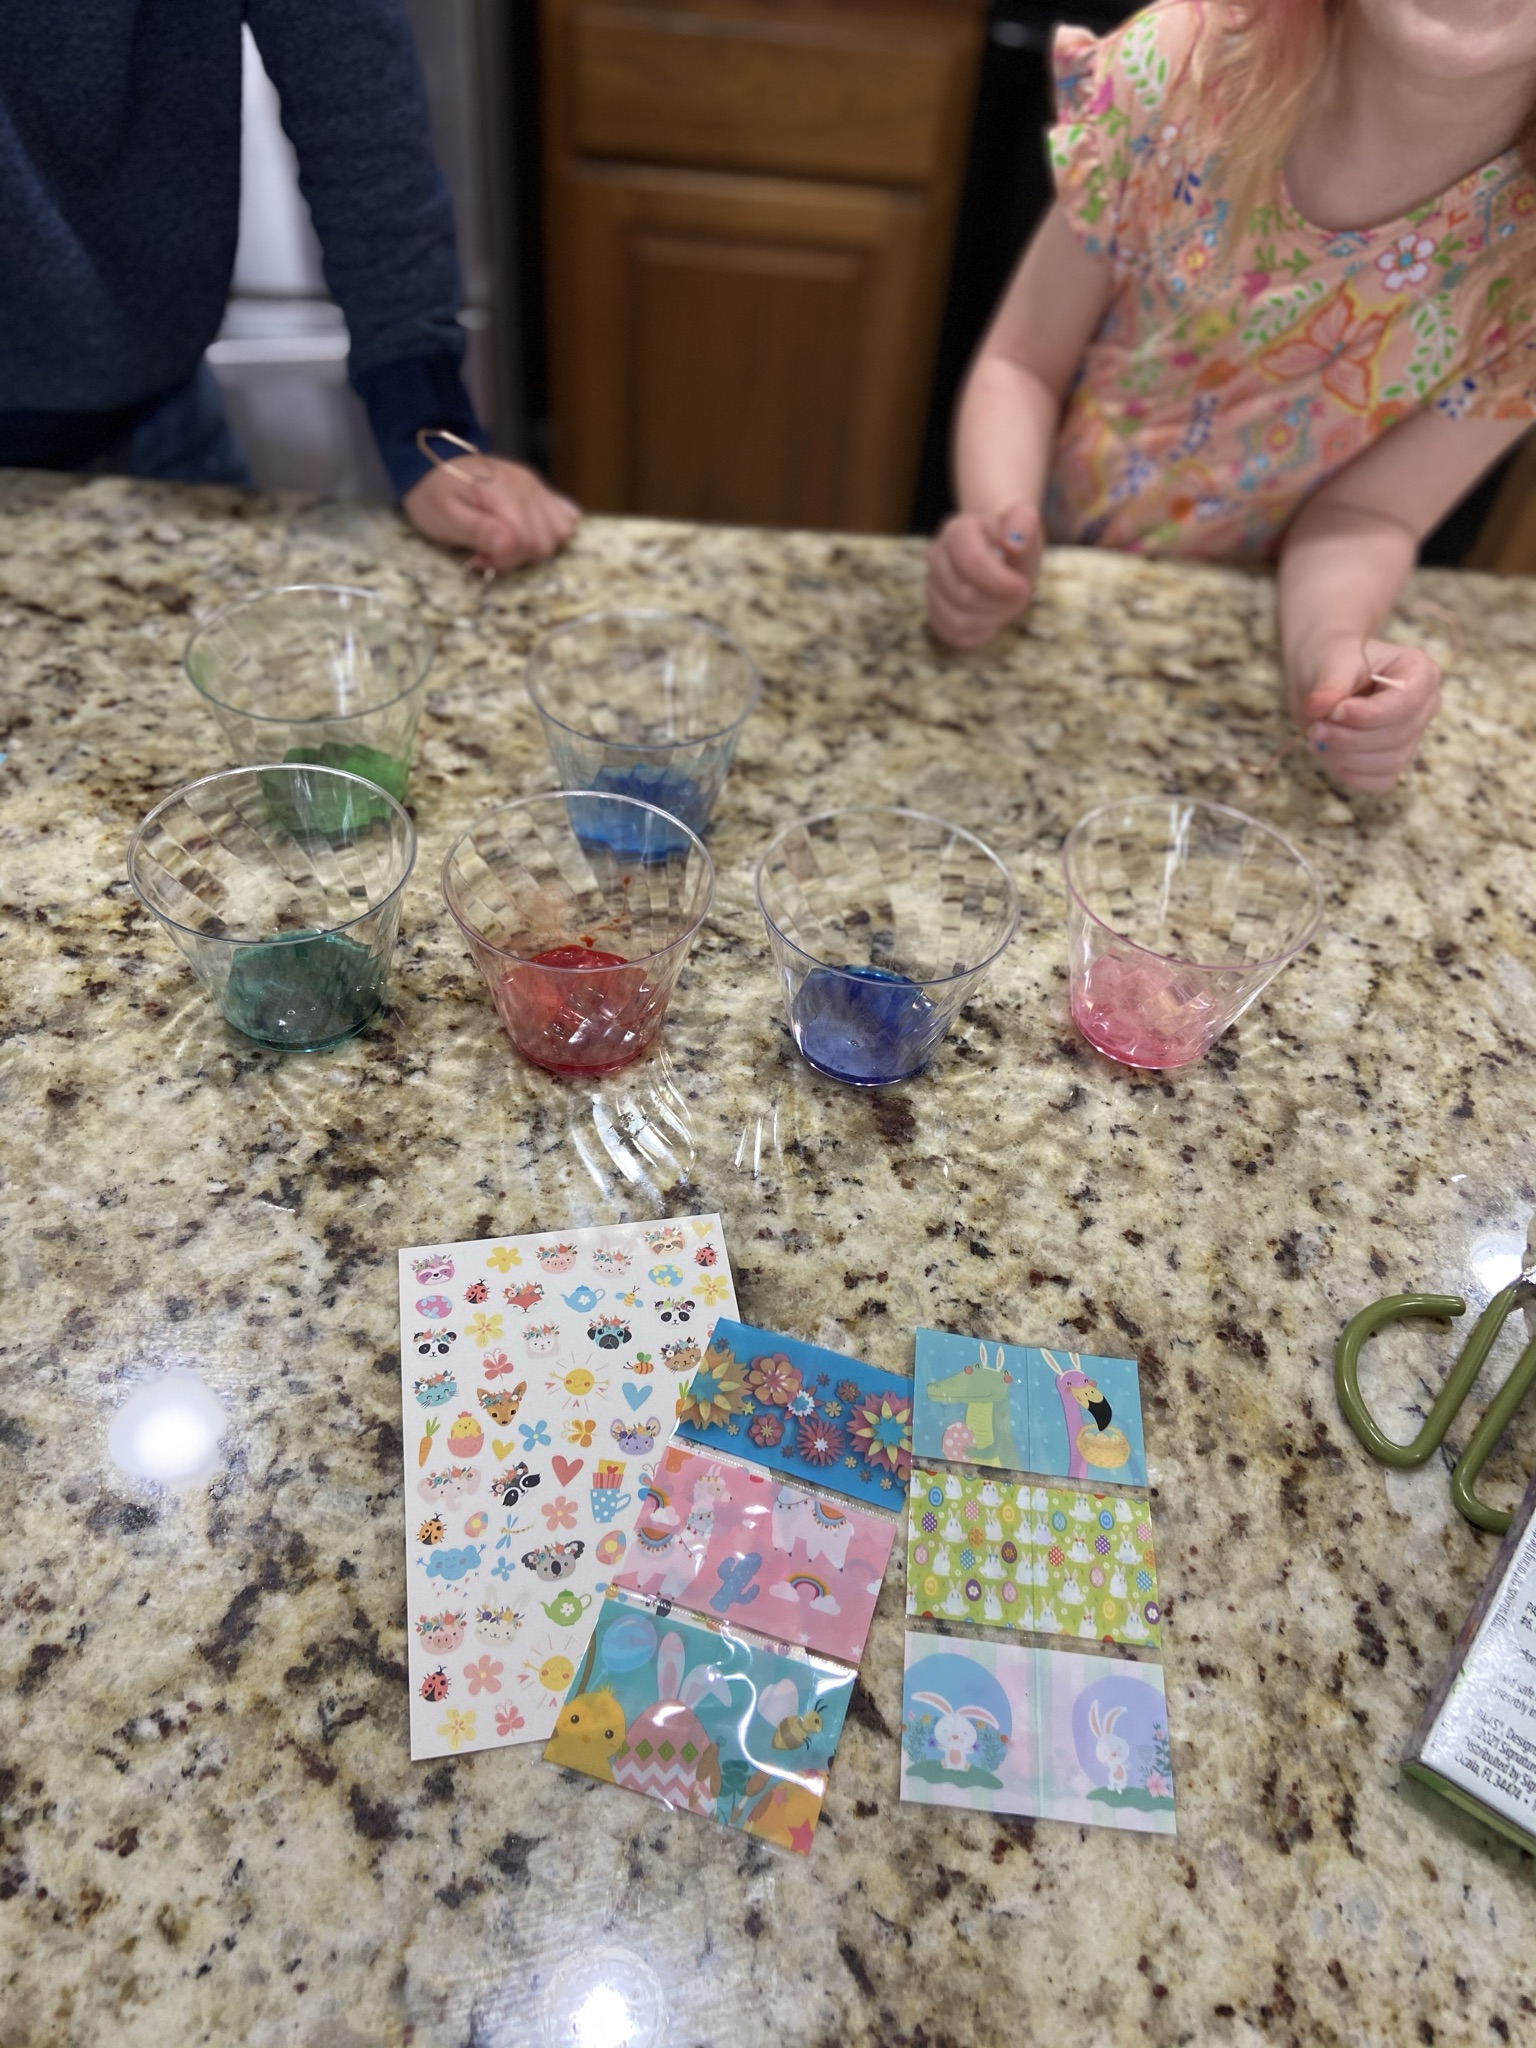
We just followed the steps, let the eggs soak for around 5-10 mins and then once dry the kids decorated them with the stickers and sleeves.
While this was not hard, it wasn’t the easiest in my opinion. The egg dippers that the kit provided were pretty flimsy so we had to use our fingers to get them in and out of the cups. The sleeves that they provided were way too big for my small eggs. {Author’s Note: I learned after this you are supposed to boil them in the sleeves to shrink them} But the eggs we dyed with this kit were probably the best-looking of the bunch.
This method was my kids’ favorite of all four I personally give it a 4 out of 5 bunnies.
Method Number Two:
Smaller Store-Bought Kit
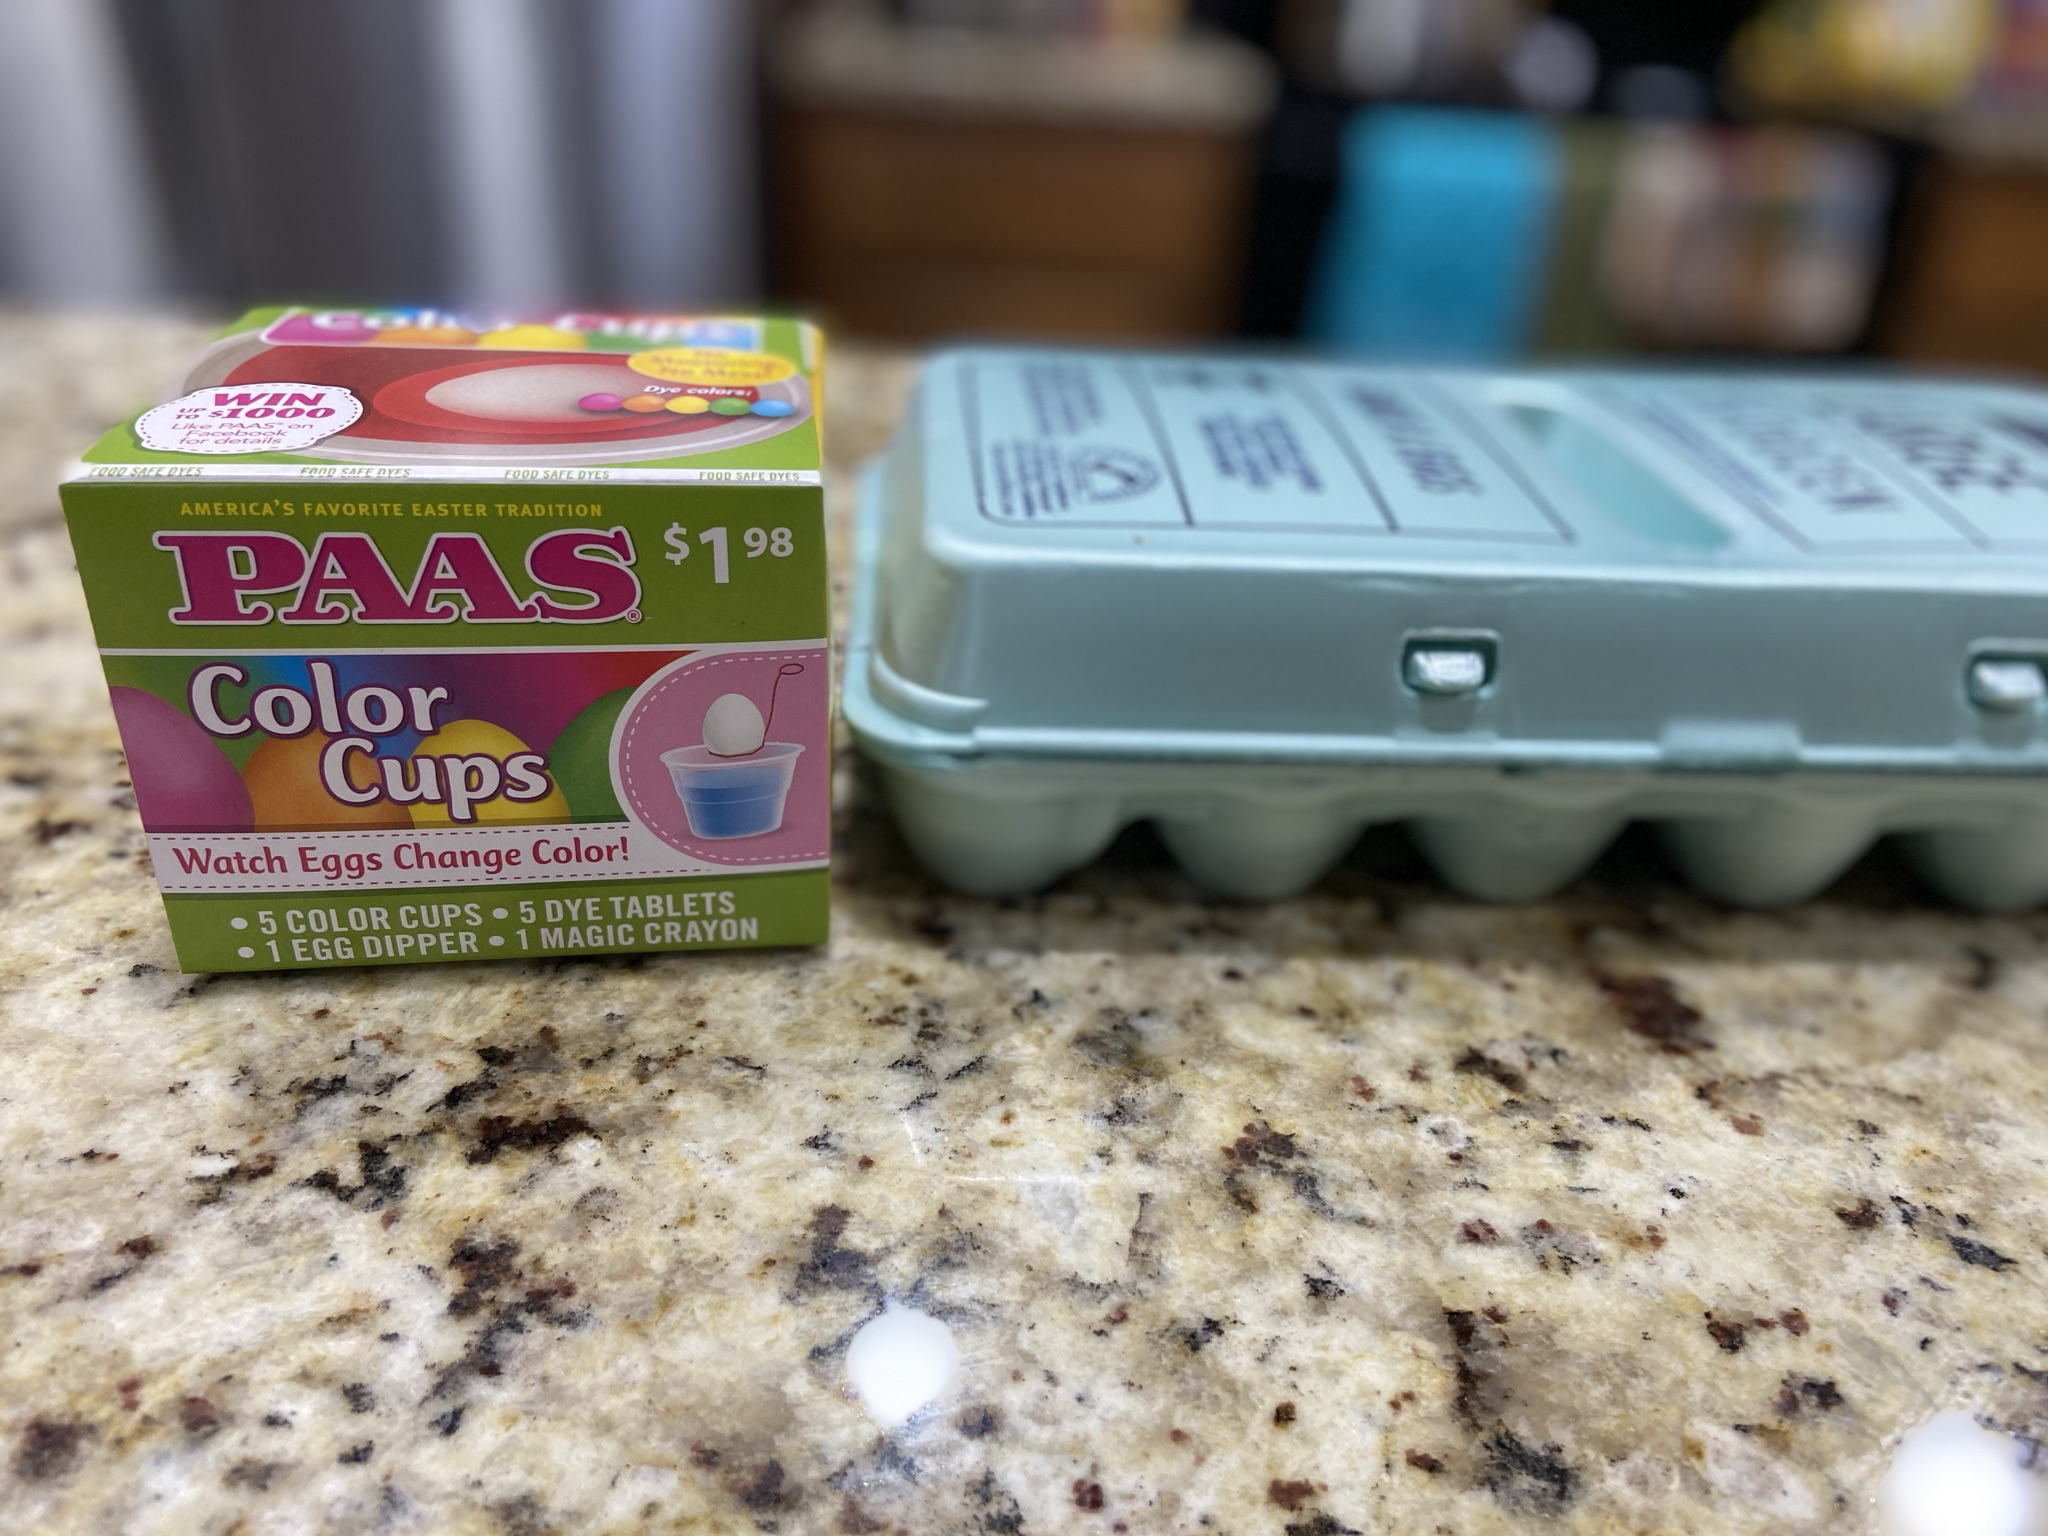
Going into this, I really thought this one was going to be my favorite. It came with plastic cups, dye tablets, the egg dipper, and the magic crayon to make designs. All you need to add is the vinegar and the water.
Again it was pretty easy to manage, but the cups were pretty flimsy, along with the dippers again. We almost had a major accident when one of my kiddos tries to pick up a cup by themselves. Also because I was afraid to overfill each egg had one spot that didn’t get dyed as well as the rest of the egg, but I feel that was an issue with every method.
But all in all, I will give it a 3.5 out of 5 bunnies.
Method Number Three:
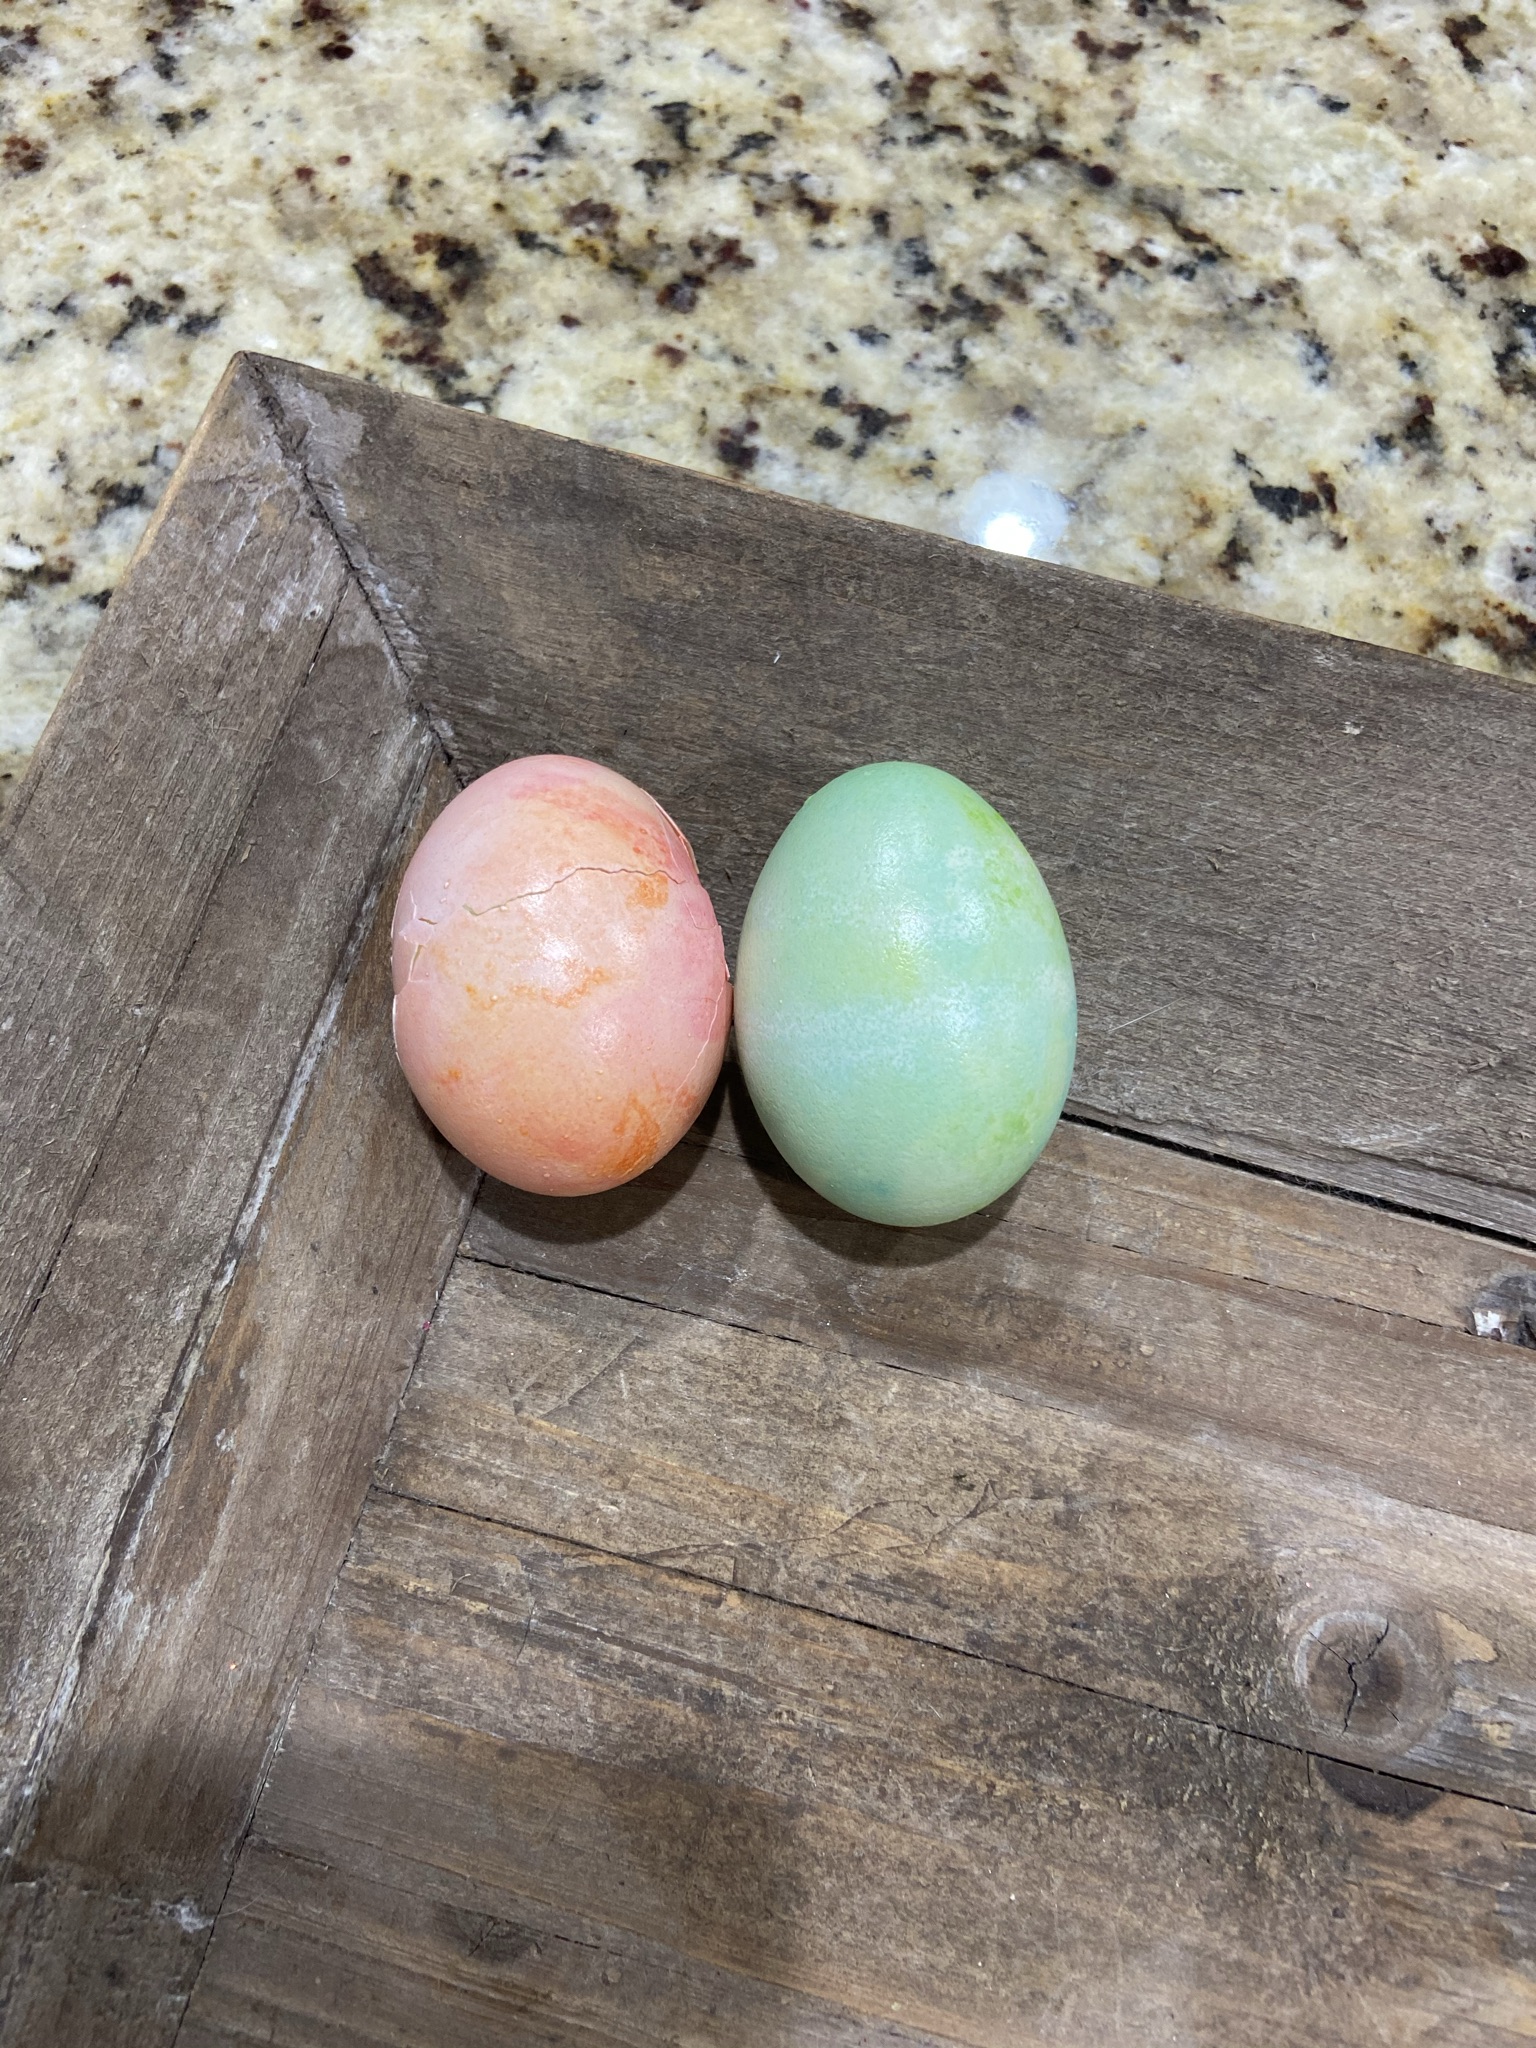
Cool Whip Dye
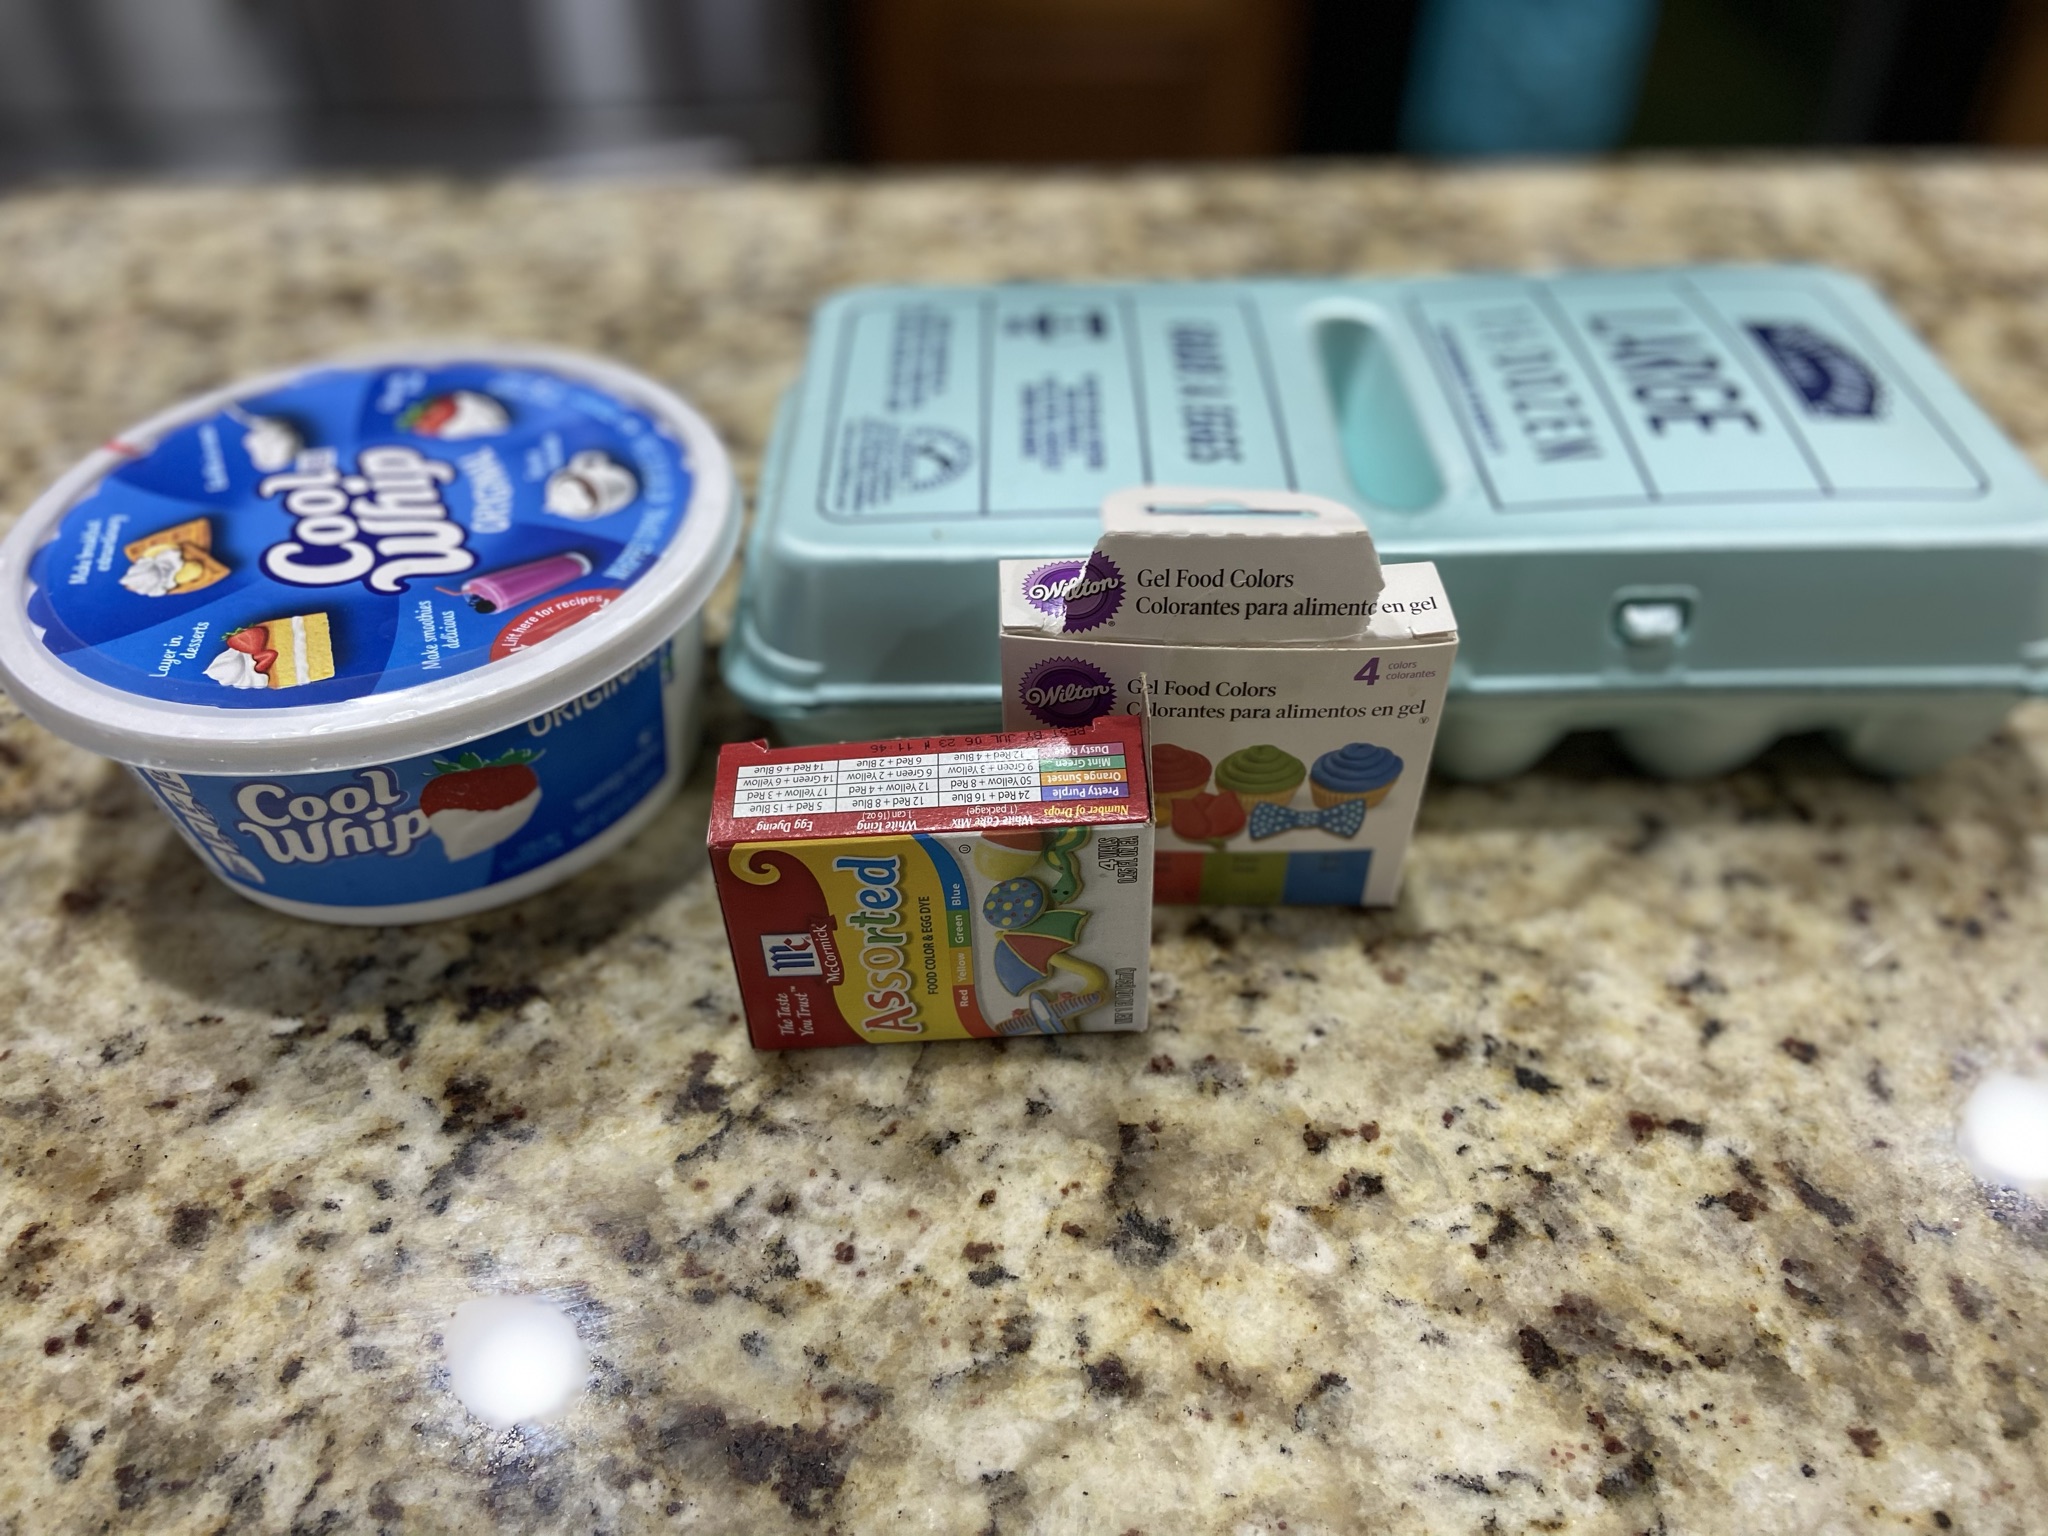
I will tell you upfront this was my favorite method of all of them. I wasn’t sure if it would work or not, but they ended up being my favorite eggs and I wish we would have done more than two!
For this method, all you need is a tub of cool whip (maybe 2 if you are going to do a whole dozen eggs) and food dye.
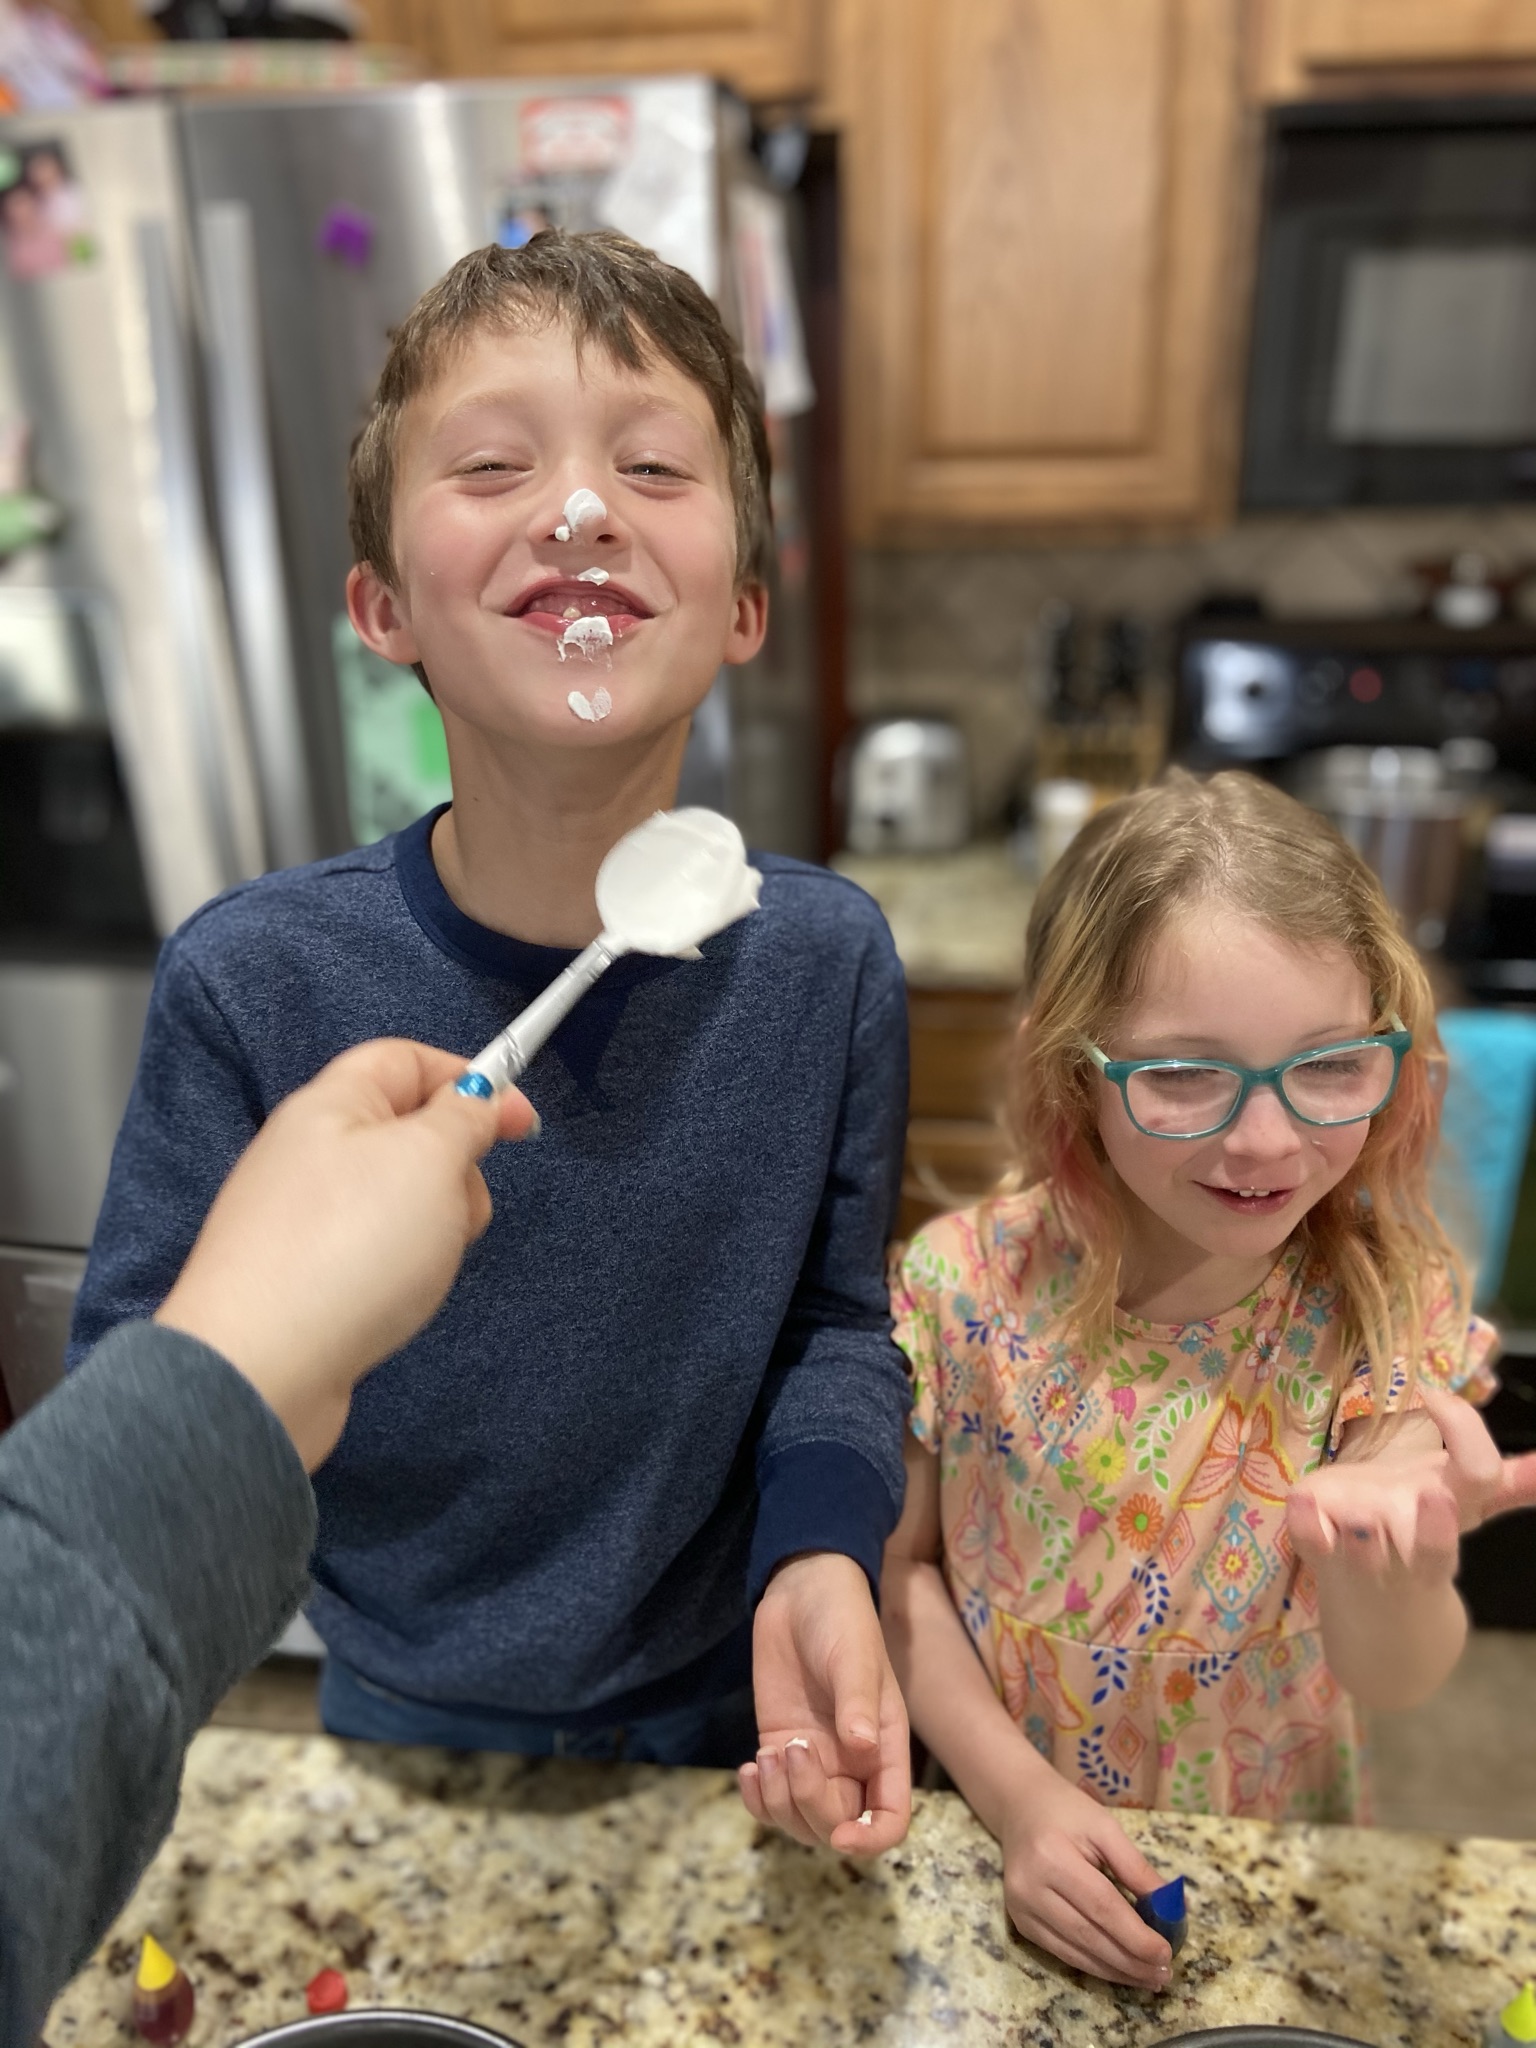
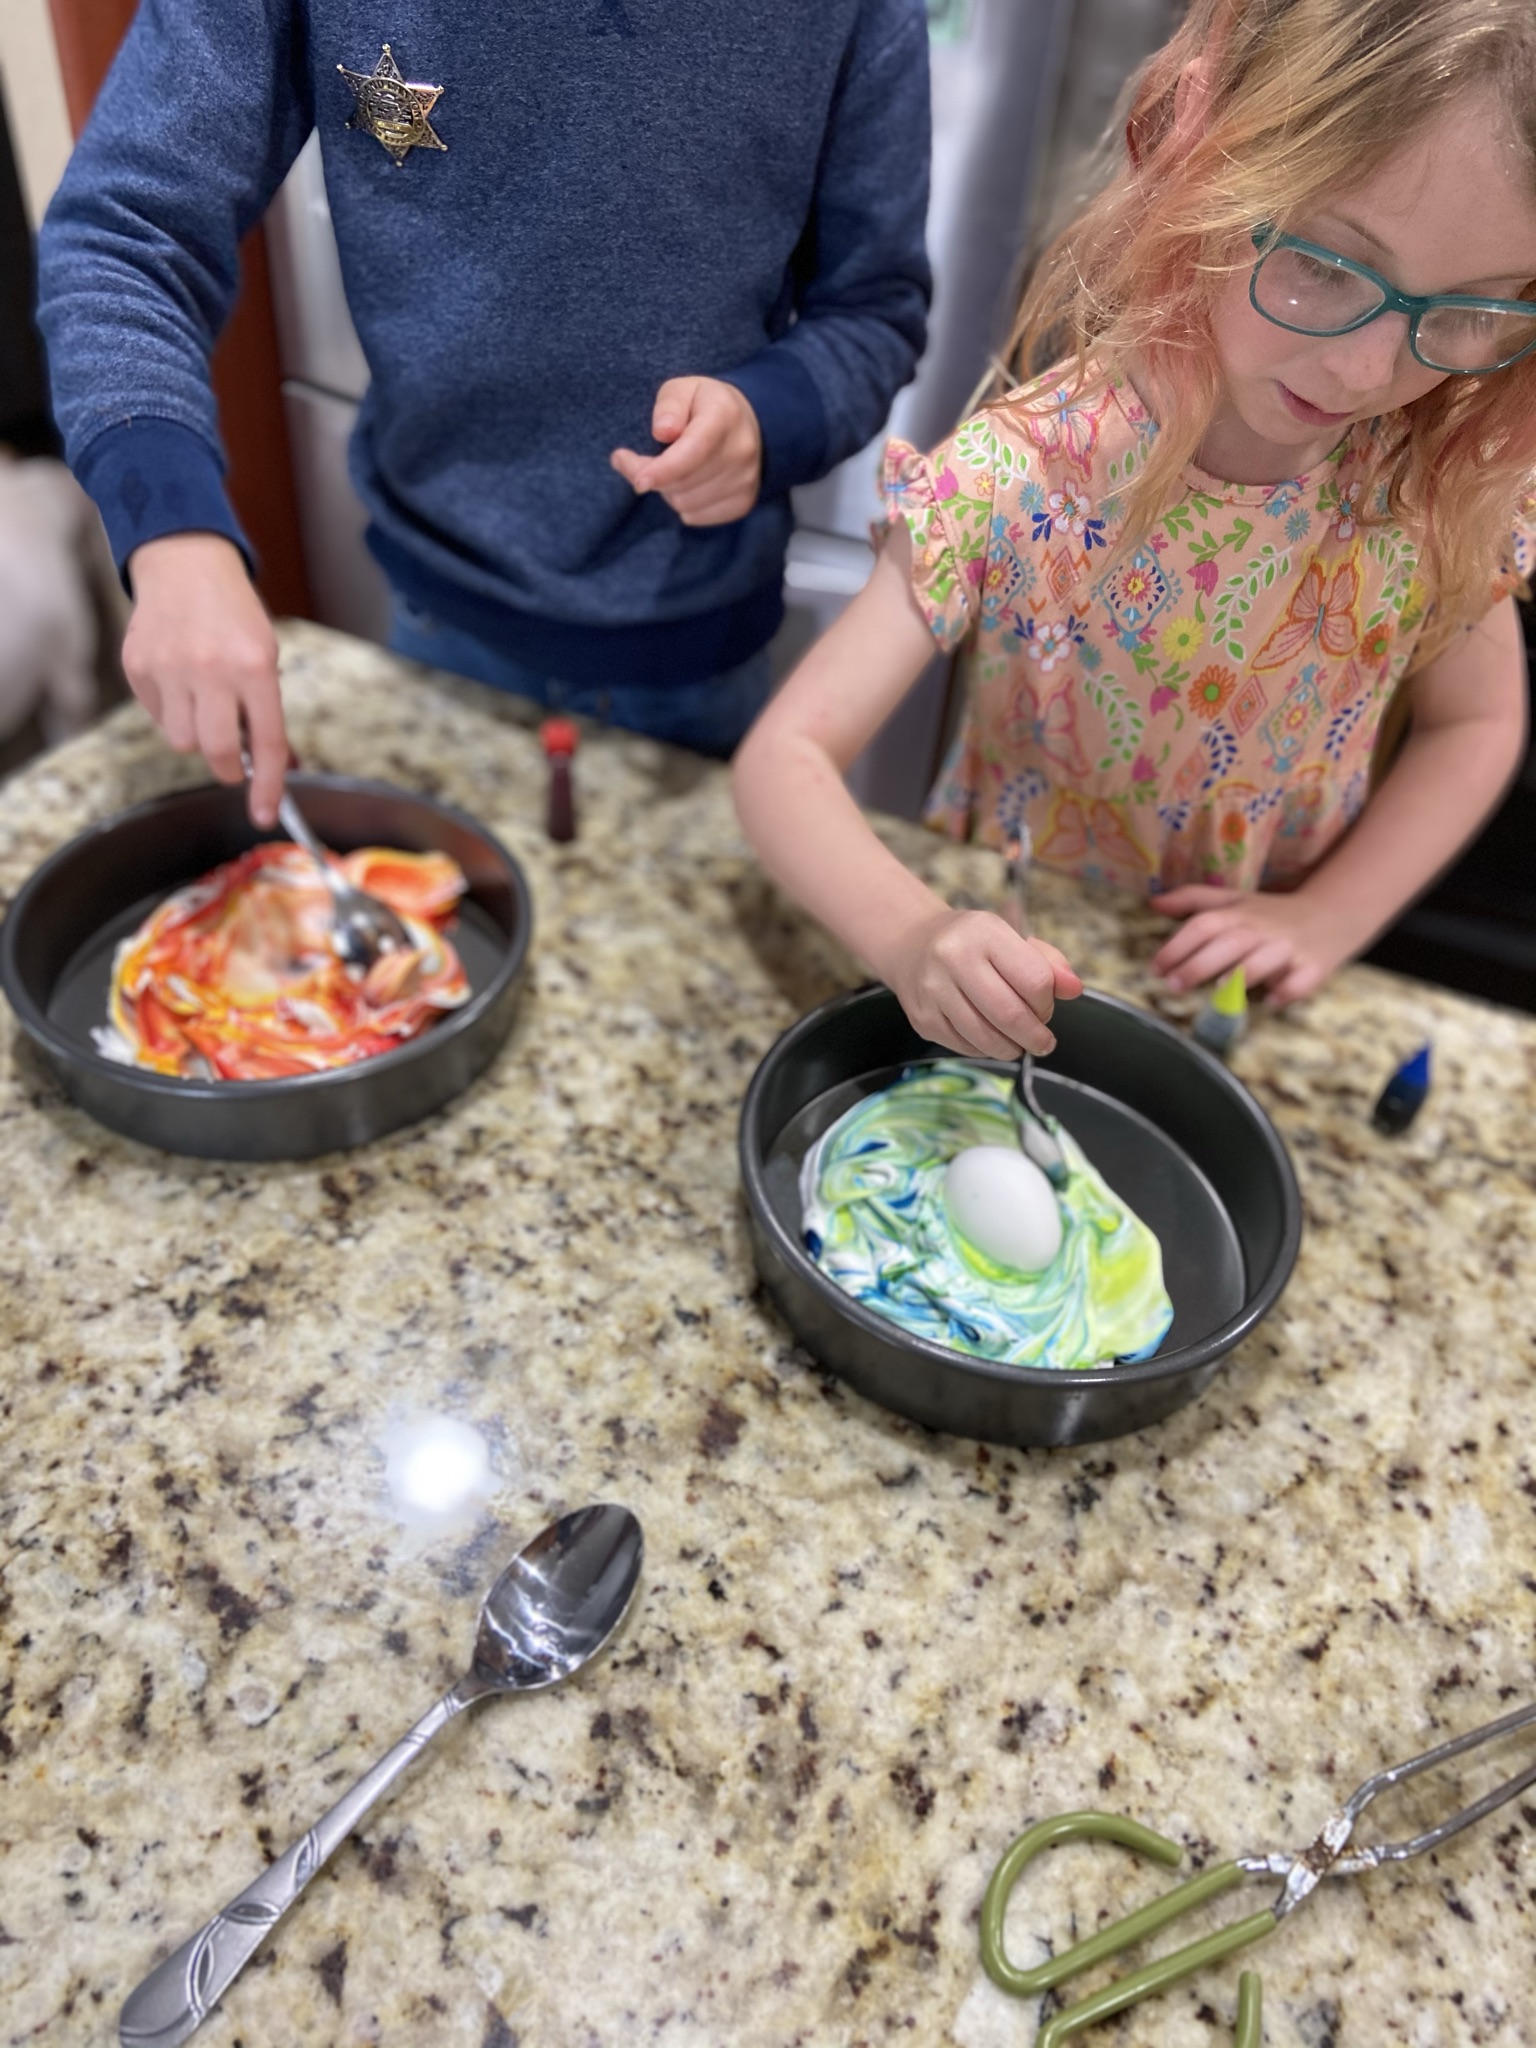
Put a dollop of cool whip in a bowl or dump the whole container in a large baking pan. I wanted each kid to be able to pick a few different colors to mix, so I put large dollops into my round cake pans, one for each kiddo. Then they selected two colors and put a few drops of color onto the cool whip. Before you add the color make sure to boop each kid with your spoon on their nose, inject a little fun, and mess into the craft, and since this method was edible it made it even better!
Once you have your colors in the cool whip, use your spoon to lightly mix the color into the cool whip but you don’t want to over mix so that your colors completely mix. Then drop the eggs into your pan and roll around with your spoon. We let them sit for 5-10 mins to allow for the color to stick.
After that, we just wiped them off with a paper towel and they were done. For me, this is now my preferred method of dying eggs. I think if you have younger children that you are afraid might put things in your mouth this would probably be the best since there are no vinegar or dye tablets involved. (Don’t mind our broken/cracked egg someone gripped it a little too hard)
I give this a 5 out of 5 Bunnies.
Method Number Four:
Dye with your Pressure Cooker/Insta Pot Method
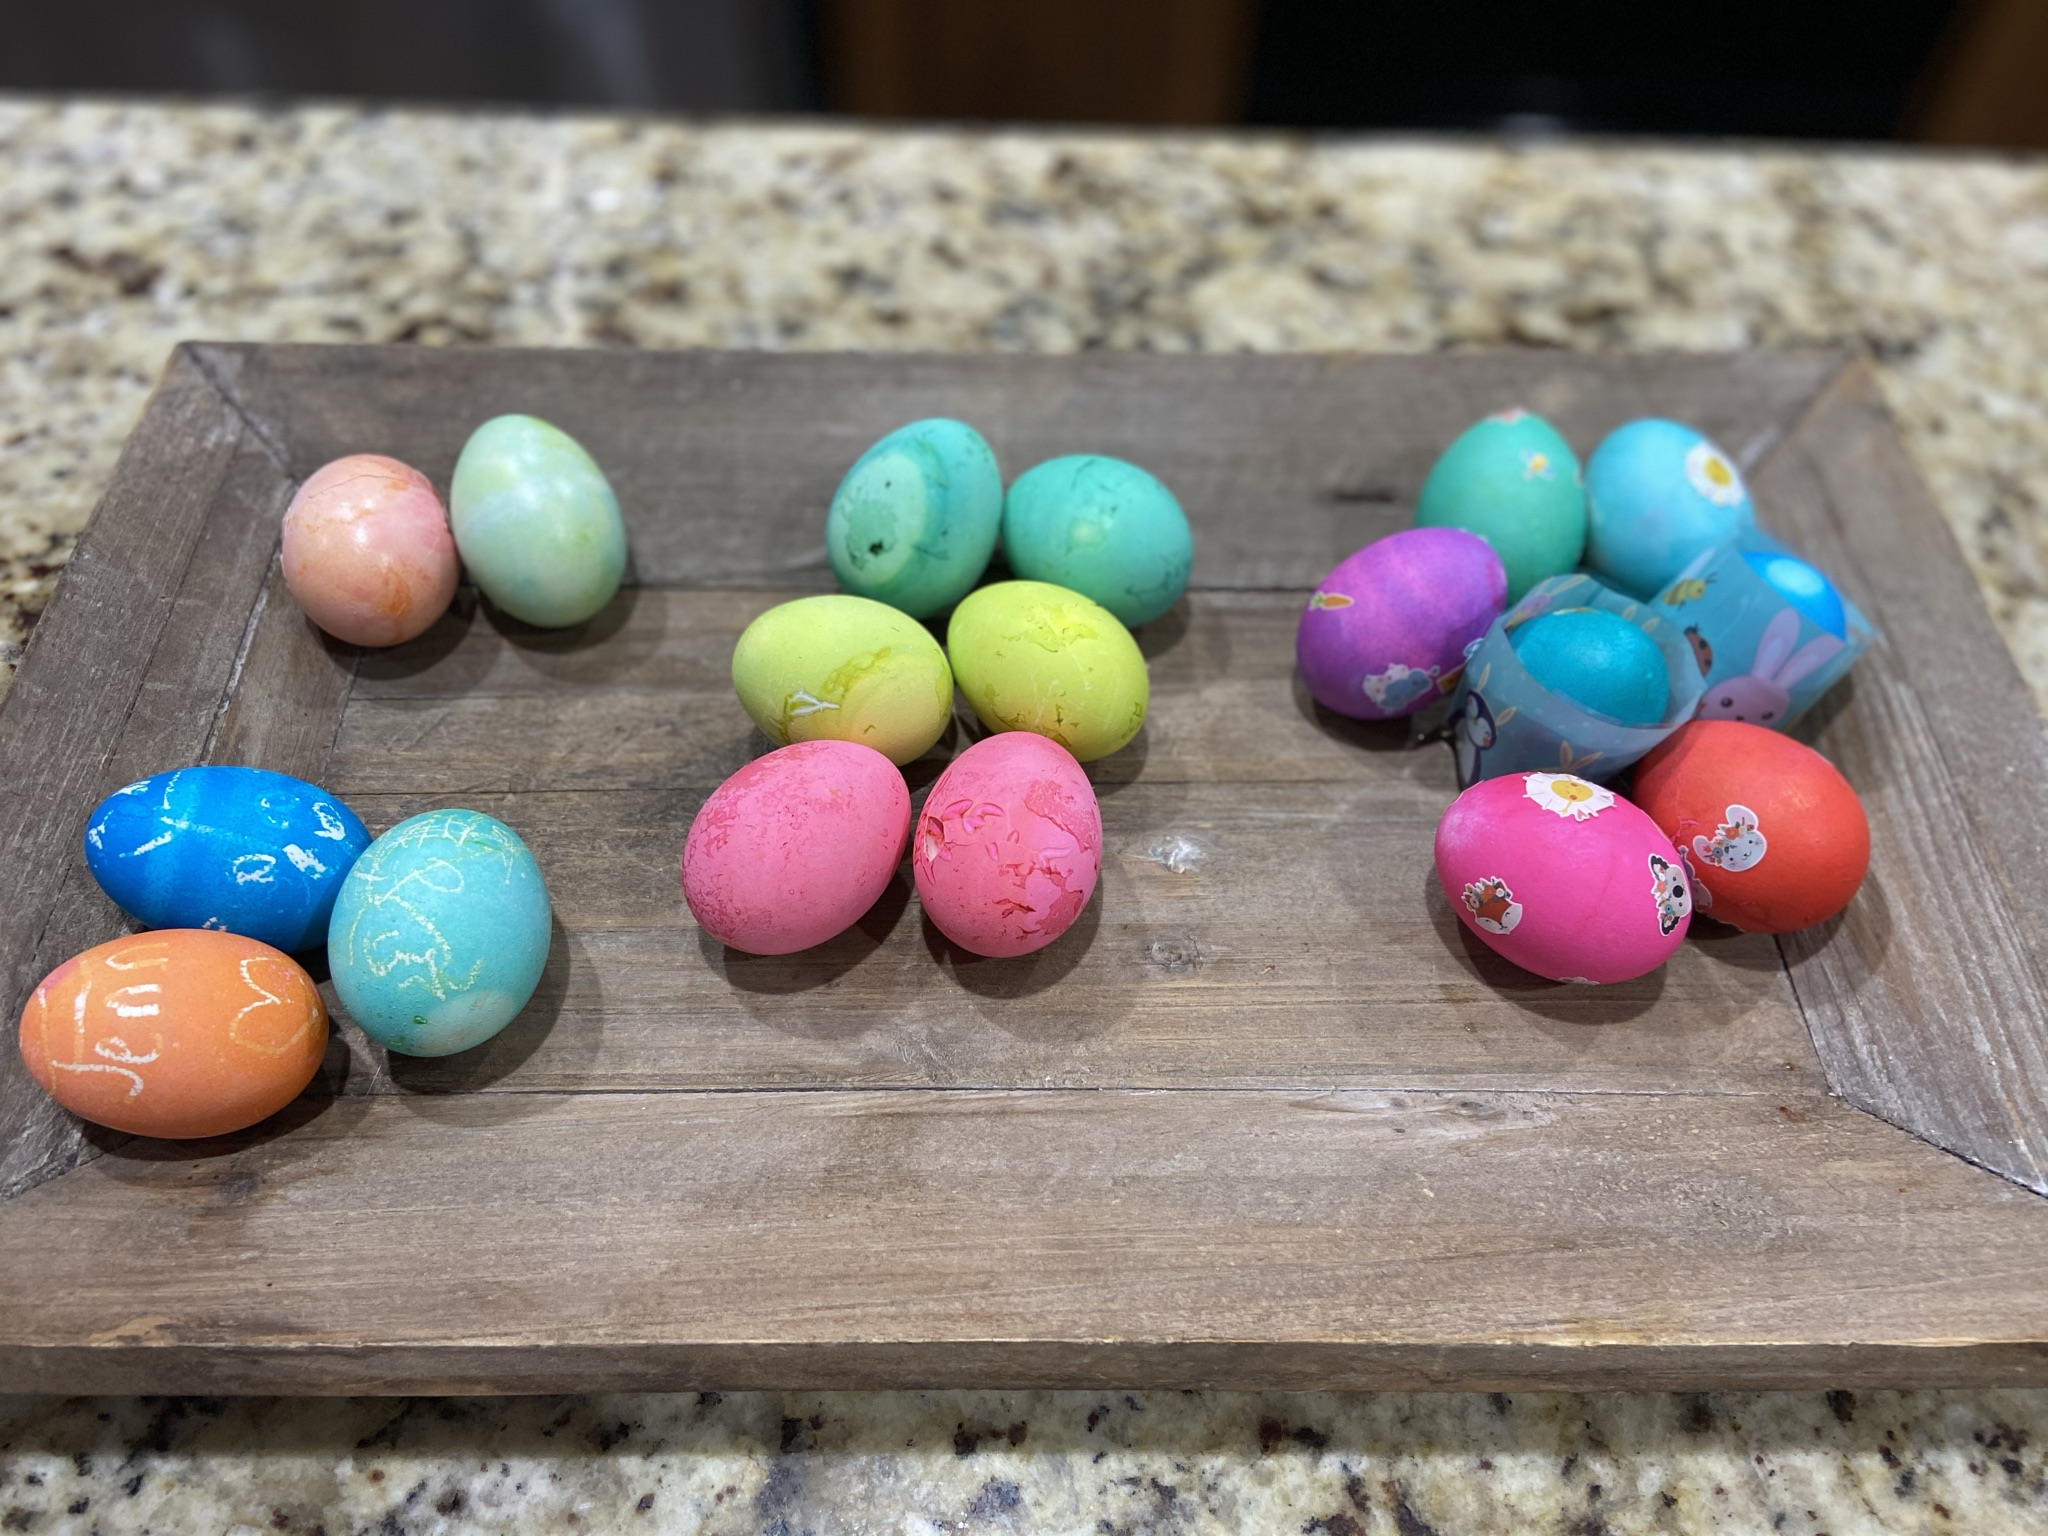
I really thought this was going to be the easiest and my favorite method of dying Easter Eggs. And it was pretty easy, but I wasn’t thrilled with how the eggs looked. They came out pretty inconsistent and splotchy.
That being said, it was super simple, and the clean-up was really easy! So if you needed to dye lots of eggs in a shorter amount of time this might be the method for you. And since you are dying and cooking at the same time this was for sure the fastest method.
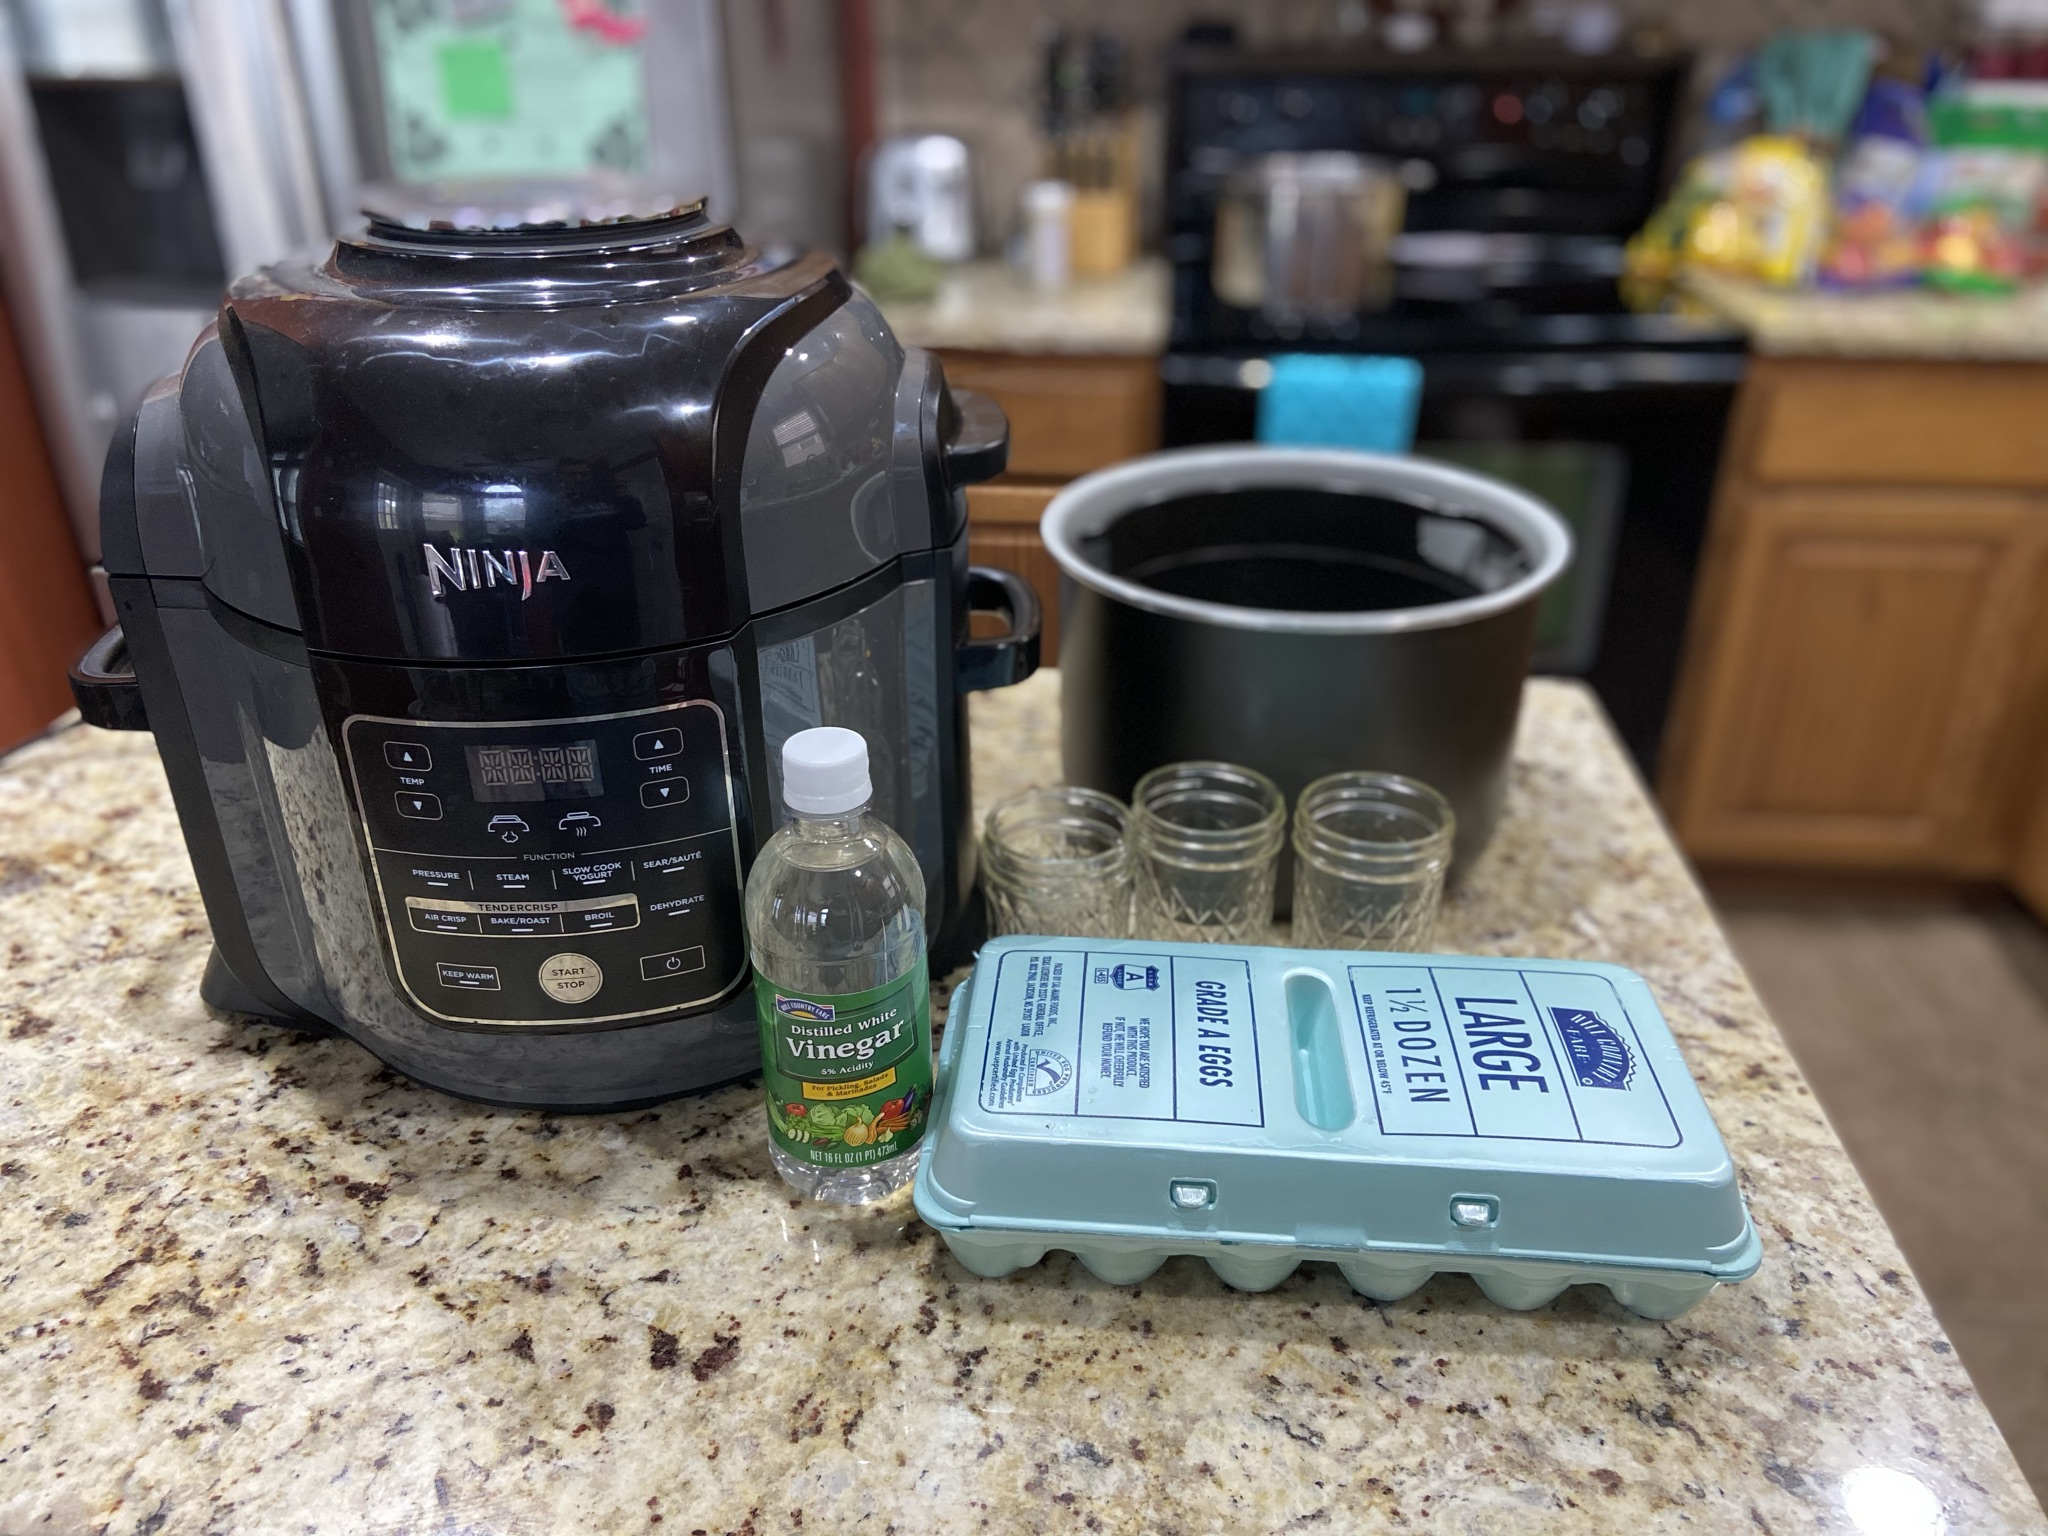
For this method, you need the following:
- a pressure cooker or Insta pot.
- small mason jars
- vinegar
- food dye
- water
You will put 2 TBS of vinegar in each jar, my pressure cooker is the Ninja Foodie 6 qt and I was able to fit 3 jars comfortably inside.
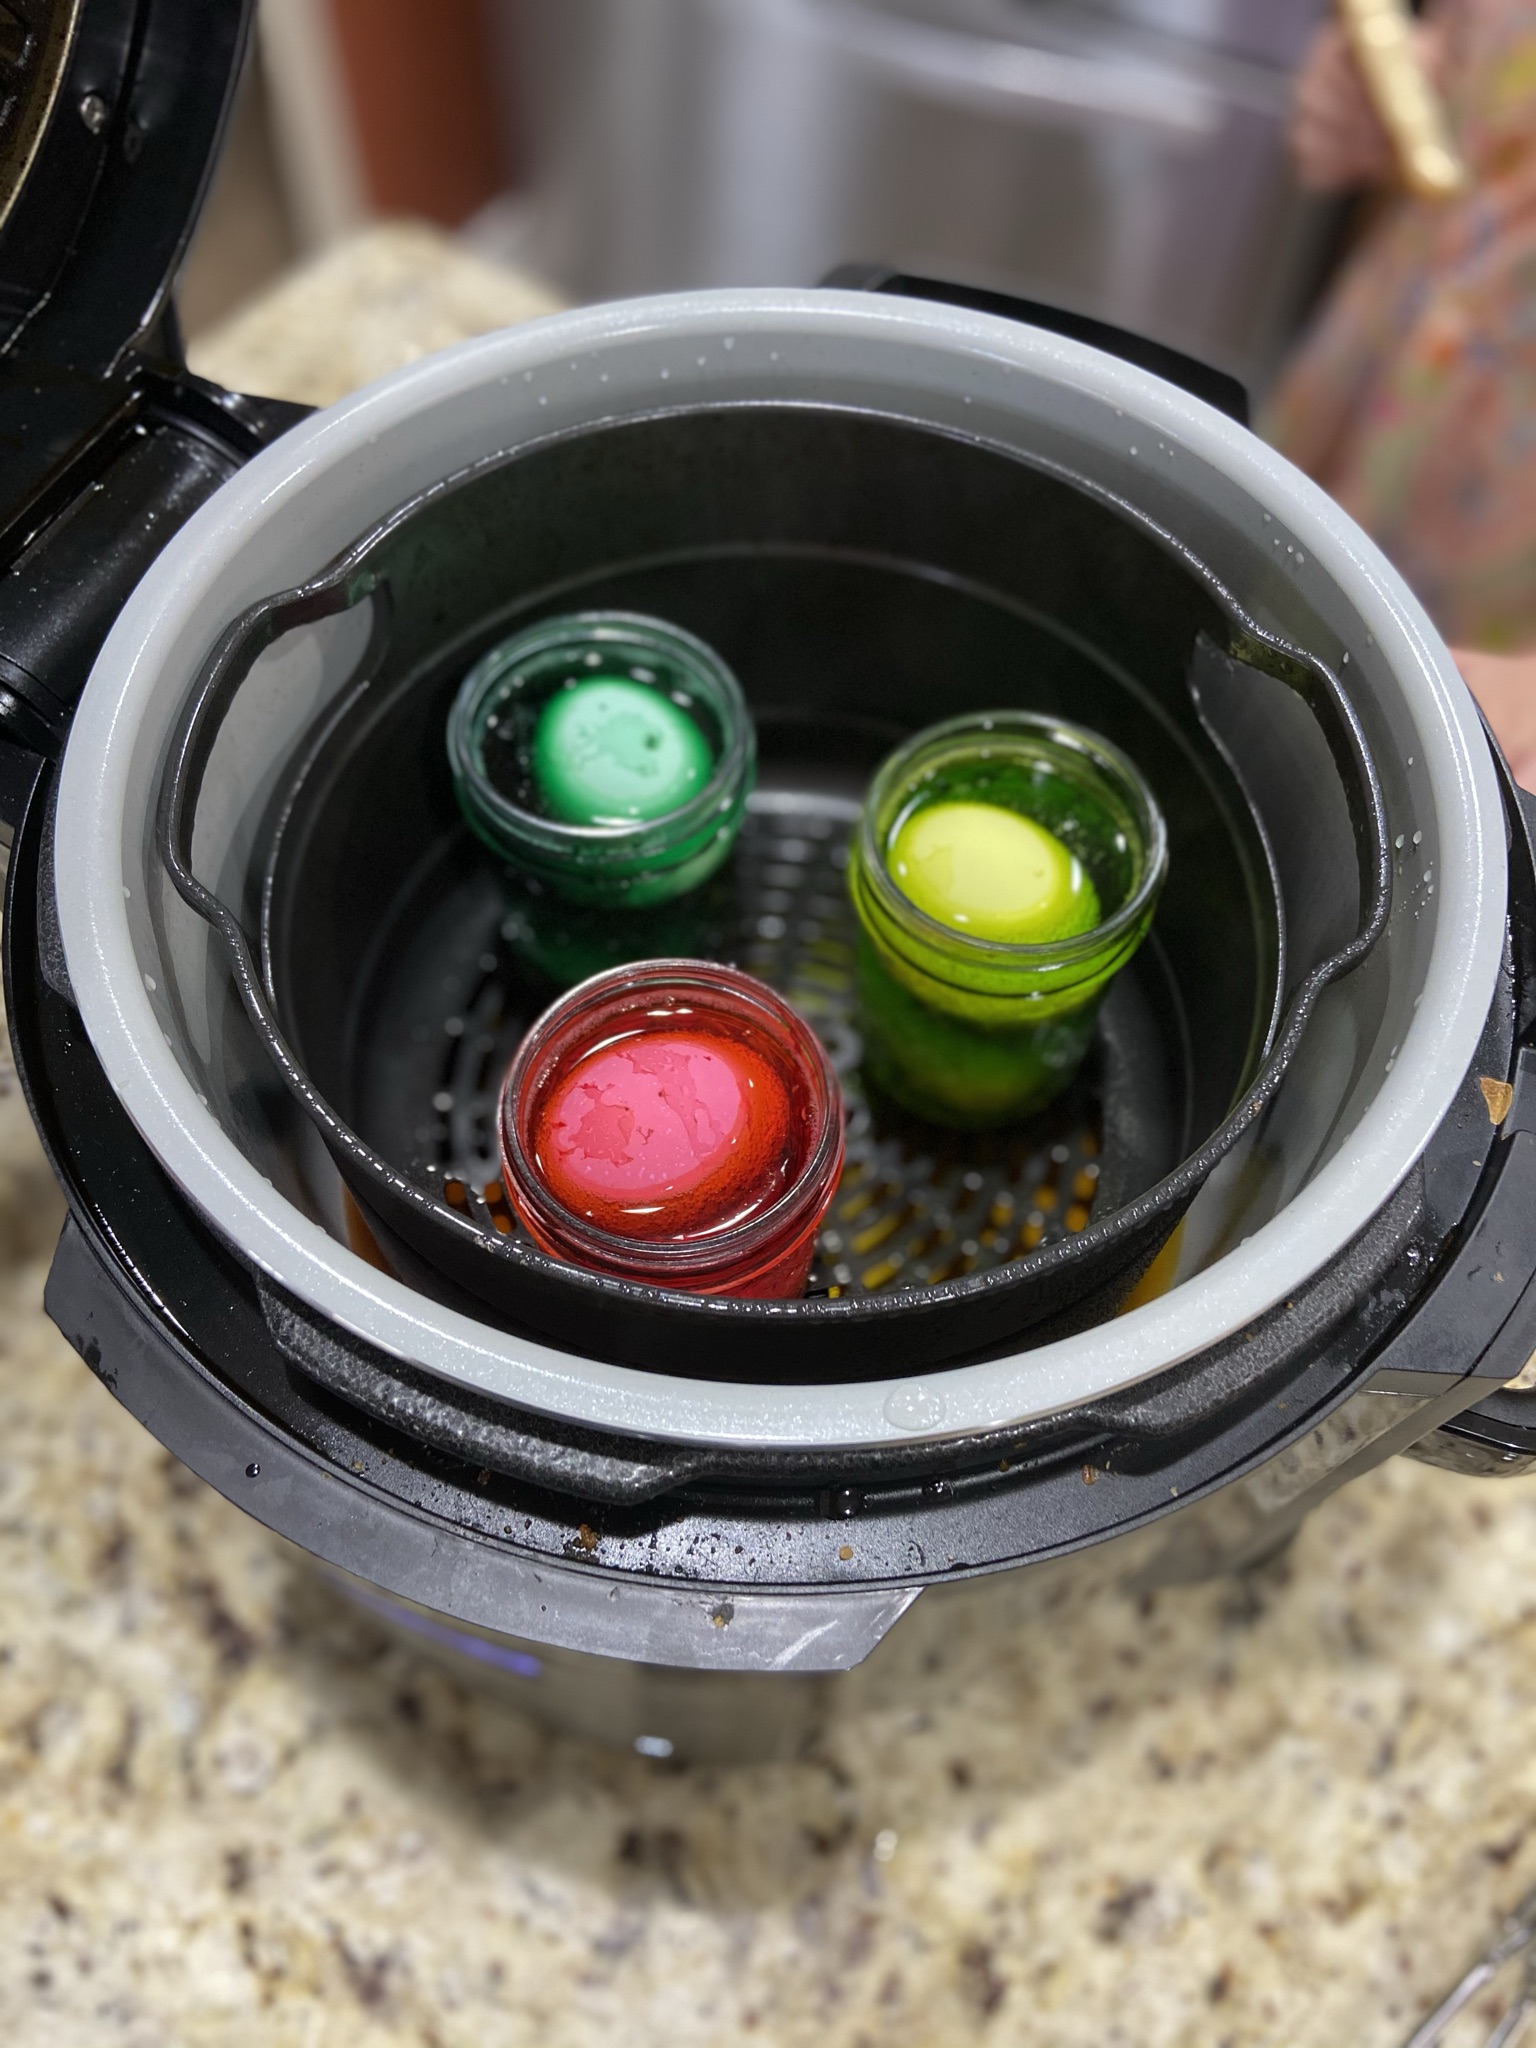
Add food coloring to the jars. I didn’t really measure this out but it was 10-15 drops of color.
Then you will add two eggs to each jar and water to the jar until it covers the eggs. For me, I had them filled to the very top.
Put 1 cup of water in the bottom of your pressure cooker, then place your jars inside your basket. Place your pressure cooker on High pressure for 5-7 mins.
I give this method 4.5 out of 5 Bunnies. It would have been higher if they hadn’t come out so splotchy.
How do you dye your Easter Eggs? Do you use one of these four methods? Did I teach you a new method you want to try?
Don’t forget to tag us on Facebook or Insta when you dye your Easter Eggs @Coastalbendmomcollective!
For more Easter ideas check out our Guide to Easter in the Coastal Bend below!


I’ve never heard of most of those options before! Thanks for sharing! Also, just FYI, the wrappers that came in the first egg dye kit are shrink wrap wrappers. So you put them on and then dip the eyes in boiling water for 3-5 seconds or use a blow dryer (slower method and a little less consistent). Those are my favorite way to decorate Easter eggs! But put the wraps on first before you dye them or all the dye will come off in the boiling water.
Also, we use glass jars instead of plastic cups (sturdier) and just add extra water to make sure the dye covers the egg when it is in the jar. Then we use spoons to lower and raise the eggs out the jars. Learned those tricks from my mom:)
Comments are closed.