


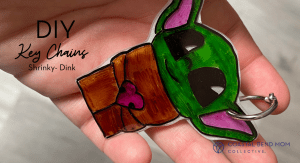
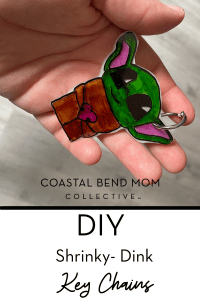
Shrinky- Dink Key Chains
We love art projects at our house. And we especially love when we can turn out art into gifts. Recently we were looking for a fun gift for our Grandparents and we decided to use shrinky-dink plastic to turn some adorable artwork into key chains!
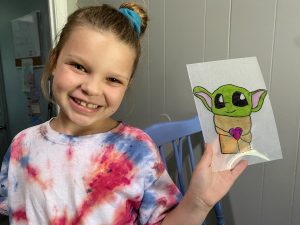
You could turn any art work inspiration for your key chains. But, my daughter absolutely loves art tutorials from this youtube channel: Art for Kids Hub. So that’s where we started. She loves to learn from this cute Dad and his kids, and comes away with all sorts of adorable creations.
Supplies Needed:
- Shrinky-Dink Plastic
- Sharpie Markers
- Hole Punch
- Key Rings
Step One:
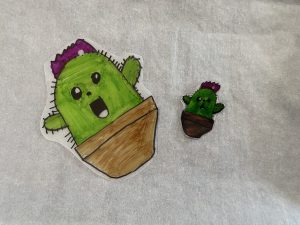
Decide what you are going to draw for your key chains. For beginners, you could draw on a piece of paper and then trace onto your shrinky-dink plastic. Or you could just freehand right onto the shiny side of the plastic. Just a heads up your colors will dark significantly when they bake. You will also pre-heat the oven to 350 degrees.
Step Two:
Cut out your drawing on your plastic. Do not forget to punch a hole in your key chains before you bake. Place on a parchment-lined baking sheet. Bake for 3 minutes at 350 degrees.
*Tips: Do not panic if the edges curl. They should flatten out as they keep baking. Only bake one drawing at a time. Something about the heat distribution.
Step Three:
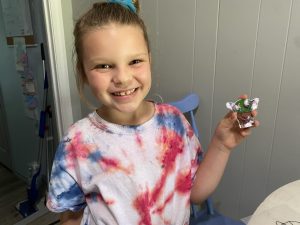
Once completely cooled you can add your key ring and enjoy your cute key chain, or gift it to a lucky grandparent like we did!
For more DIY gift ideas check out this post from Madison.


