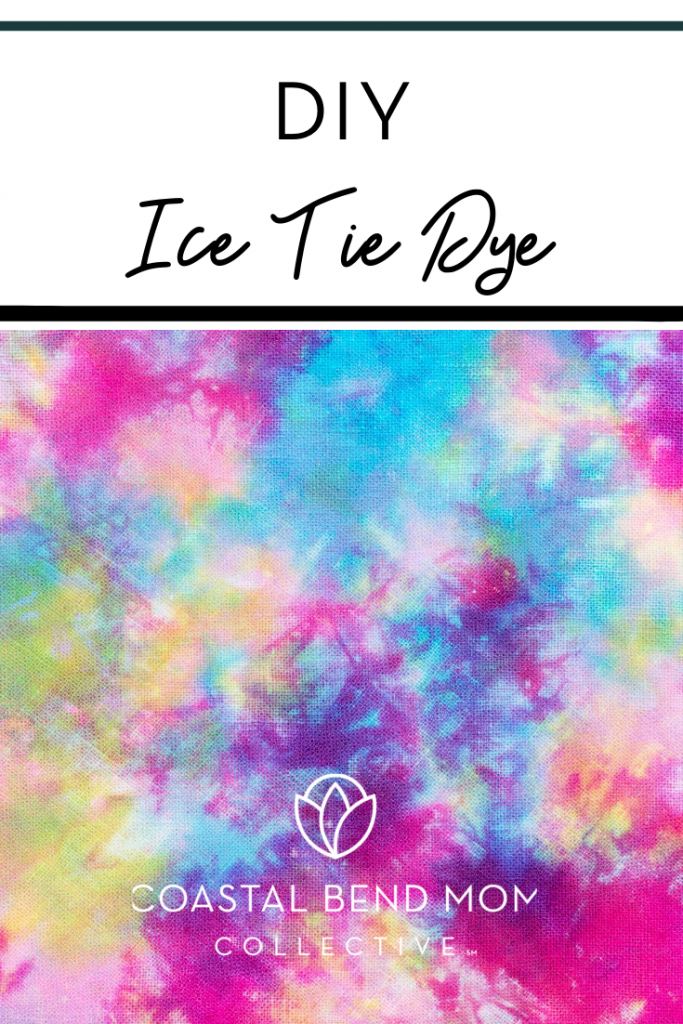
I am ashamed to admit this as a 90’s kid that I haven’t tie dyed… ever. So when I saw this awesome blanket I was determined to try my hand at ICE Tie Dying and have something for all my Netflix and chilling.
JK I’m a Mom that ain’t happening.
Materials:
- Some form of white fabric (t-shirt, blanket, towel, etc.)
- Tie Dye colors (I used this you can also find a variety of colors at Wal-Mart)
- Cookie Cooling Rack
- Large Bin (depending on size of item you are dying)
- Bag of Ice
What to do:
- Wash the item you plan to dry
- On top of your bin place the cookie cooling rack.
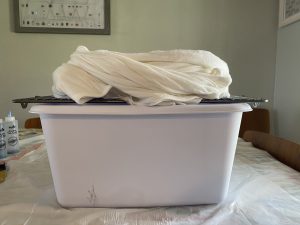
- On top of the cooling rack place the item. You can coil it around or you can tie with rubber bands depending on the pattern you are trying to create.
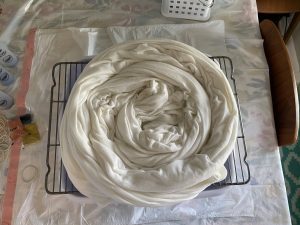
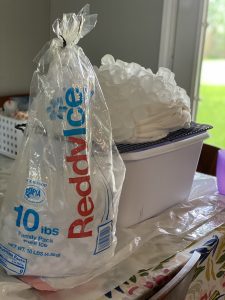
- Pile the Ice on top of all of it. Since I had a rather large piece of fabric I really piled the ice on and so put a trash bag and plastic under the bin since once the ice started melting it rolled off at times. As you can see, I used a little over 6lbs of ice because I really wanted the dye to soak all the way through and it was a large piece of fabric.
5. Add the dye. Do not put dye in water, you are just going to sprinkle the dust on top of the ice. I had not rhyme or reason to the method I used. I picked out the colors I wanted and dumped them on top. Do not stress or be a perfectionist about it. Have fun with the spontaneity of it.
Pro-Tip: wear gloves when applying the dye. My hands were blue for a good 3 days. Also don’t do this project in a white shirt. You’d think both of these go without saying… but ya know mom life.
6. Let it sit for 24+ hours. As much as you want to touch it and peak to see how its coming along DON’T DO IT!
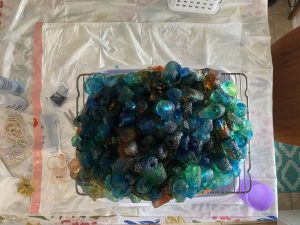
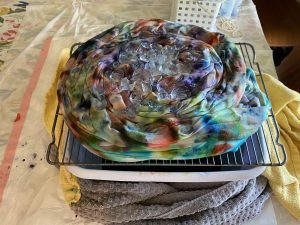
7. After 24 hours has passed take the item and rinse in cold water till the water runs clear. Then I washed mine in cold water. It faded a bit, but the final product was GLORIOUS!
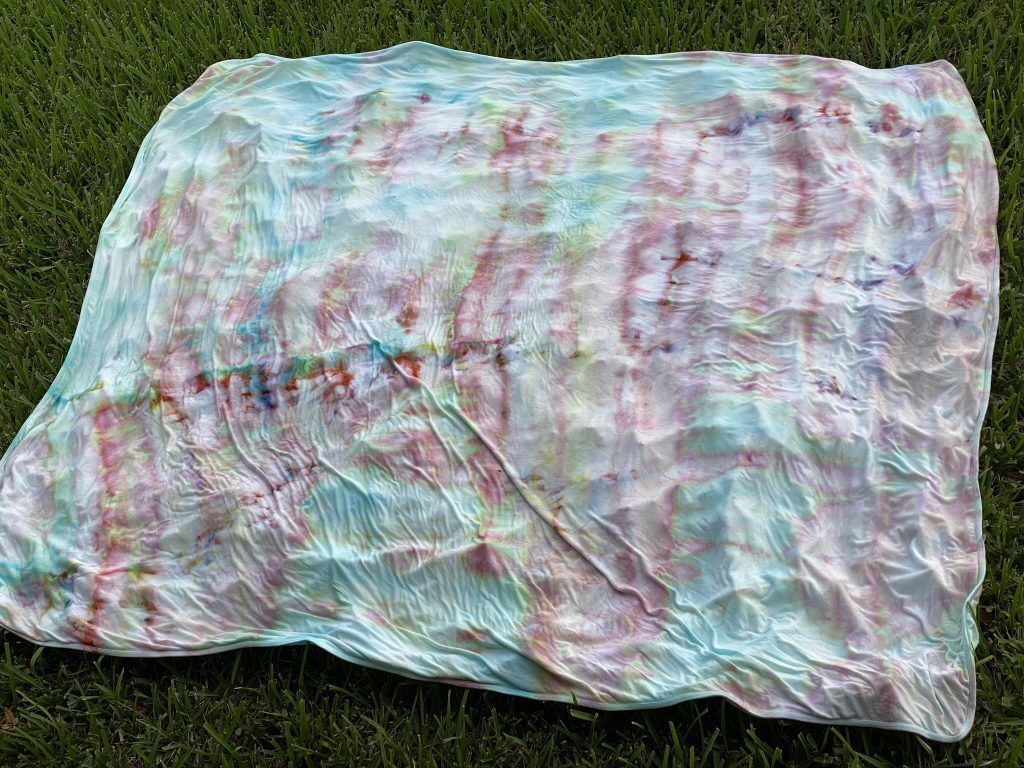
What are you going to Tie Dye??
