


Sensory bins have been increasing in popularity over the past few years as creative ideas flood Instagram feeds and Pinterest boards. Essentially, a sensory bin is a tub filled with items that stimulate a young child’s senses, particularly the sense of touch.
I was drawn to them when my daughter turned a year old. Although I believe the best sensory experiences for children are in the great outdoors and in the kitchen, a sensory bin can be a good option for screen-free fun indoors. They’re a unique way to explore how different substances feel, and they introduce basic science concepts such as volume, density, and matter. A child can also practice fine motor and practical life skills such as scooping and pouring.
A sensory bin can be as simple as a tub of uncooked rice with a cup and funnel or as elaborate as a dinosaur world with sand, mud, palm trees, dinosaur figurines and a DIY volcano that explodes. Let’s walk step by step on how to put together your own sensory bin.
Step 1: Choose Your Sensory Bin Container
Sensory bin containers come in all shapes and sizes. It can be as simple as a large mixing bowl or as elaborate as a sensory table. Plastic tubs and storage bins are also popular to use. If the bin is large enough, some parents set an older baby or younger toddler into the bin itself to help contain the mess. For now I use a clear, shallow tub for my daughter’s sensory bin. I’ve also been thinking about using her water table and kiddie pool outside for materials other than water, but I haven’t tried it yet.
Step 2: Choose Your Sensory Bin Filler
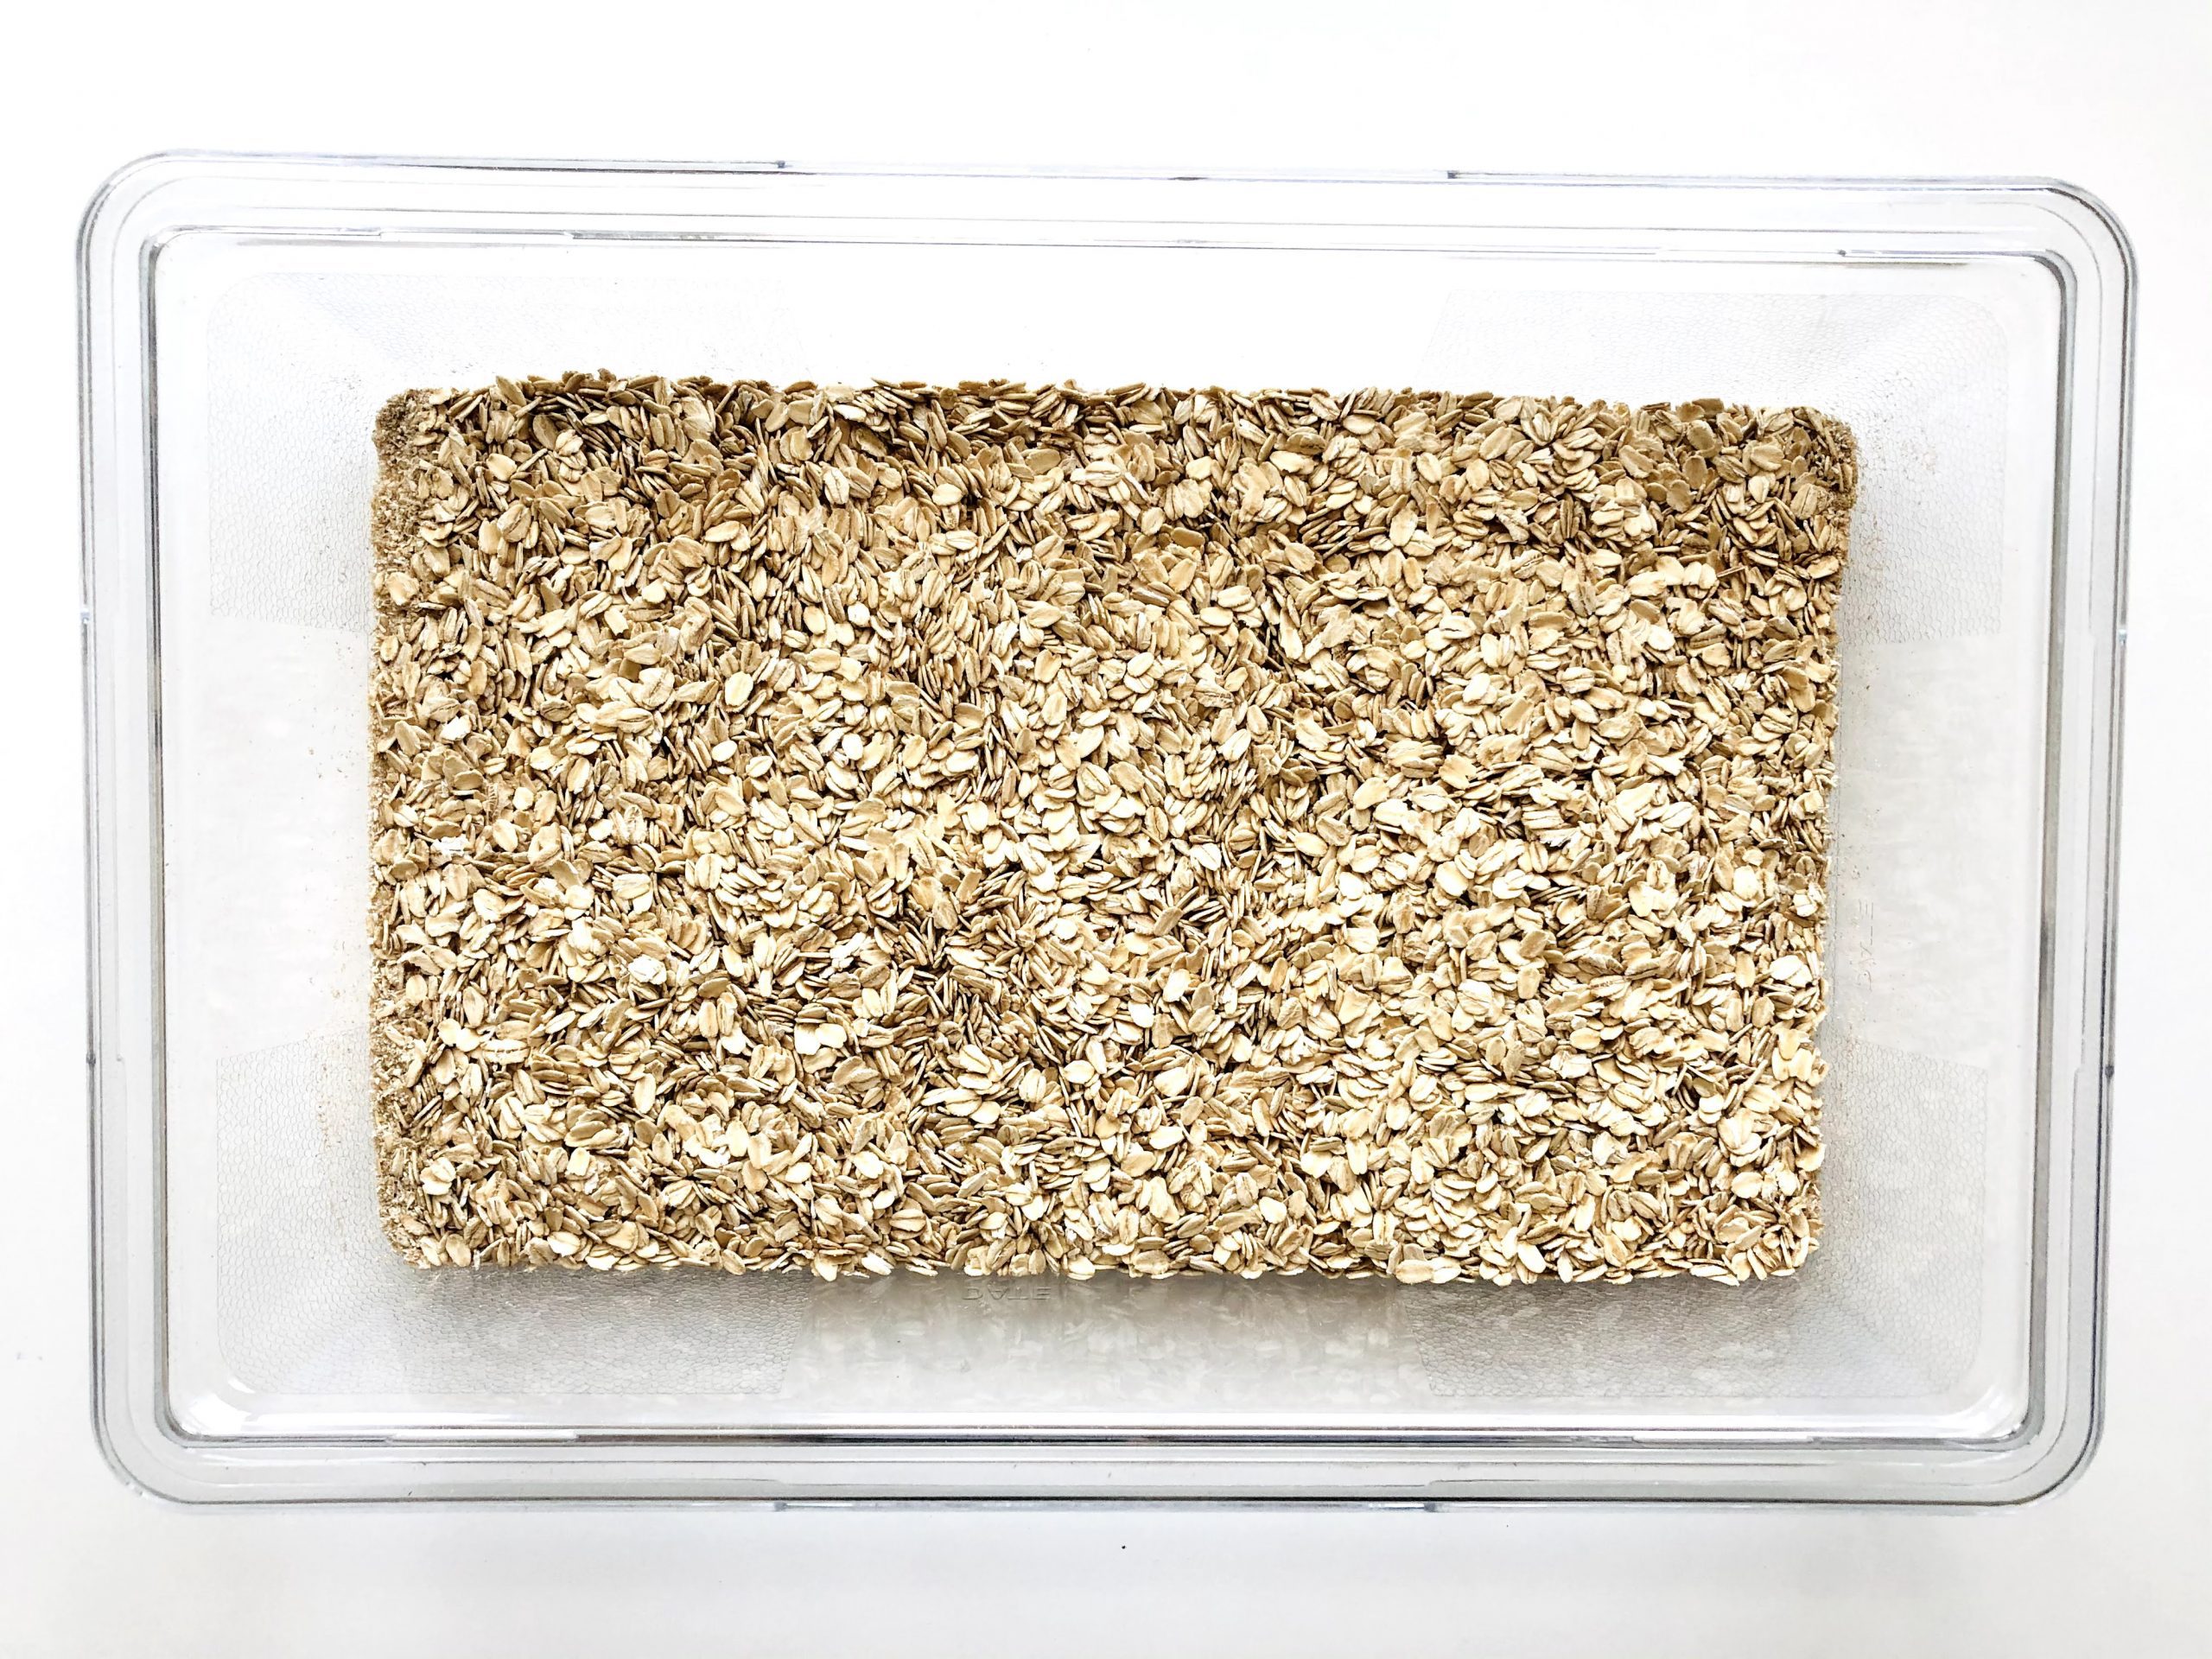
Fill your sensory bin with something that is fun to play with and stimulates the senses. We use oatmeal. I only bring out the sensory bin occasionally, so it’s still exciting for my daughter. Because she’s so young, I need to have a patient mindset before we play with it. I’m gently teaching her how we keep the oatmeal in the bin and out of our mouths. She’s pretty good about it for the most part.
Fillers can be edible or non-edible. The creative ideas are endless, but here are some ideas to get you started.
Edible Fillers
For younger children, you may want to keep it safe with something non-toxic and edible, just in case they decide to put it in their mouth.
- Oats
- Cheerios
- Rice Krispies
- Pudding
- Jello
- Whipped Cream
- Water
- Flour and Brown Sugar (to look like sand)
- Snow
- Cooked Pasta
- Cooked Rice
- Crushed Ice
Other Non-Edible Food Fillers
You may already have some food items in your cupboard that would make exciting sensory bin fillers.
- Uncooked Rice
- Uncooked Pasta
- Dry Beans
- Corn Kernels
- Tapioca Balls
- Dry Lentils
- Ice Cubes
Tip: You can use food coloring to make fun-colored rice, pasta, or water!
Non-Food Fillers
Some parents like to use non-food fillers for older children to keep things interesting, to fit a specific theme, or for ethical reasons.
- Sand / Kinetic Sand
- Water Beads
- Shredded Paper
- Shaving Cream
- Tinsel / Easter Basket Grass
- Pom Poms
- Cotton Balls
- Beads
- Shells
- Rocks / Pebbles
- Grass / Hay
- Packing Peanuts
- Dirt / Mud
DIY Fillers
If you have some extra time, you can make other types of interesting substances to use in your sensory bin.
- Play Dough (homemade or store bought)
- Cloud Dough
- Goop
- Slime
Step 3: Add Scoops and Containers to Your Sensory Bin
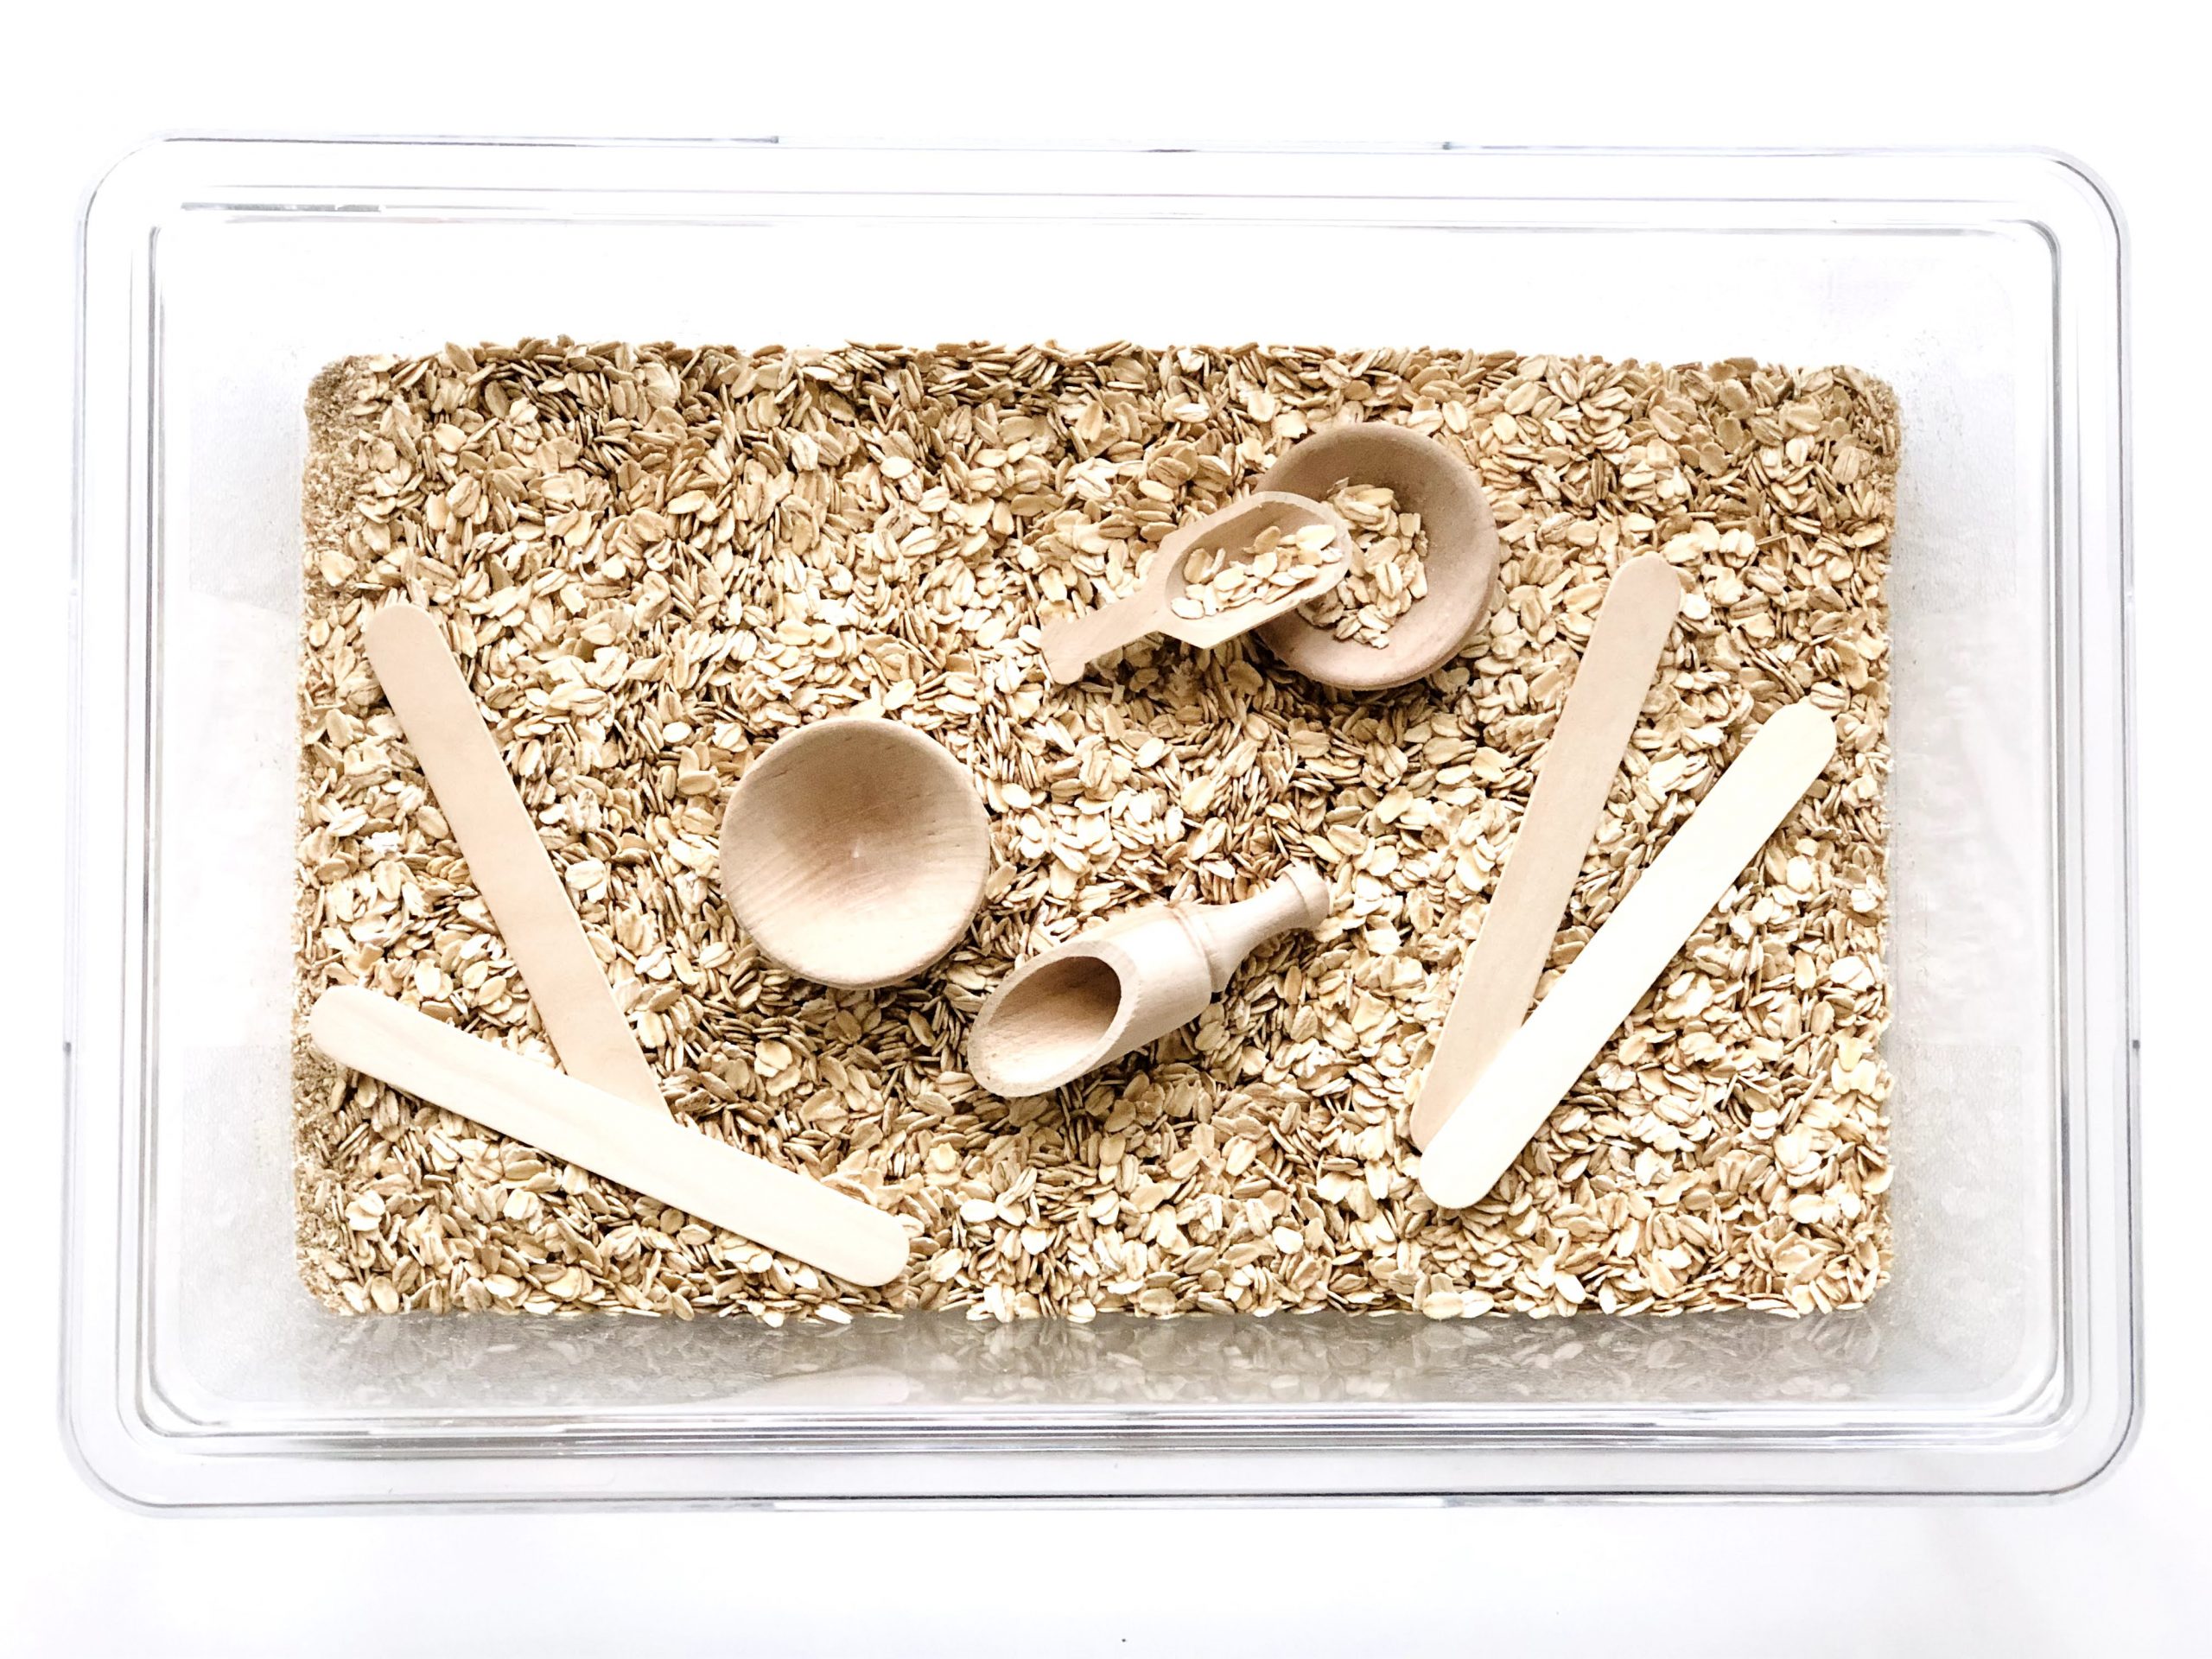
Your children can start playing with the filler using only their hands. To extend the length of play, you can add different utensils and cups when you sense their interest waning. They can use the utensils to explore scooping and pouring. Plus, this helps build fine motor skills!
Most of these items can simply come from your kitchen. I bought my mini wooden scoops and bowls from a craft store. We also sometimes use a metal cream pitcher to practice pouring or our trusty stacking cups.
- Spoons
- Ladles
- Cups
- Bowls
- Pitchers
- Funnels
- Shovels
- Tongs
- Sieves / Colanders
- Toilet Paper Rolls
- Baskets
- Tea Pot
- Craft Sticks
- Paint Brushes
Step 4: Add Other Play Objects (Optional)
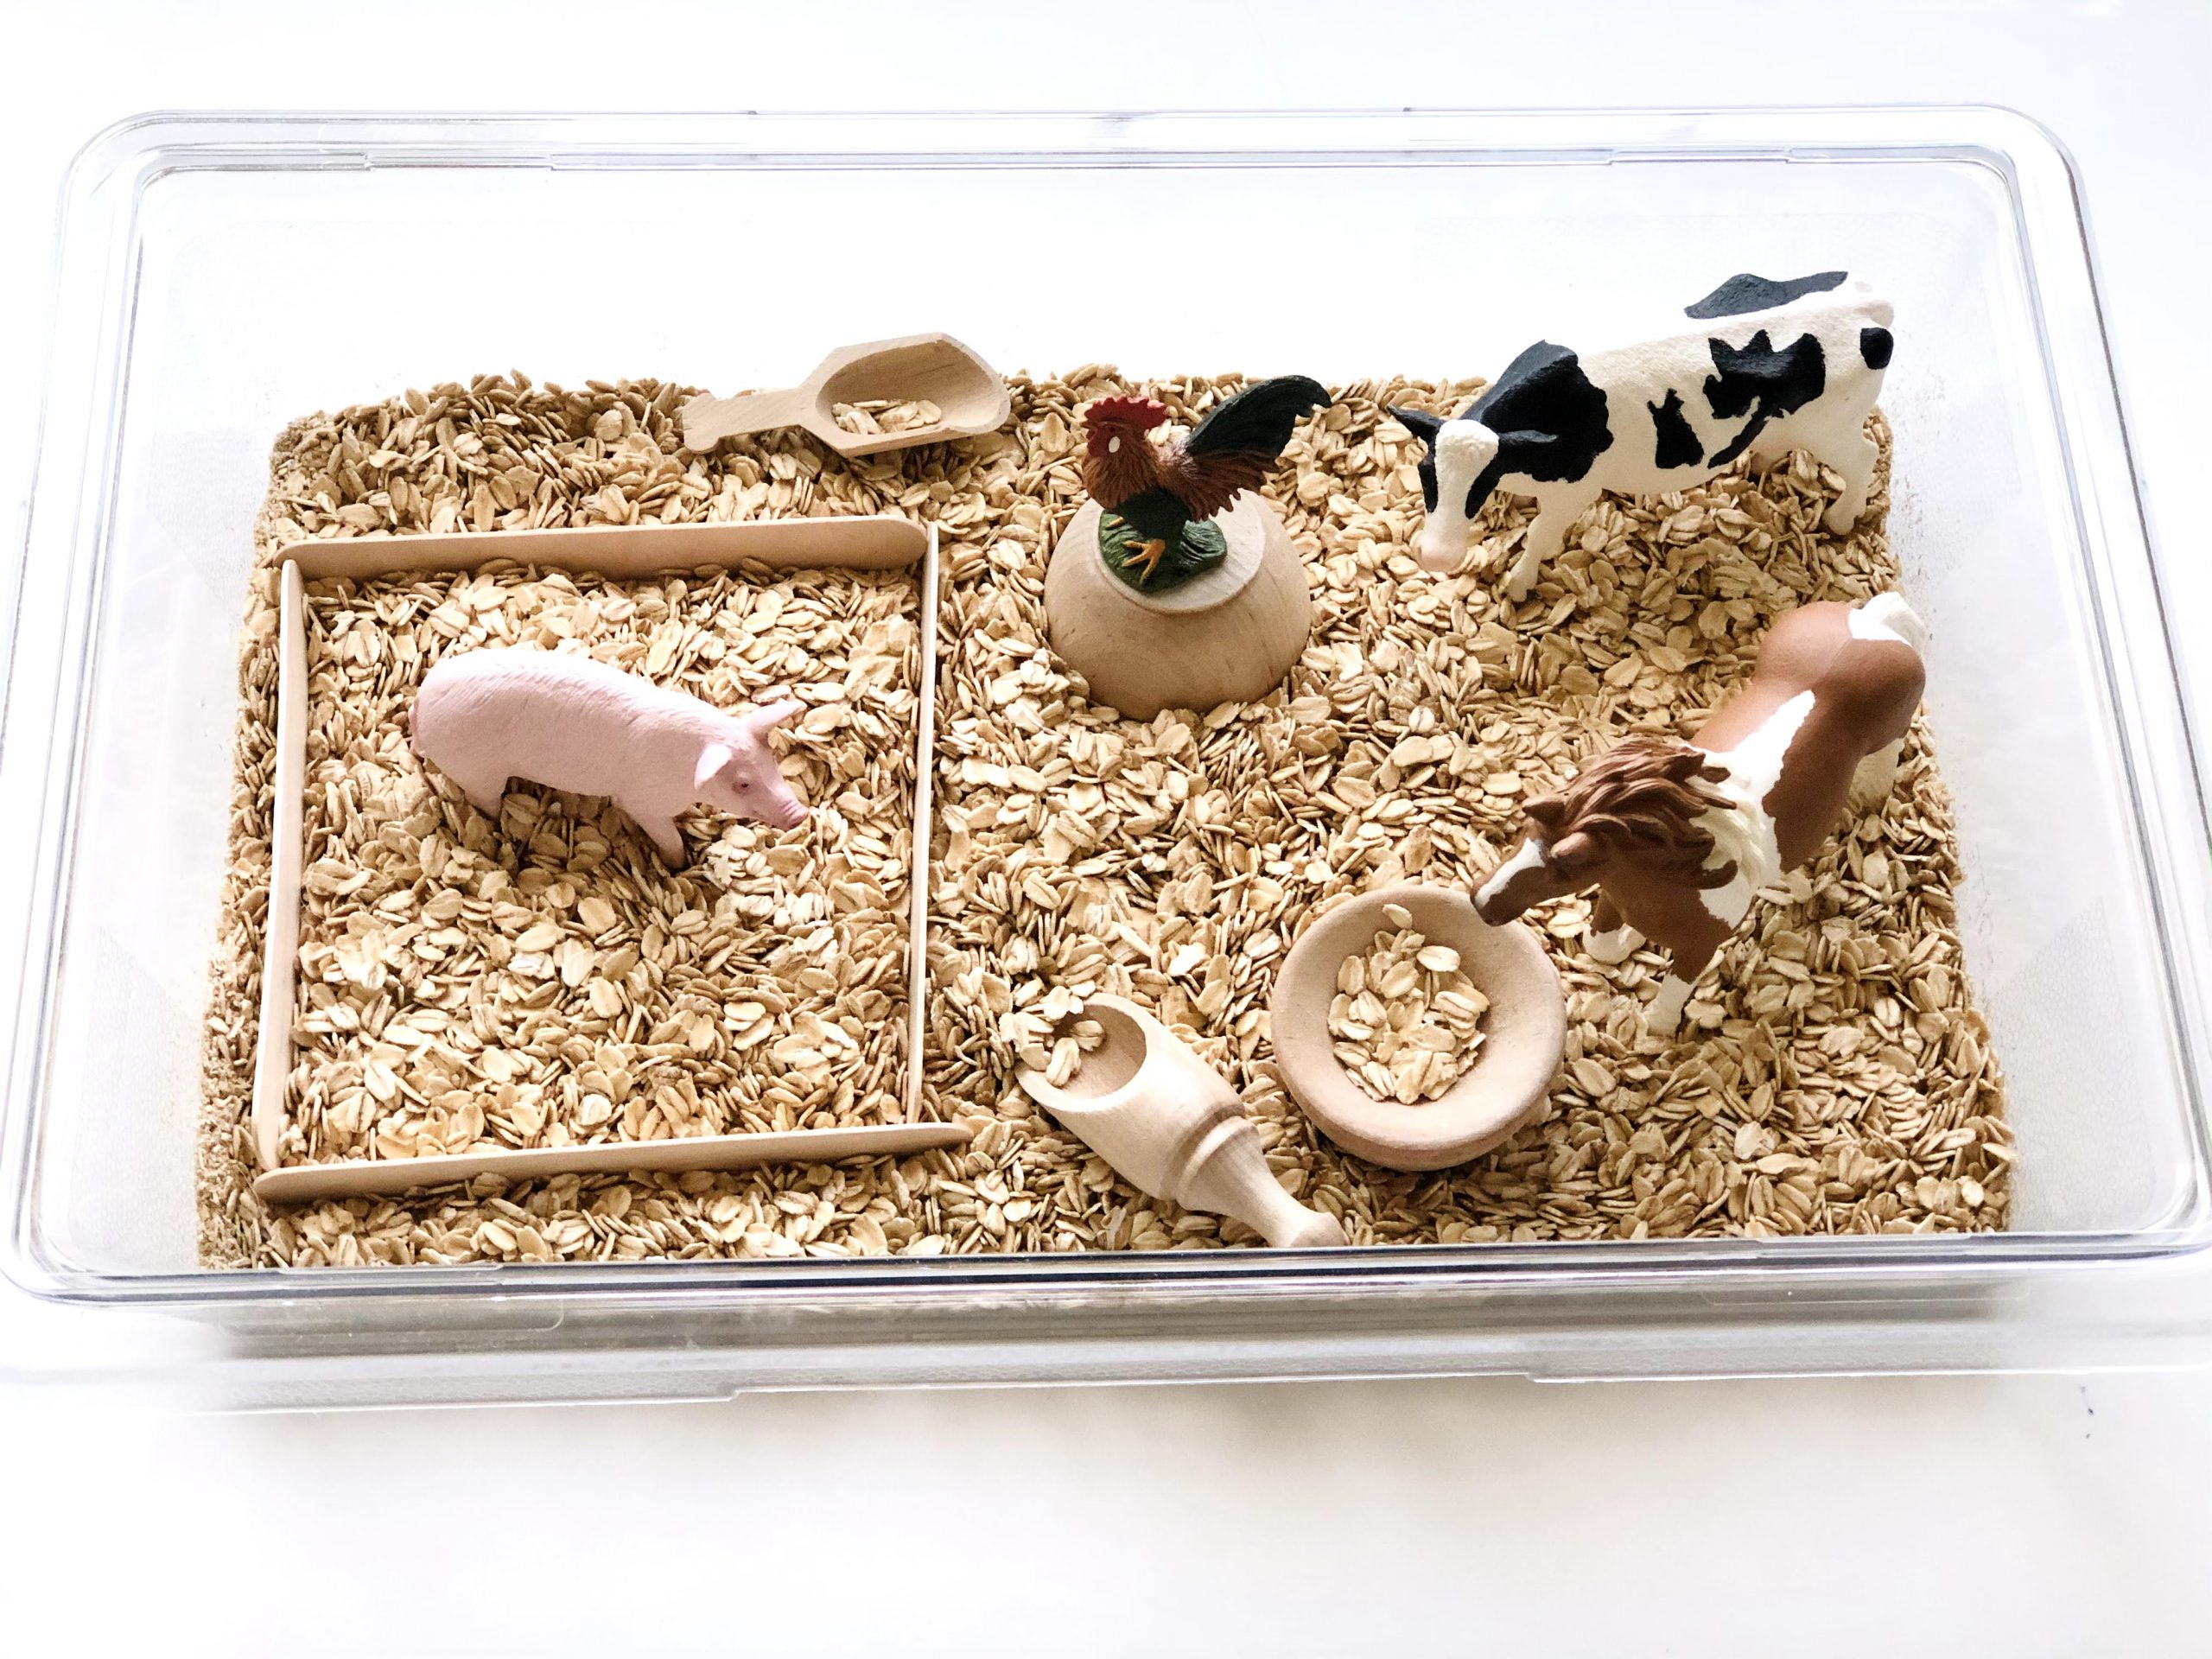
Children can have a lot of fun with just the filler and some scoops. However, you may want to add some other objects to create a unique learning opportunity or theme. Maybe your kids will add some of these on their own! Sometimes we add my daughter’s Schleich farm animals. She’s not quite old enough for pretend play, but she does make them walk in the oats (so cute), and she also likes to bury them and dig them out!
- Animal Figurines
- Fake Bugs and Insects
- Foam Letters, Numbers, or Shapes
- Toy Cars and Trucks
- Holiday Ornaments
- Cookie Cutters
- Flowers
- Balls
- Felt Shapes
- Pipe Cleaners
- Items from Nature
Sensory Bin Theme Ideas
Some parents like to get more creative and come up with a theme for their sensory bin. You may want to have a theme to celebrate a season or holiday. Other themes inspire pretend play or nurture a child’s current interest. You can also use them to teach your children about different biomes or animal life cycles. Here are some ideas you may want to try.
Arctic Animals
- Filler: Blue Water, Ice, Fake Snow
- Scoops: Tongs and Ladle (to pick up floating ice), Bowl
- Objects: Arctic Animal Figurines
Birthday Celebration
- Filler: Rainbow Sprinkles, Confetti, Play Dough
- Scoops: Spoon, Rainbow Craft Sticks, Small Rolling Pin
- Objects: Birthday Candles, Cookie Cutters, Noise Makers
Under the Sea
- Filler: Aquarium Rocks or Sand, Blue-Green Water
- Scoops: Funnel, Recycled Water Bottle
- Objects: Aquarium Plants, Sea Shells, Ocean Animal Figurines
Autumn Woods
- Filler: Real or Fake Fall Leaves
- Scoops: Hand Rake, Bucket
- Objects: Acorns, Mini Pumpkins and Guards, Woodland Animal Figurines
Creating themed sensory bins can be fun for some parents, but it’s definitely not necessary. Grab a tub, some dry beans and scoops, and your child will be entertained for a while!


